








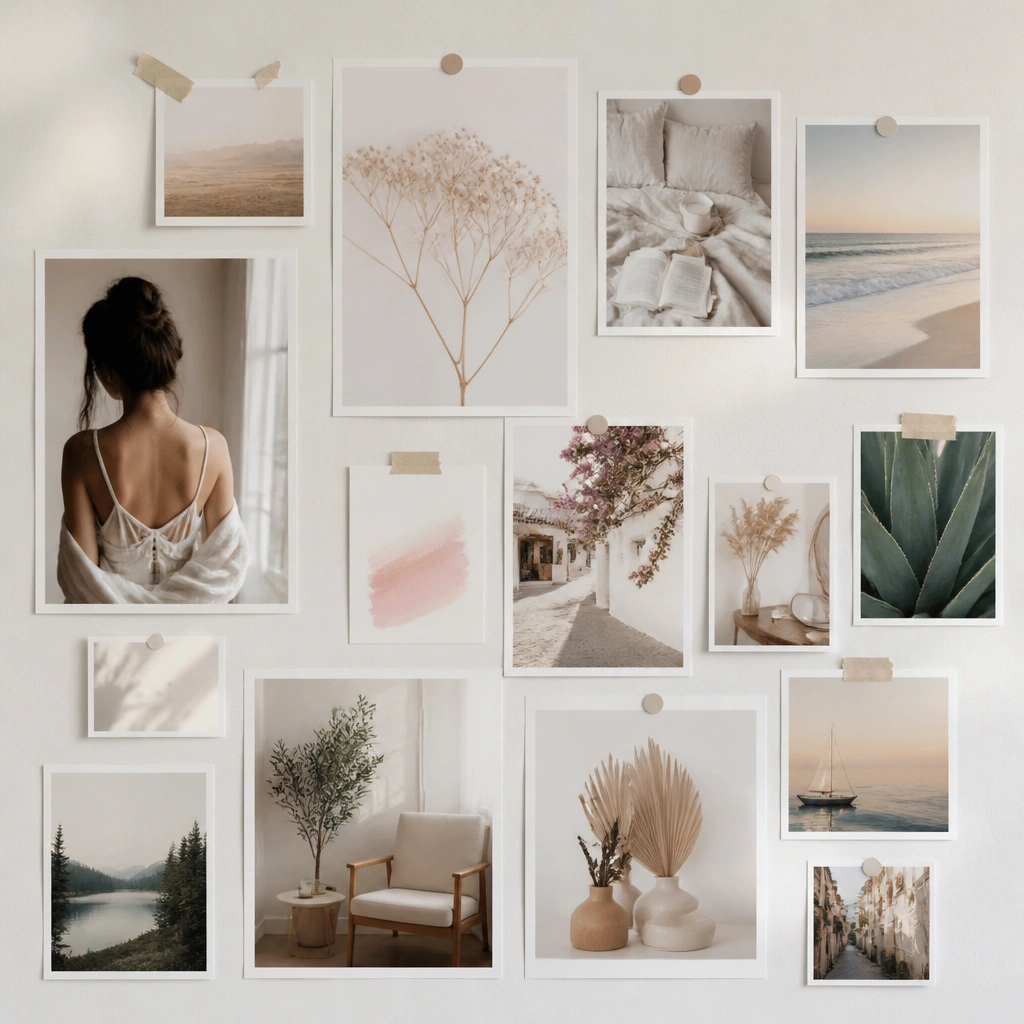
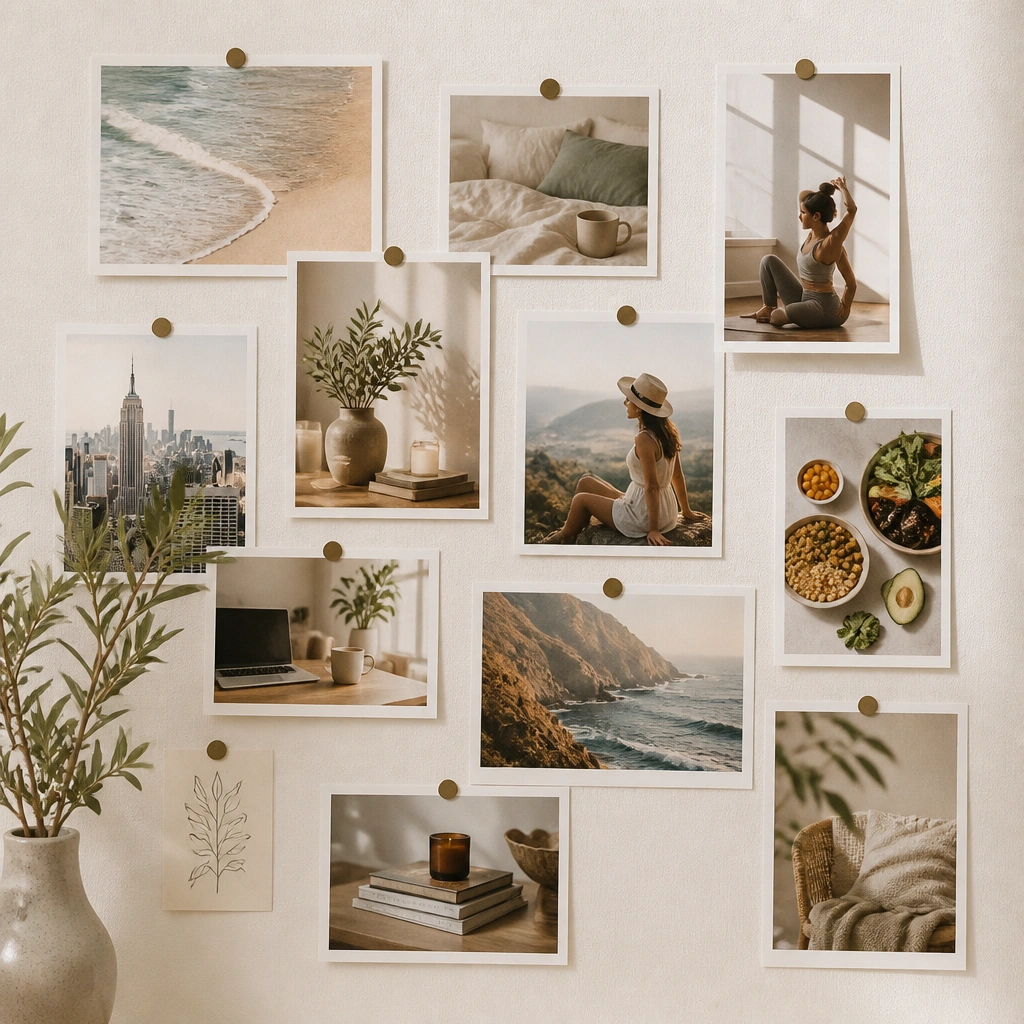
1. Magnetic Sheet + Photo Strips (No Adhesive on Walls)
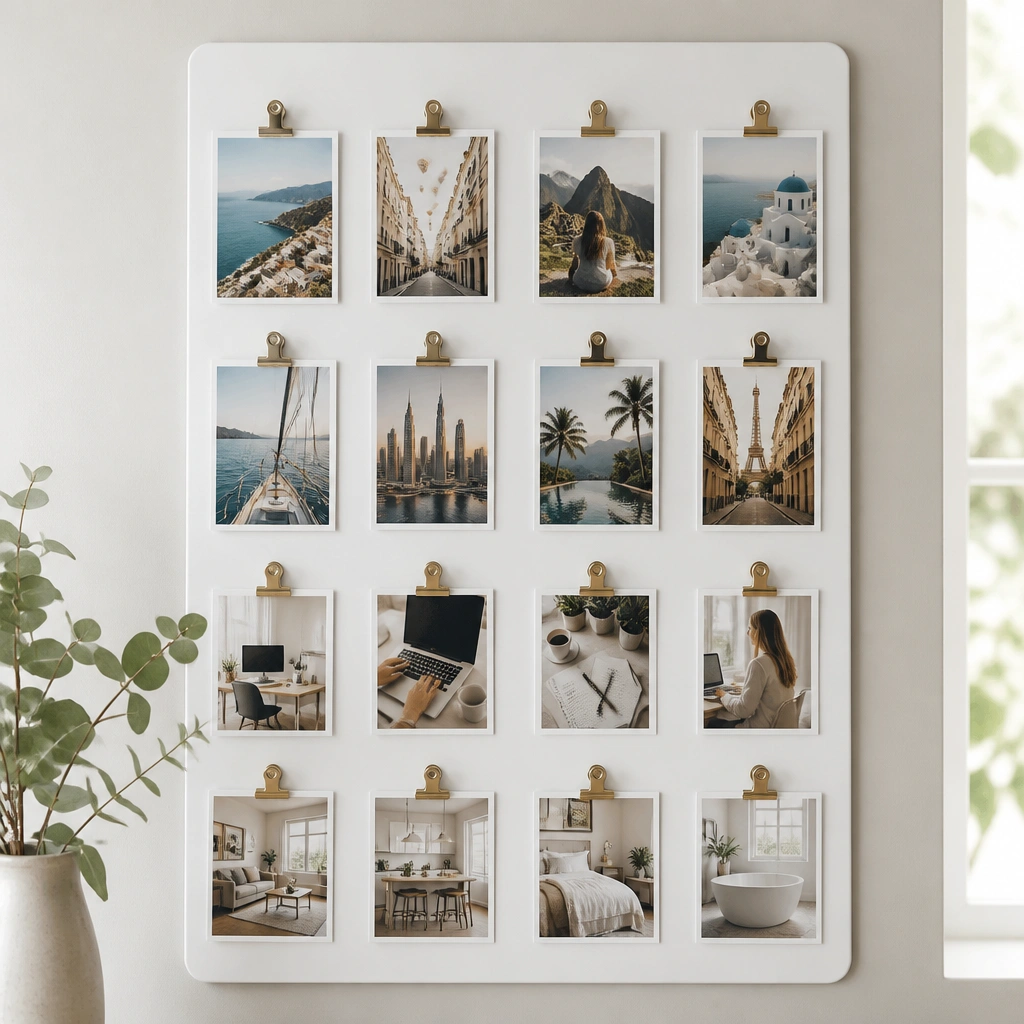
This look uses a thin magnetic sheet mounted to the wall with renter-friendly methods (or placed on a metal surface like a fridge). Your pictures can be clipped in place with mini binder clips or held by magnetic photo corners, so nothing touches the wall with sticky residue. It’s especially clean for renters because you can rearrange anytime without re-sticking.
Good to knowIf your wall isn’t magnetic, mount the sheet using removable hooks or a low-tack mounting putty, then keep the pictures on magnets only.
2. Clear Acrylic Frame Grid with Removable Corner Pads
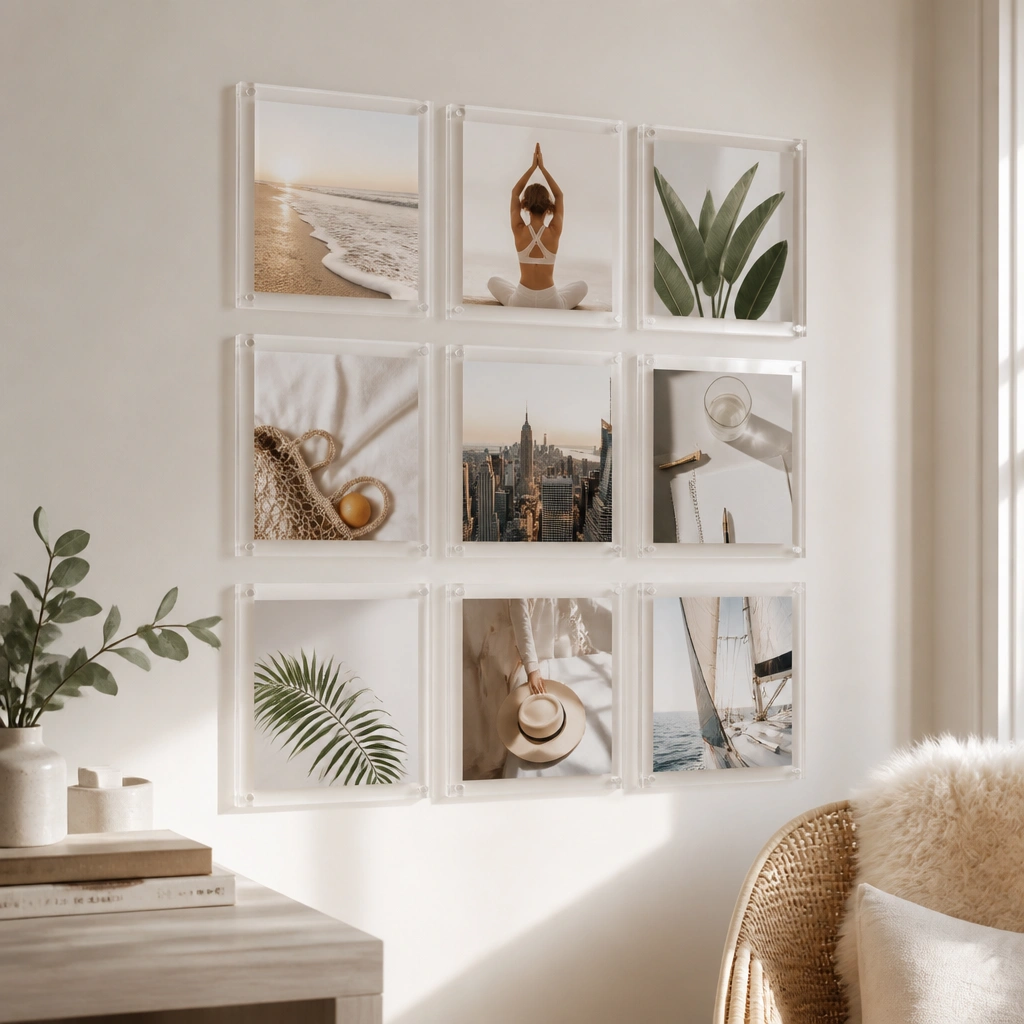
Clear acrylic frames make your board look like a modern gallery wall while keeping the wall hardware minimal. Use removable corner pads or picture-hanging tabs under each frame corner to prevent shifting. Because the photos sit behind clear plastic, they’re protected from dust and fingerprints — great for high-traffic areas.
Print your images with a white border so they pop behind clear acrylic, and test one corner pad on a small spot first.
3. Washi Tape Picture Lines + Mini Clip Banner
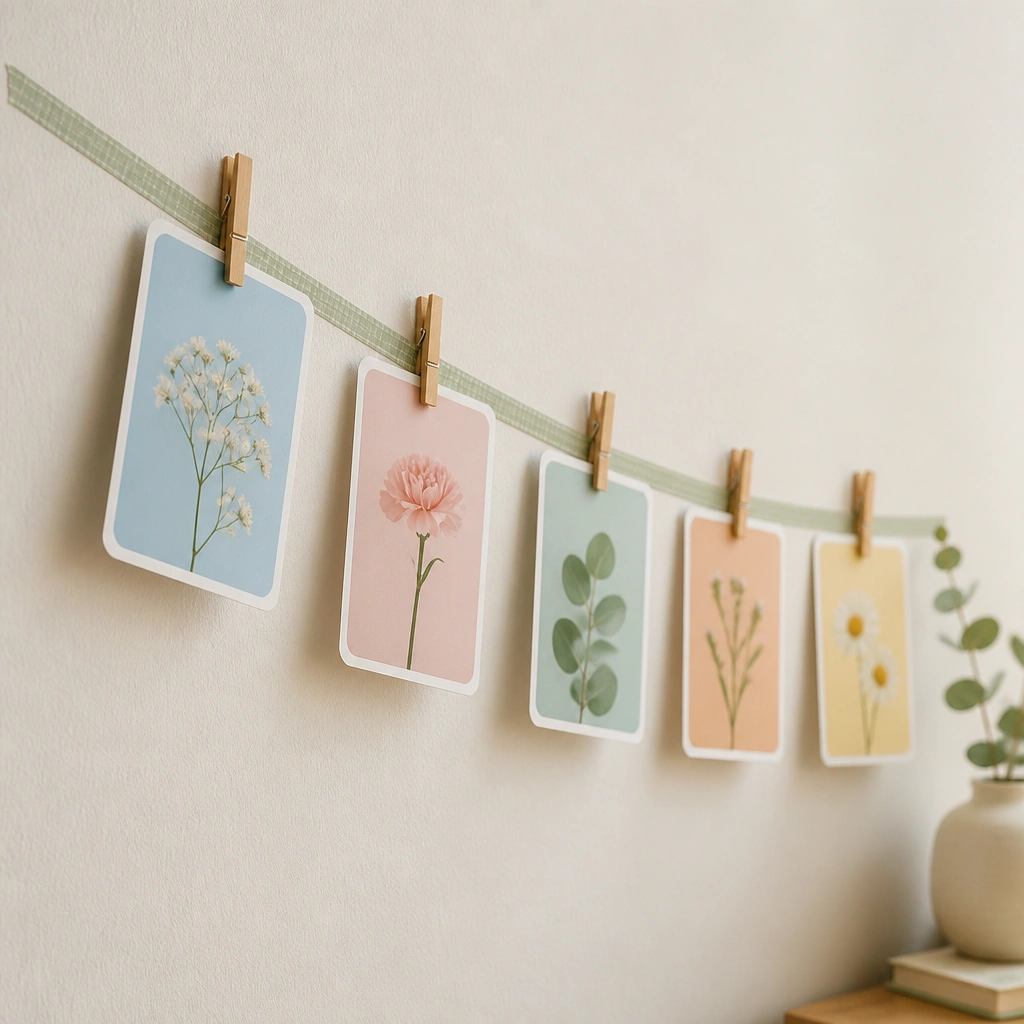
Washi tape is a renter-friendly “line” method — it peels off more easily than many adhesives and lets you create movement. Add a thin string (or ribbon) across the tape lines and clip your prints with mini wooden clips. This setup makes swapping images easy and keeps the design airy rather than heavy.
Use painter’s tape to create straight guide lines first, then layer washi tape along the guides for clean alignment.
4. Removable Poster Putty + Framed Print Stack
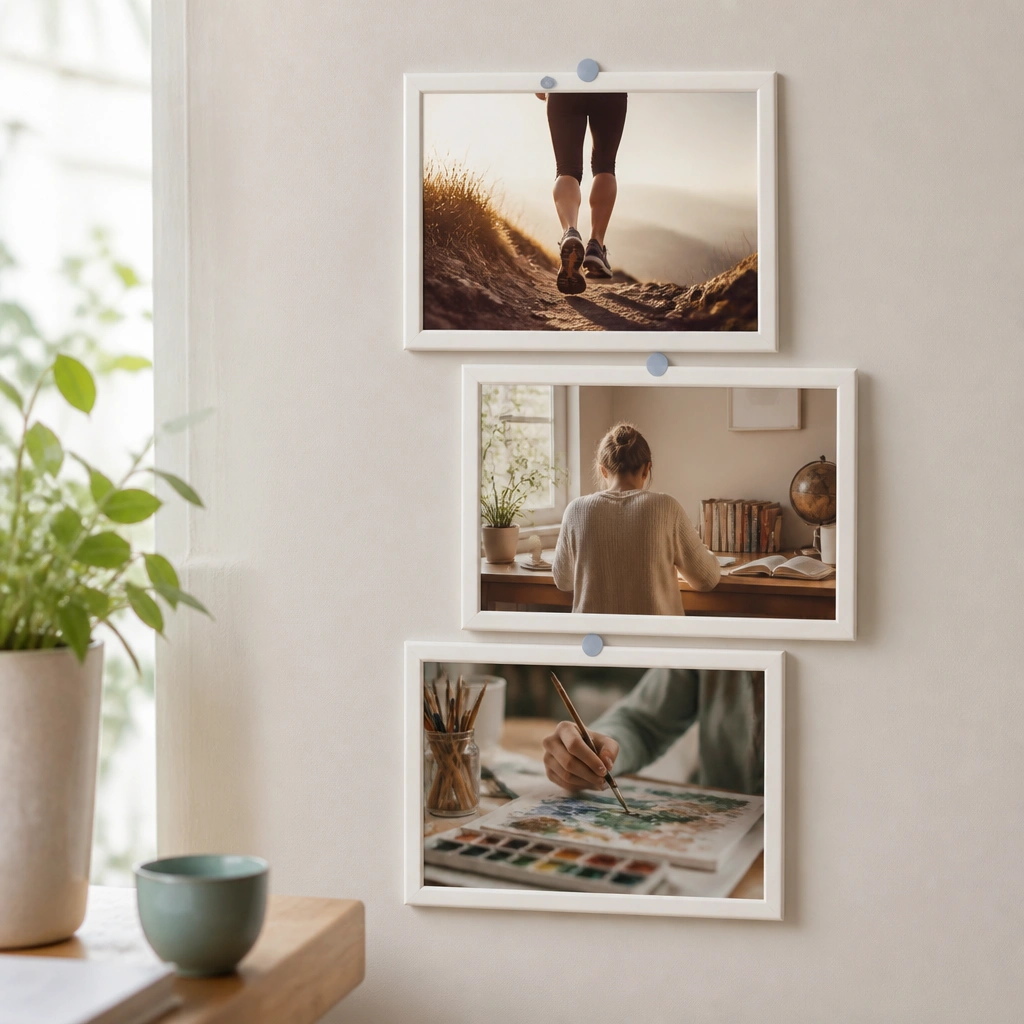
Poster putty is perfect when you want a quick, non-damaging hold that still feels sturdy. Place small dots behind each frame corner so the print sits flat and doesn’t droop. Offset the frames by 1-2 inches for a lived-in, styled vibe while still staying removable.
Choose frames with a slightly recessed backing so the putty doesn’t press directly onto the photo surface.
5. Photo Magnet Board on a Wood Slat Backing
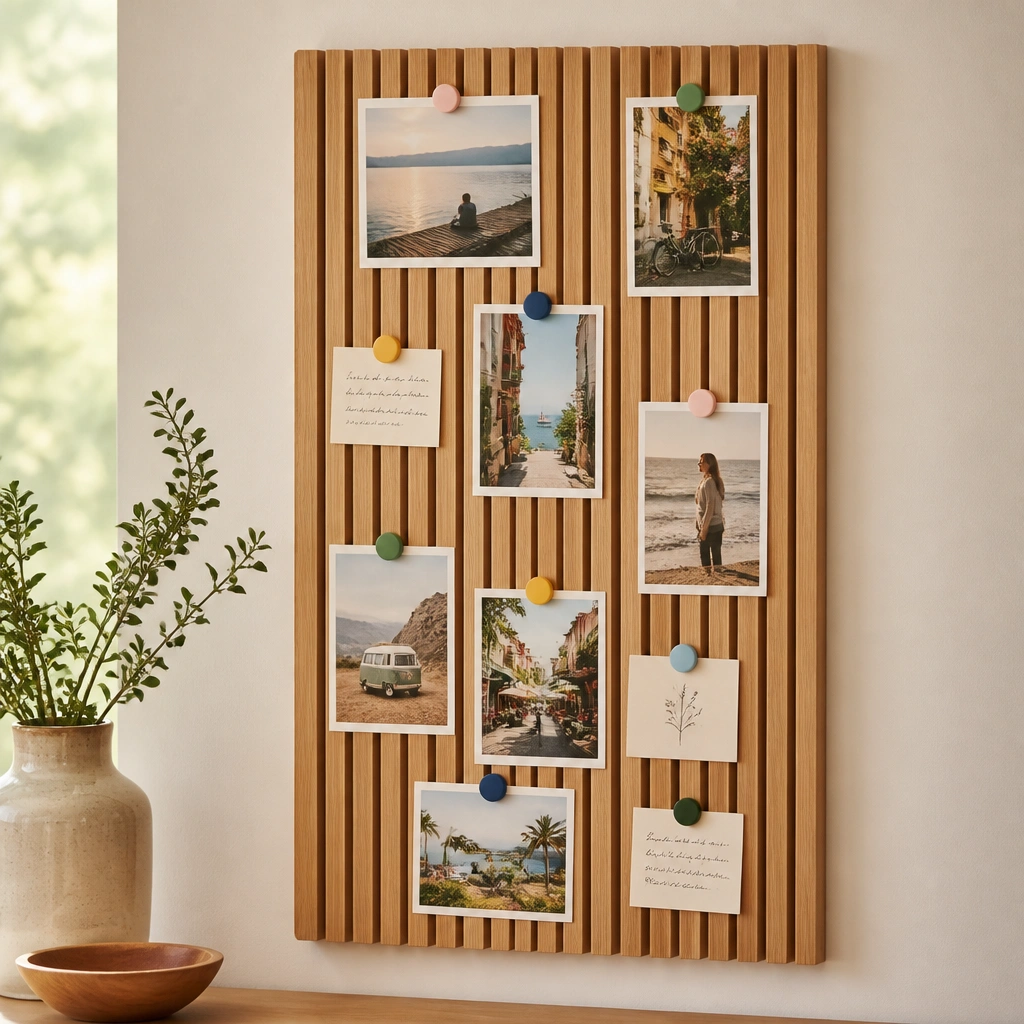
This combines natural texture with a super-removable system. Mount a lightweight wood slat panel using removable wall anchors for the panel itself, then attach photos with magnets or magnetic clips. The wood gives your pictures a warm, cohesive backdrop and helps your board look intentional even with lots of images.
Good to knowUse magnets in 3-4 consistent colors so the “holding dots” look like part of the design.
6. Fabric Ribbon Tassel Frame (Velcro to the Wall, Not the Art)
If you want something soft and cozy, this is a great renter-friendly option. Attach one Velcro side to the wall using removable hooks or removable adhesive Velcro tabs, then attach the other side to your fabric frame. Photos stick to the fabric with Velcro, so you can swap prints without touching the wall at all.
Good to knowCut your Velcro strips short (like 1.5-2 inches) so photos can be repositioned without peeling the fabric.
7. Corner-to-Corner Removable Photo Tape (Clean Edges)
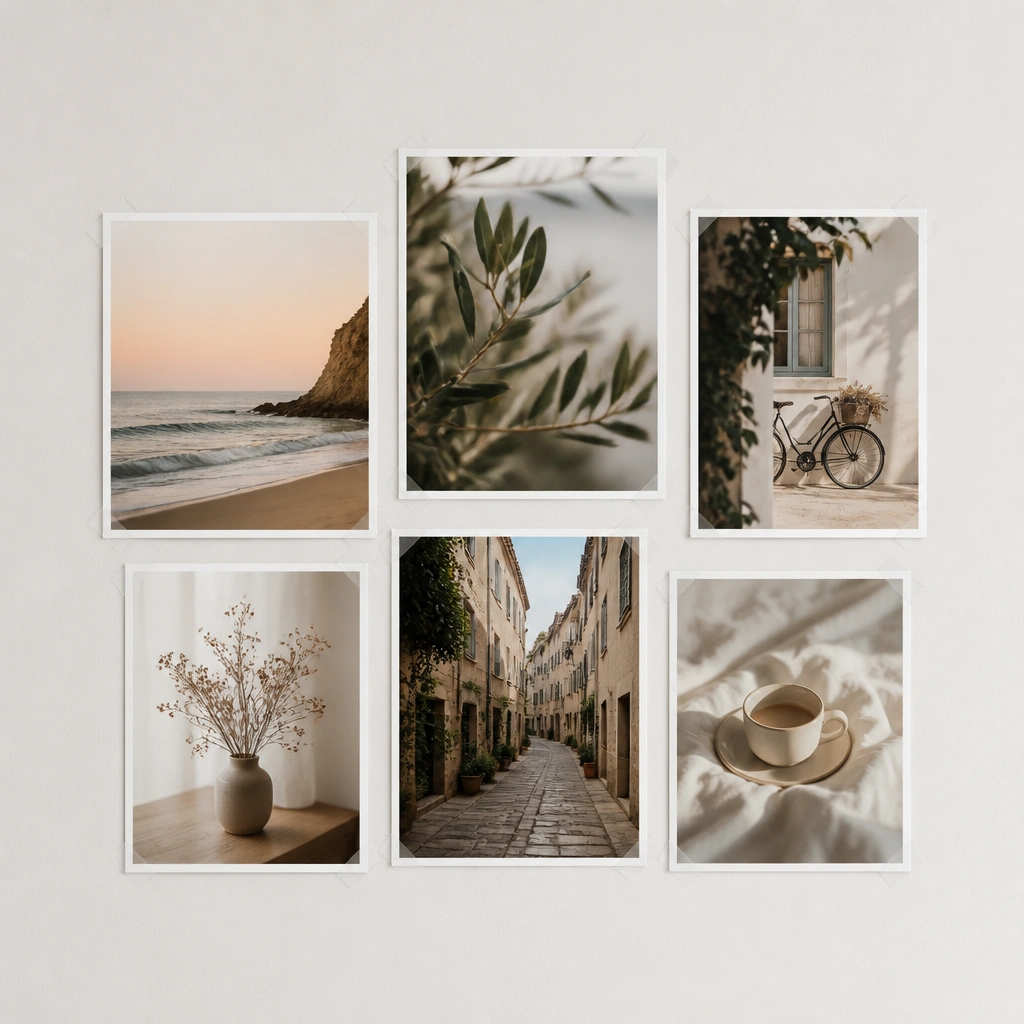
This look is all about “invisible” mounting. Use removable photo tape or low-tack corner tape to hold only the photo corners, letting the center lay perfectly flat. Because the tape is corner-only, your photos are easier to remove and won’t curl as much as full-sheet adhesive.
Press a ruler along the photo edge for 10 seconds to keep corners crisp before you let it sit overnight.
8. Clips on a Removable Curtain Rod Mini Gallery
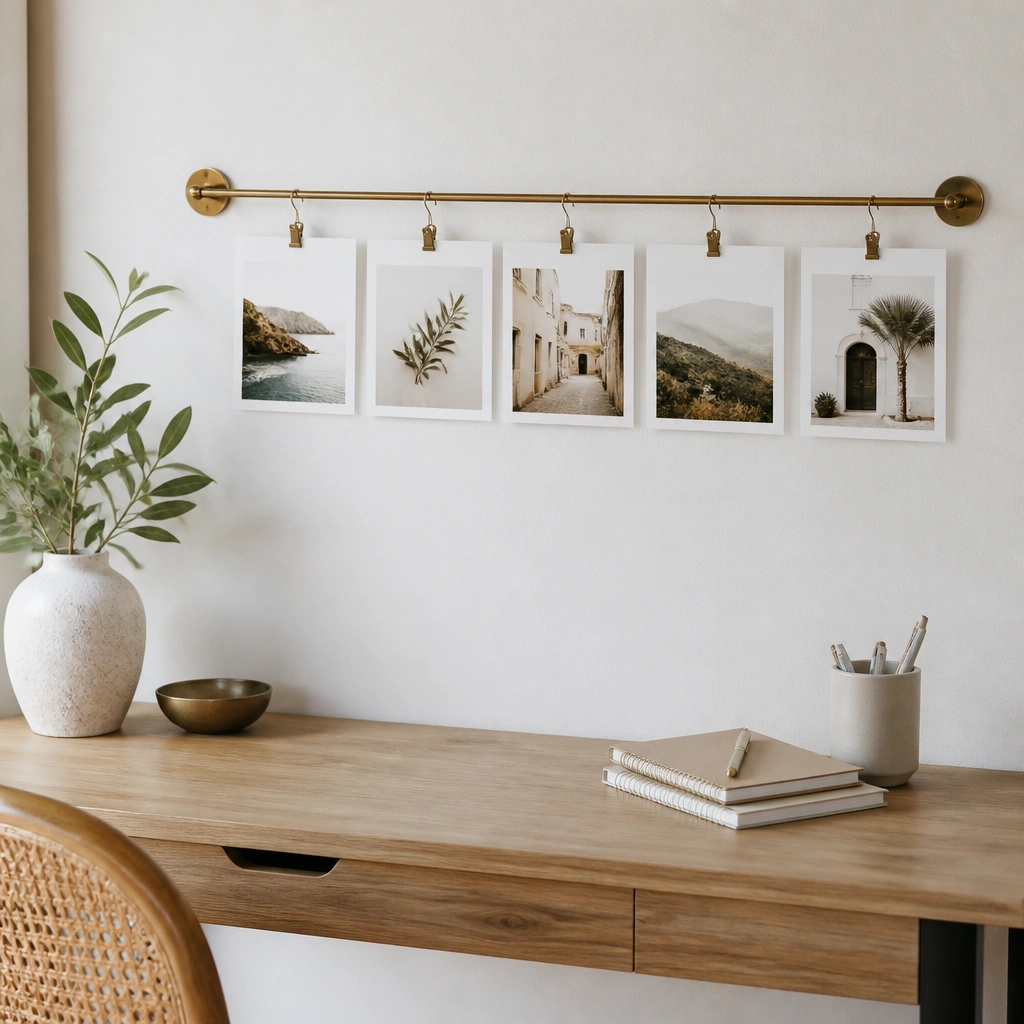
A curtain rod is an underrated renter hack because it avoids wall adhesives entirely. Use a removable tension rod if possible, or removable hooks if you need wall support. Clip your prints along a ribbon or directly onto the rod using binder clips so you can re-theme your board every month.
Keep photo sizes consistent (all 4x6 or all 5x7) so the spacing looks curated, not random.
9. Dry-Erase Vision Board Over Removable Canvas Panel
This is a hybrid idea: photos plus the ability to edit instantly. Mount a small canvas panel with removable adhesive strips, then add printed pictures using removable tape or photo corners. Write goals around them with dry-erase marker so you can update without making new posters every time.
Seal glossy photo stickers with a light matte fixative or use matte sticker paper so marker doesn’t smear.
10. Magnetic Side-by-Side Frames with Metal Backing
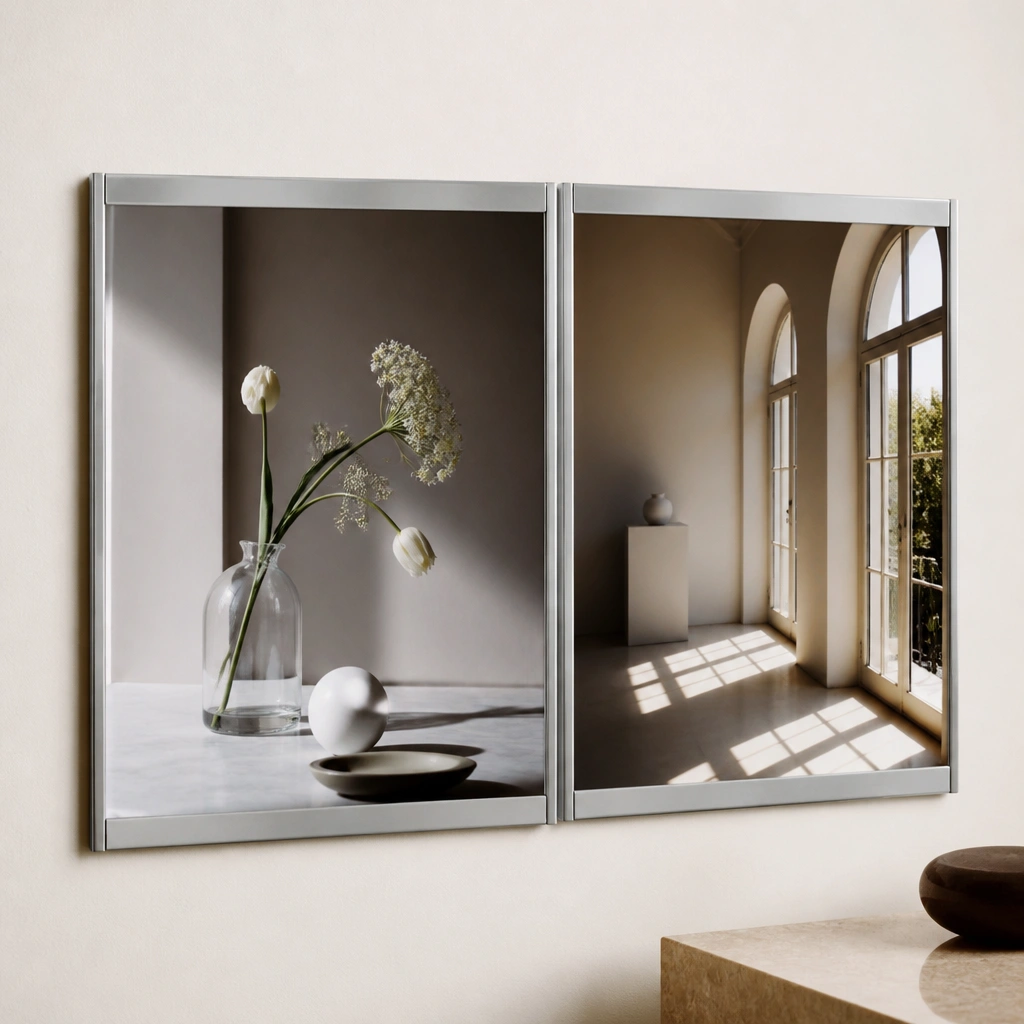
This look is for when you want real frames but still want easy removal. Add a thin metal sheet behind frames (or use frames made for magnet display) and mount the frame with removable hardware. Your photos can be swapped by sliding them out and replacing them without re-sticking anything.
Use a single frame color (black, white, or natural wood) so your board looks cohesive even when you change photos often.

