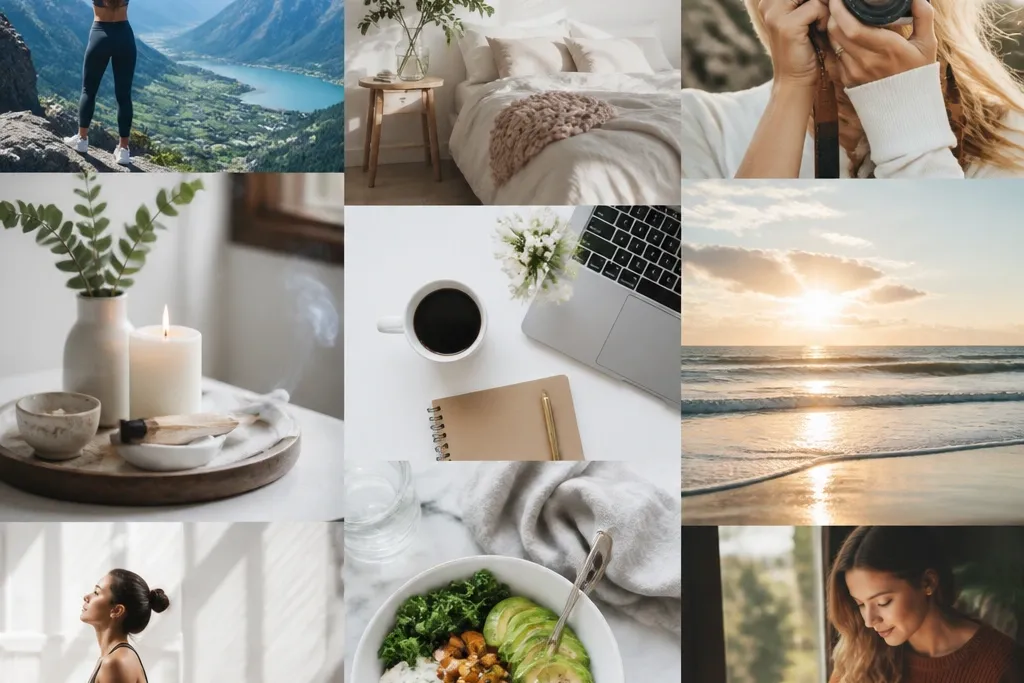
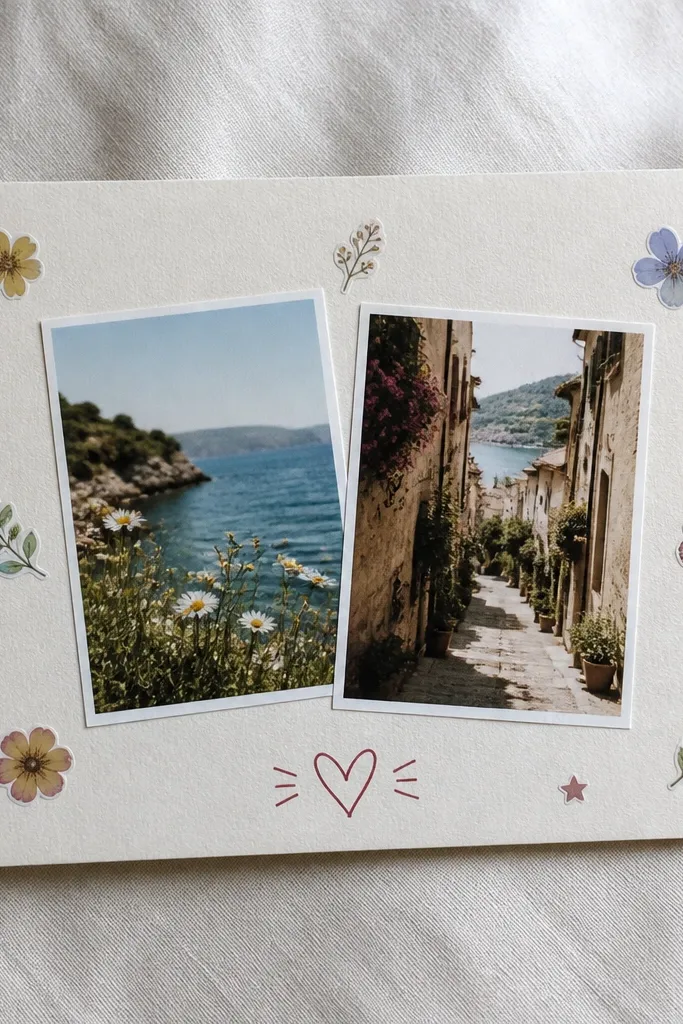
Quick in 5 minutes vision board ideas pictures can save you from the “I’ll do it later” spiral because you can make a complete mini board in one coffee break. In this guide, you’ll get 15 tiny projects that use scraps and simple materials, so you can finish, hang, and actually look at your goals today.
Step by step
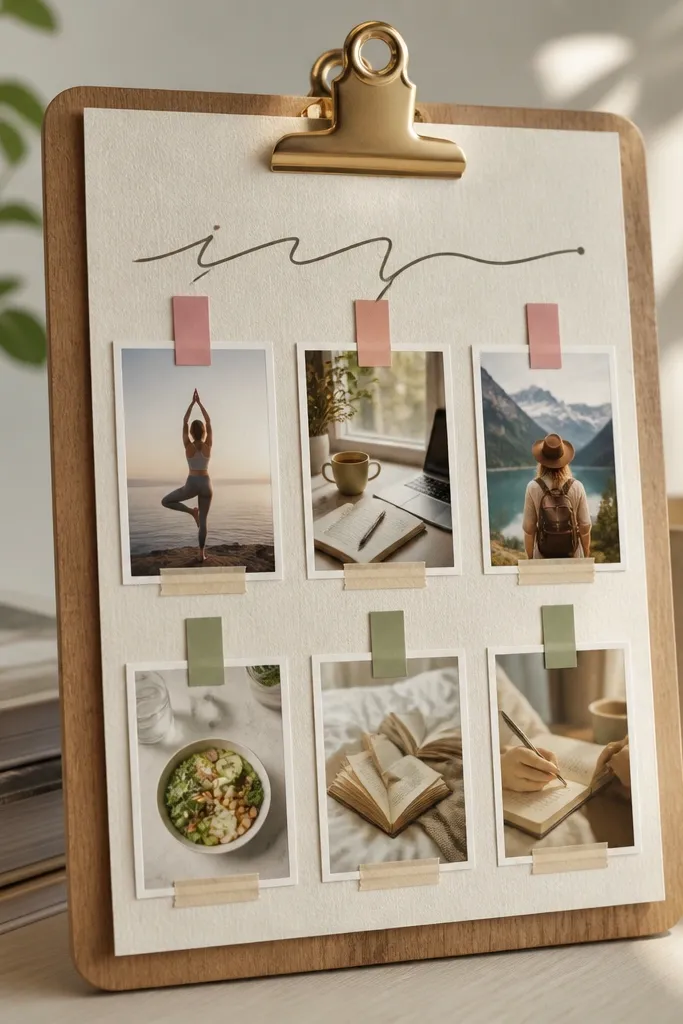
Choose your mini board size. Pick one: 5x7 card, a binder page insert, a clipboard note card, or a small frame. Keeping it small is the whole trick for finishing in minutes.
Gather 8-12 “goal images”. Use printed photos, magazine cutouts, or icons. Aim for a mix: 3-5 for your main goal, 2-3 for support (habits, places), and 2-3 for feelings (calm, excited, proud).
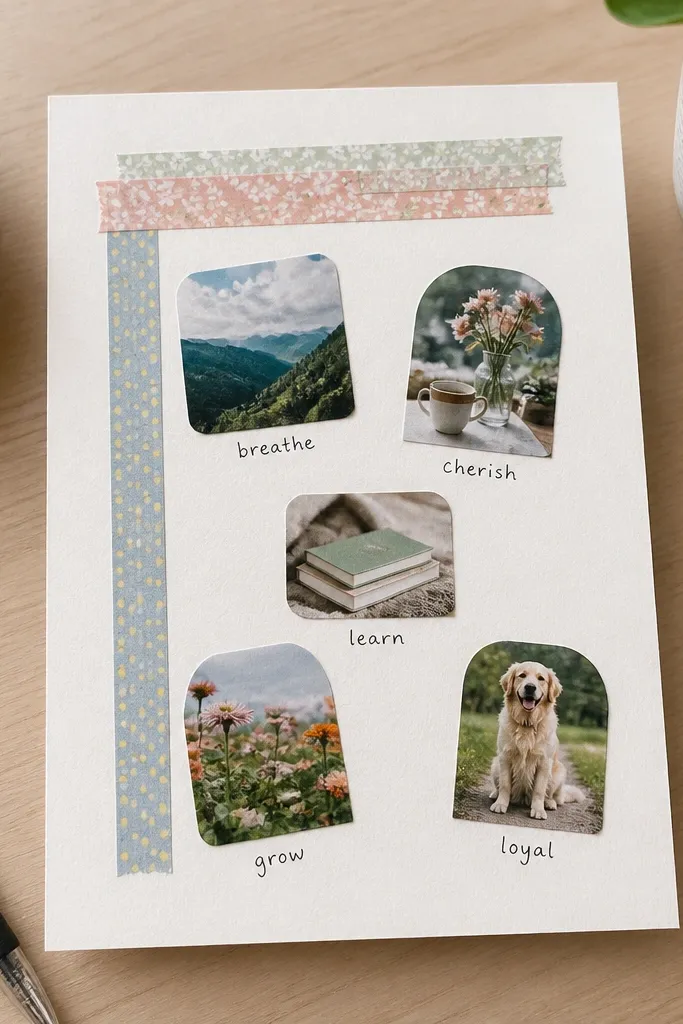
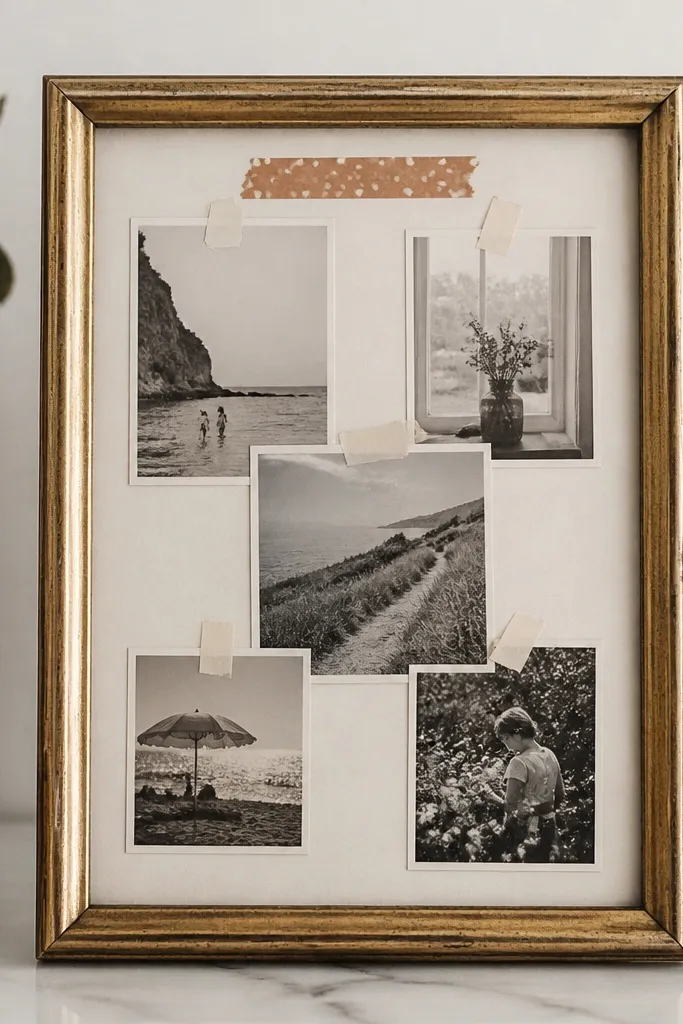
Build a fast layout with tape guides. Lay down two or three strips of washi tape to create a grid or corner sections. This prevents the “random pile” look and keeps everything aligned.
Glue or tape images in 5-minute bursts. Work in rounds: place all images first, then go back to secure them with glue stick or double-sided tape. Press for 10 seconds per piece.
Add one-word labels that match the vibe. Write one short word under each image (ex: “Run,” “Fresh Start,” “Save,” “Calm”). Keep it to 1-3 words so it stays readable.
Protect and display. If you’ll handle it daily, cover with clear contact paper or a laminating sheet. Then hang it where you’ll see it: fridge, desk, or inside a cabinet door.
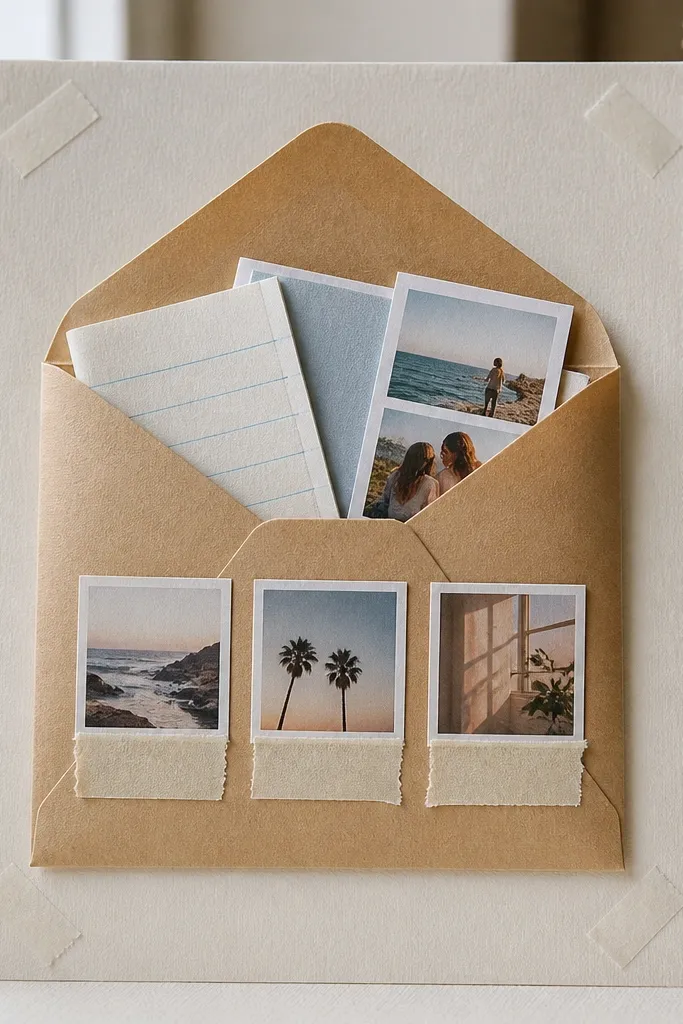
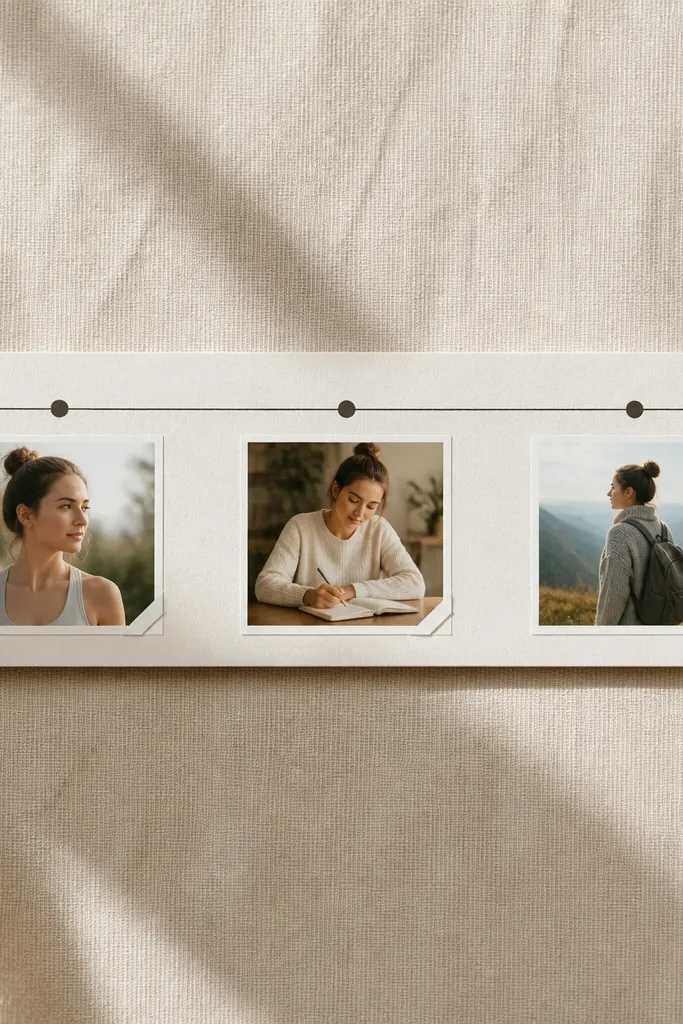
This layout is fast because you only decorate one corner, leaving the rest clean and modern. Use 3-5 images that share a theme, then add short labels so your brain connects the picture to the action.
Good to knowBefore gluing, place everything dry for 30 seconds and stop when it feels balanced — less tweaking = faster finish.
2. Binder Page Vision Board Grid (No Cutting Required)
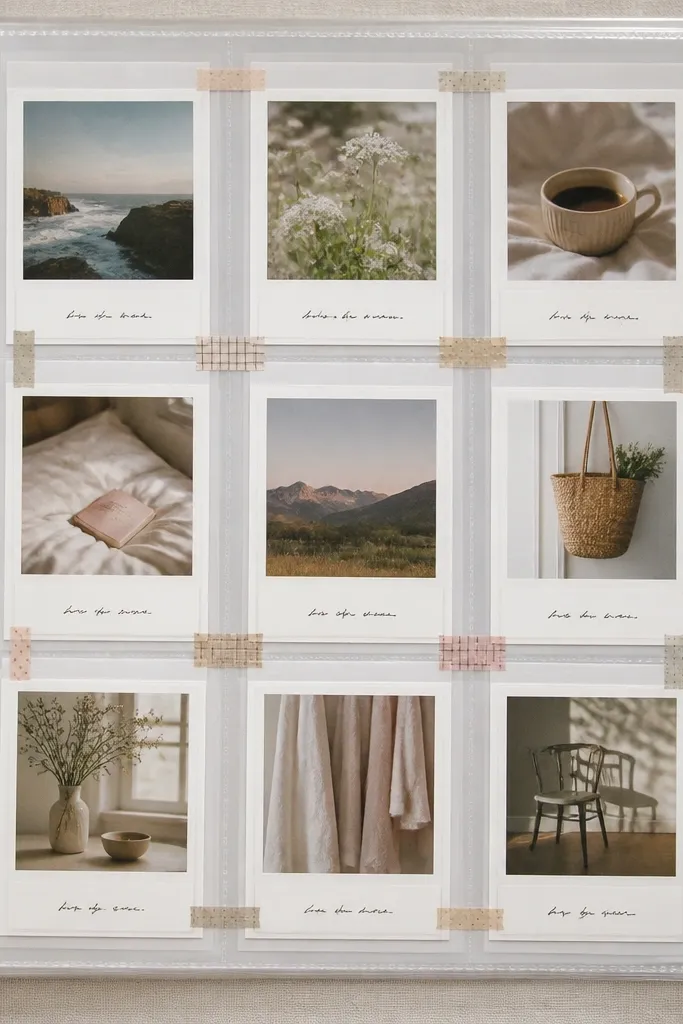
A binder page makes your board instantly “swap-friendly” and protects it from smudges. You can use full-size printouts and simply trim only the edges, or leave borders if your photos already fit.
Good to knowUse a ruler to lightly mark grid lines with pencil, then cover them with washi tape for a neat look without measuring twice.
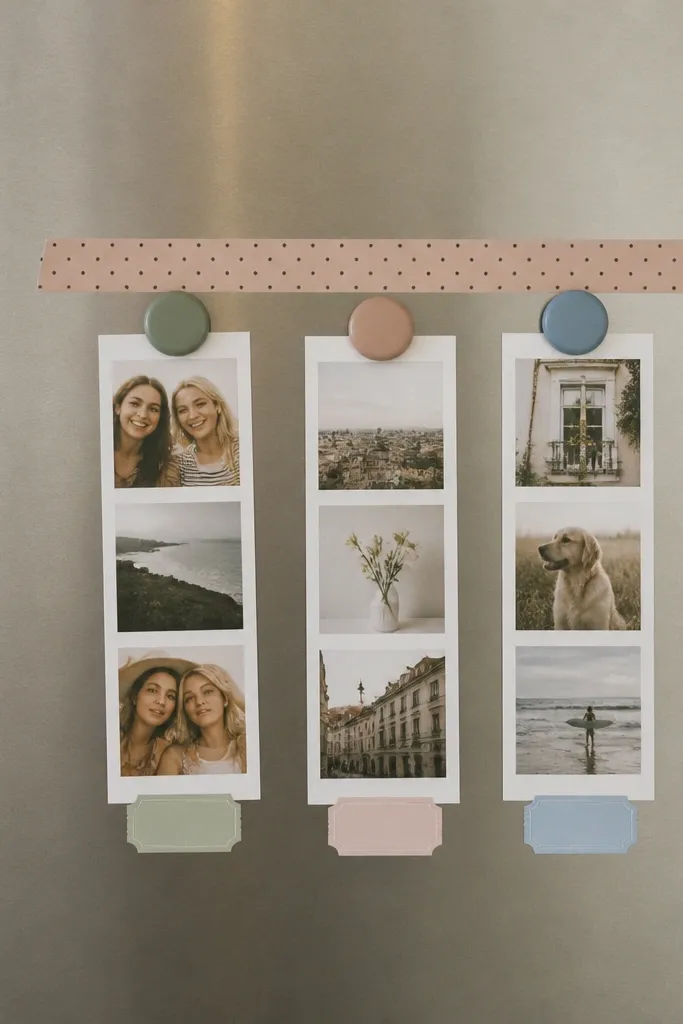
Sticky tabs act like mini dividers and make your board look organized immediately. Add photos directly under each tab and write one habit or outcome per tab.
Pick two tab colors only (ex: teal for habits, gold for outcomes) so it looks cohesive.
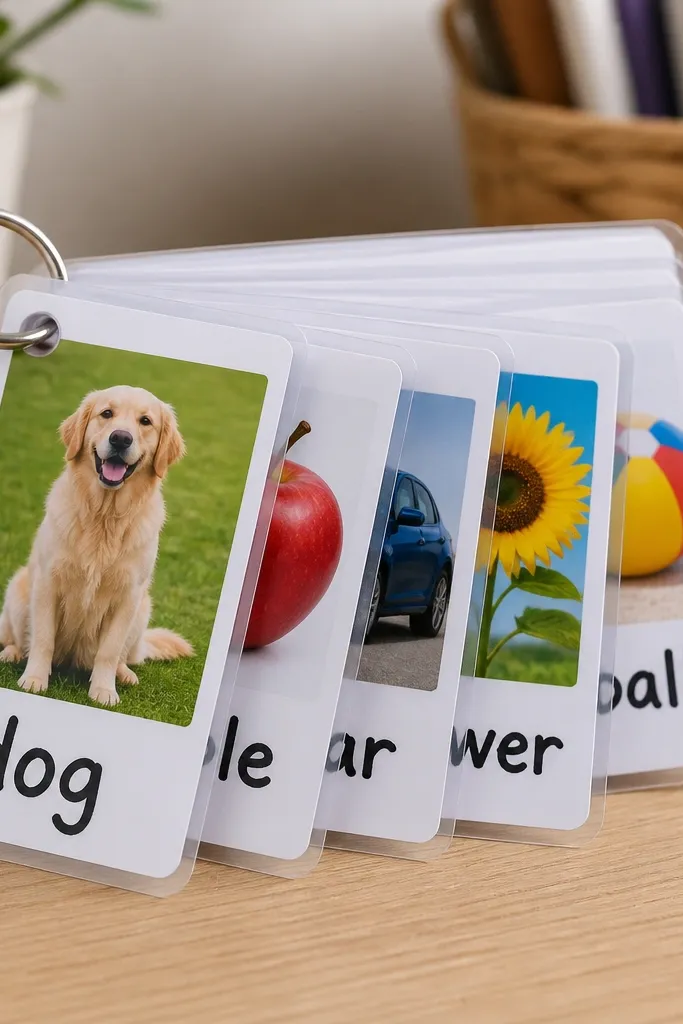
Laminated cards are durable and great for habit tracking. Write a bold word and, if you like, add a simple checklist box on the back for quick daily marks.
Good to knowUse an erase-friendly marker on laminated items so you can refresh weekly.
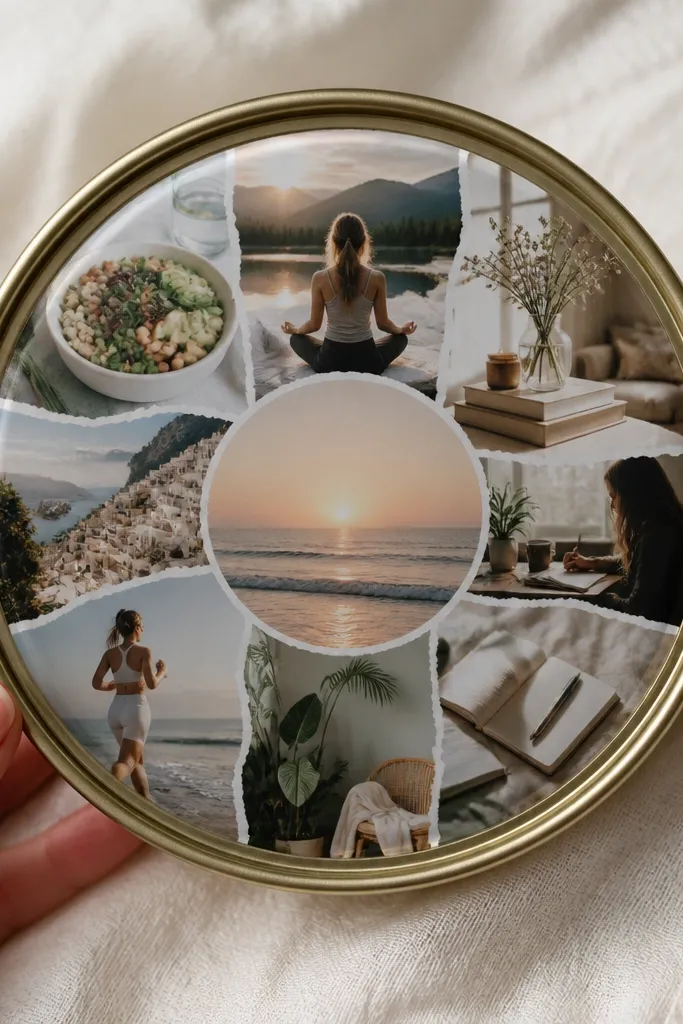
A jar lid is surprisingly fast and cute, and it forces a clear focal point. Put your main goal photo in the center and surround it with 6 smaller supportive images.
Good to knowAdd a tiny ring to hang it or tape it inside a cabinet door for low-effort placement.
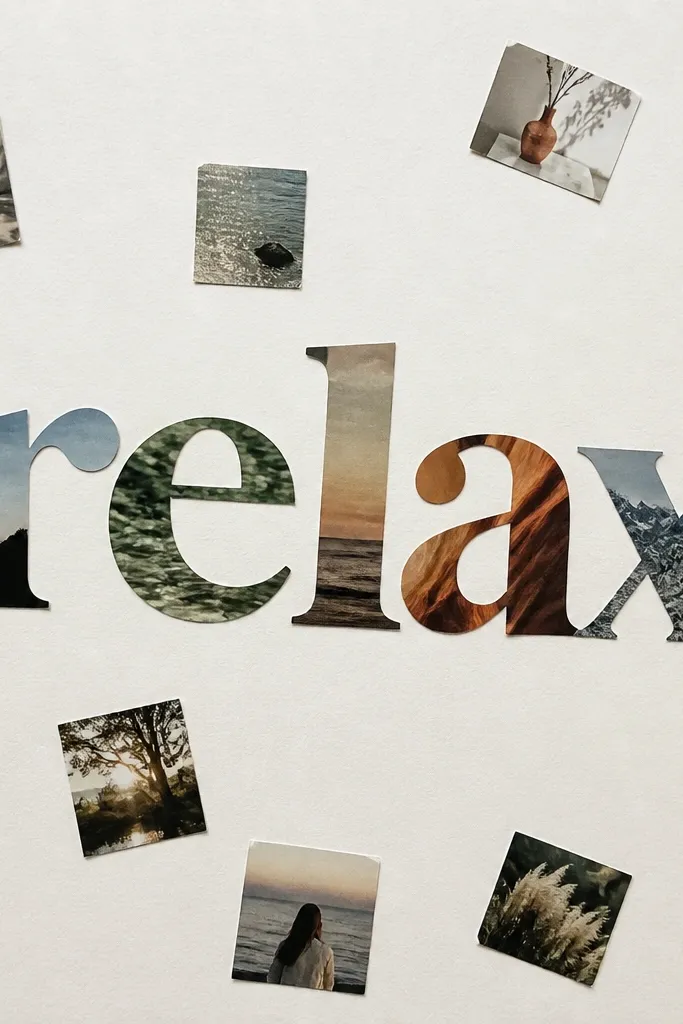
This look is fast because you’re designing around a single statement word. Choose one bold word (ex: “Explore,” “Grow,” “Calm”) and surround it with supporting images that match the energy.
If your cutout edges look rough, trim them into a slightly irregular shape on purpose — it looks artsy, not messy.
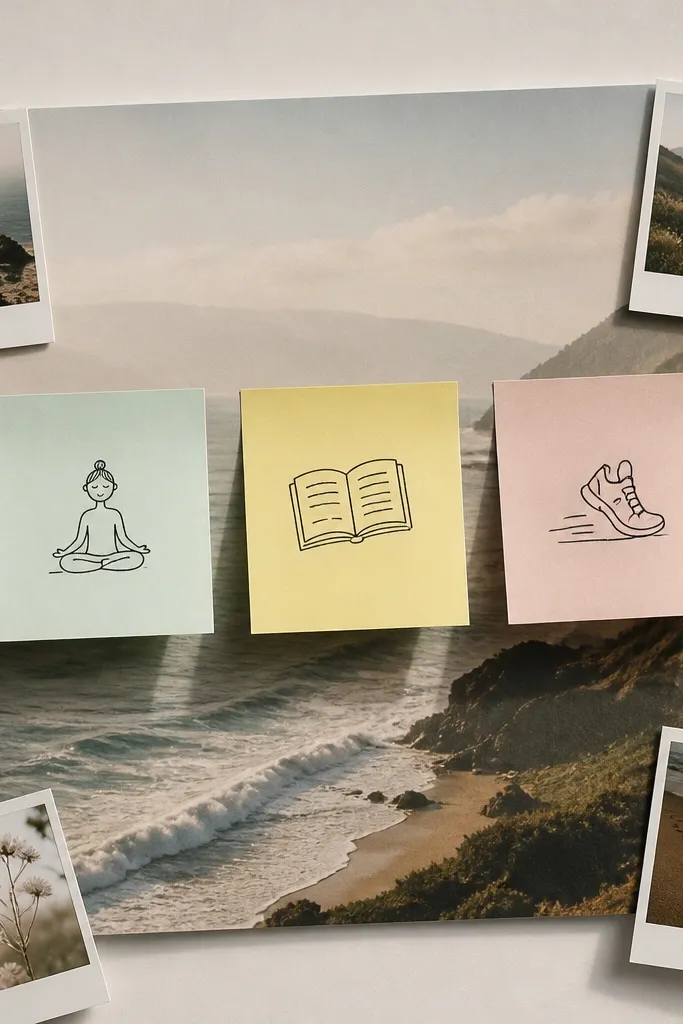
Post-its keep your board interactive and easy to update. Add one background photo to unify the theme, then place 3 habits on top so it reads instantly.
Use only 3 post-its — more looks busy and takes longer to maintain.
Stickers create instant visual rhythm, so you don’t need lots of pieces. Pair 2 photos with 5-8 stickers that match your theme (stars for energy, hearts for relationships, mountains for goals).
Good to knowPick one sticker shape family (all stars OR all hearts) to keep it cohesive.
Your questions, answered
How long do these 5-minute vision boards last?
If you use tape and a clear cover like contact paper or lamination, they can last weeks to months with normal handling. Paper-only boards usually start to curl or smudge faster, especially near heat or sunlight.
What’s the cheapest way to make Quick in 5 minutes vision board ideas pictures?
Use magazine cutouts, old cardstock, and washi tape you already own. Print only 2-4 key photos, then fill the rest with simple shapes, stickers, and one-word labels.
Where should I get the materials for these projects?
Most supplies come from dollar stores, craft aisles, and office supply sections. For photos, print from your phone at home or use free stock photo downloads you already have permission to use.
Are these beginner-friendly if I can’t draw or cut neatly?
Yes — the fastest designs rely on tape guides, pre-cut photos, and simple labels. Circle badges, binder grids, and jar lid boards are especially forgiving because symmetry and repetition do the heavy lifting.
How do I care for a laminated or contact-paper board?
Wipe gently with a soft, dry cloth. Avoid soaking, and don’t place contact-paper boards in direct sun for long periods to prevent edge lifting.
Can I reuse the same board every month?
Absolutely. Use binder pages, clipboards, or frames so you can swap photos without redoing everything. Keep your “goal image” set in a small folder so updates take minutes.