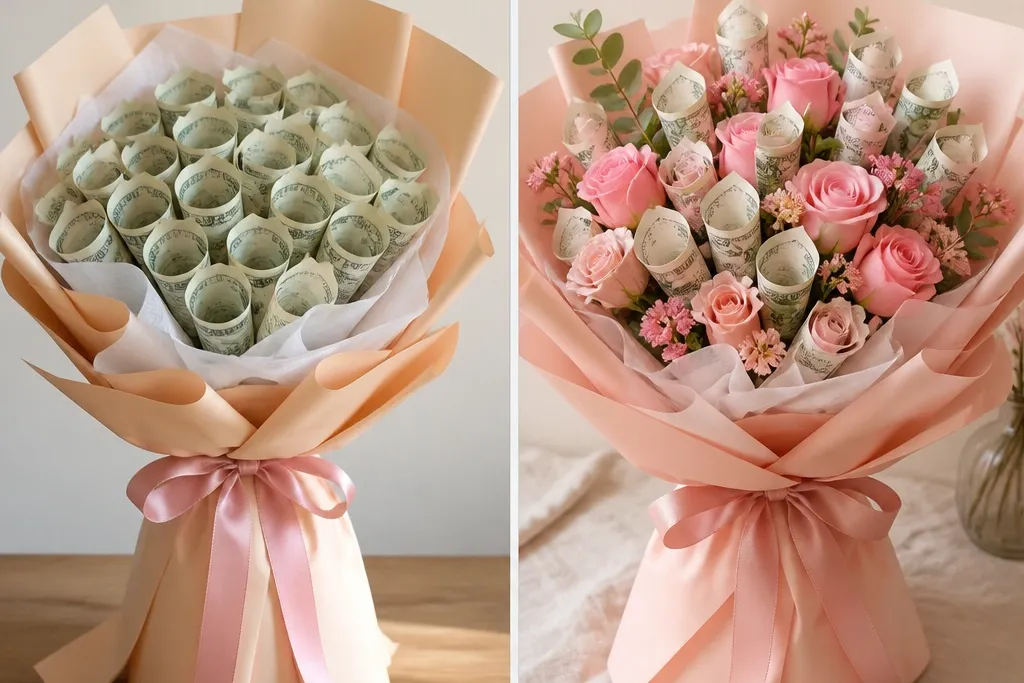
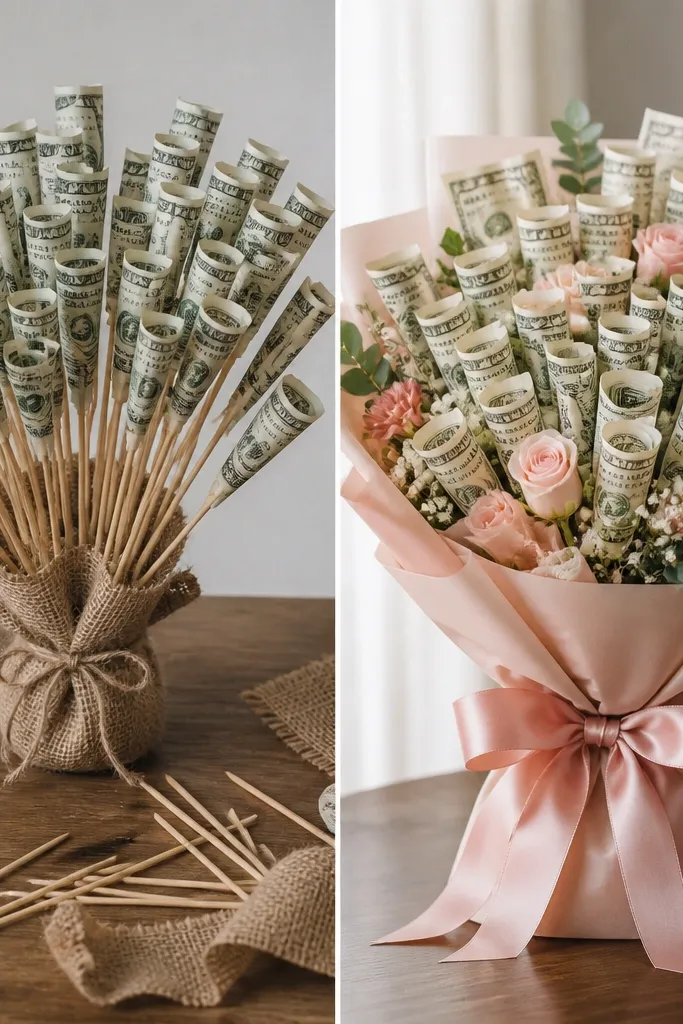
1. Dollar Bills to Rolled “Blooms” Bouquet Twist
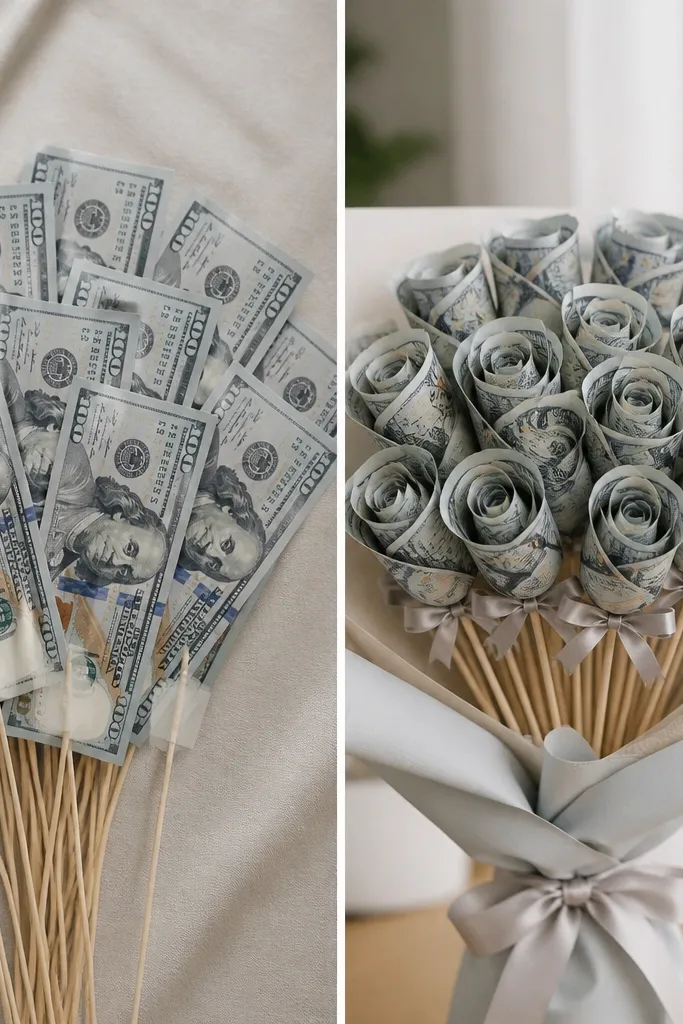
Before: bills were taped flat to stems, so they looked uneven and sagged. After: each bill is rolled tightly like a rose and secured with a tiny clear tape strip at the back, then mounted onto a floral pick. The rolled shape creates petal-like volume, so the bouquet reads as “flowers” instead of “money taped to sticks.”
Good to knowRoll from one long edge to the other, then secure the back seam with a 1-inch strip of clear tape so the roll holds its shape while you wrap the bouquet.
2. Hot Glue Drips to Clean Ribbon Wrap Finish
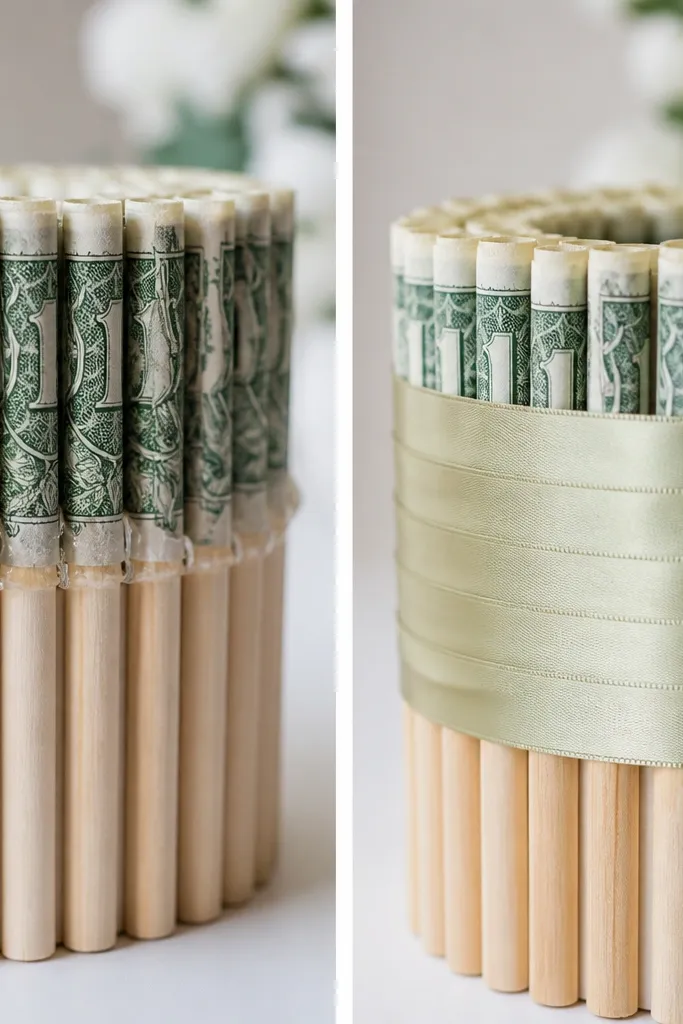
Before: glue spots made the bouquet look messy and distract from the money. After: the creator wrapped a wide satin ribbon around the stems junction and covered every glue point, then finished with a tidy bow. The ribbon band also stabilizes the stems so the bouquet holds its shape when carried.
Good to knowGlue the ribbon tail underneath the wrap first, then wrap tightly in one direction to hide seams and glue lines.
3. Lopsided Stems to “Basket Full” Volume
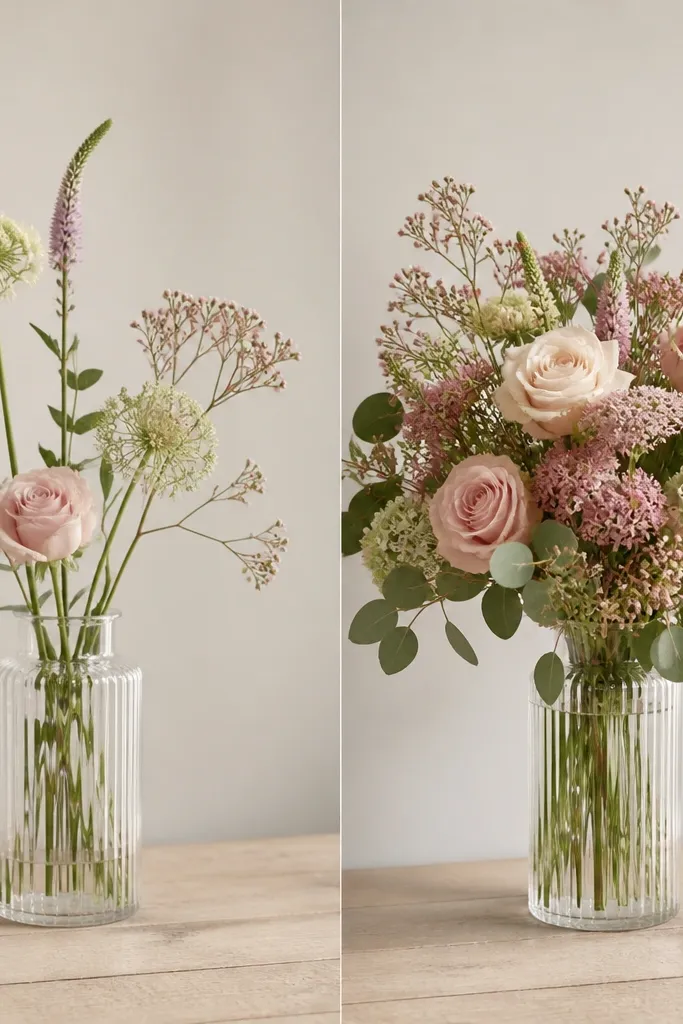
Before: stems were inserted without a plan, so the bouquet looked thin and uneven. After: additional filler picks (baby’s breath-style greenery or small faux leaves) were clustered near the center, and money stems were fanned outward. The rounded shape comes from inserting taller stems in the outer ring and shorter stems in the middle.
Good to knowDo a quick “dry layout” on the table before inserting: arrange stems into a circle, then insert the outer ring first for a dome silhouette.
4. Single Color to Coordinated Pastel Blocking
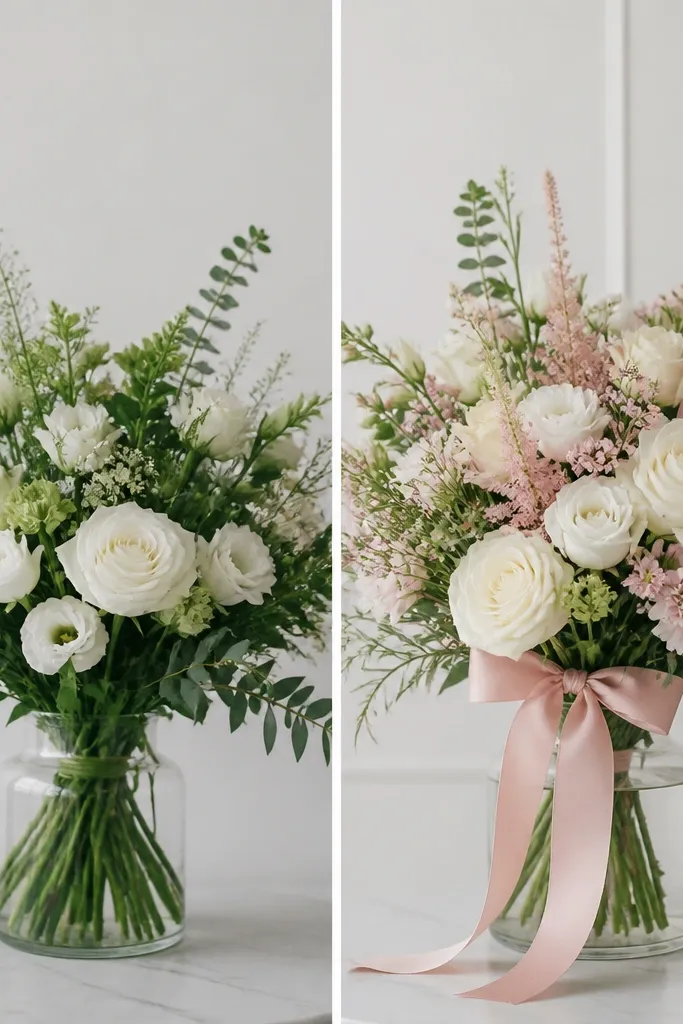
Before: the money looked like it blended into the greenery. After: the creator used color blocking — pastel ribbon, coordinated faux blooms, and a small tag that matches the bouquet palette. When the money stems share a consistent color accent (like blush or cream), the bouquet looks curated instead of random.
Good to knowPick one ribbon color and one filler color, then keep everything else neutral (cream, white, or soft greenery) so the money stands out.
5. Wobbly Base to Sturdy Foam-in-Container Core
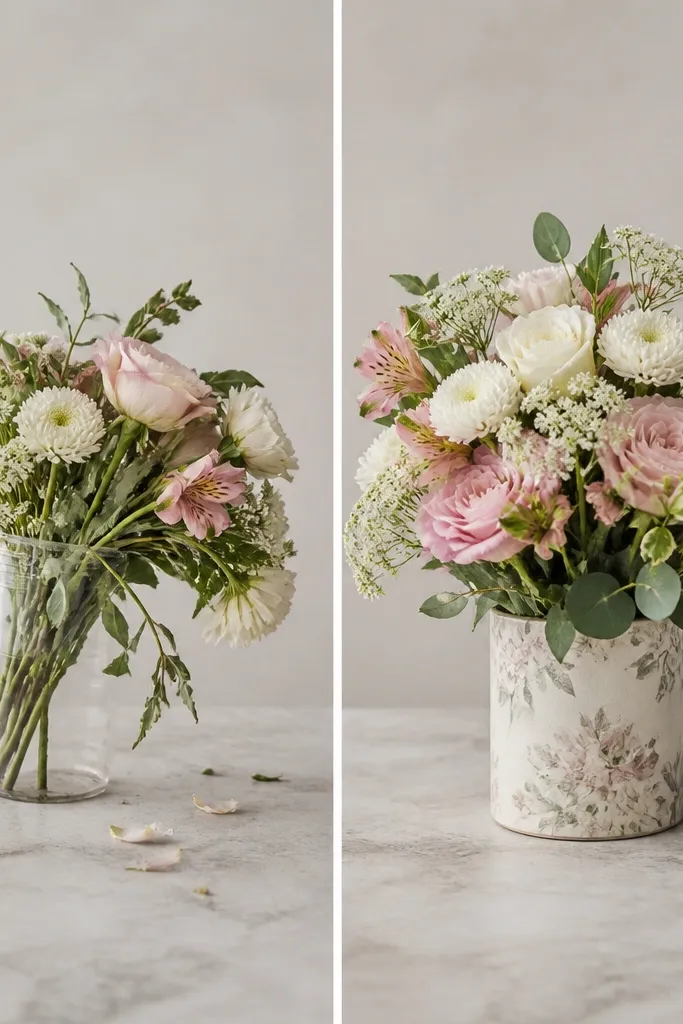
Before: stems were stuck into a shallow holder, so gravity pulled everything downward. After: a foam block is cut to fit inside a jar or cup, then inserted so it sits snug. The money stems are pushed in at consistent angles, and the base is hidden with ribbon or tissue.
Use a foam block that’s at least 2-3 inches tall and press stems in firmly — if they wobble now, they’ll wobble in photos later.
6. No Label to “Gift Moment” Tag Upgrade
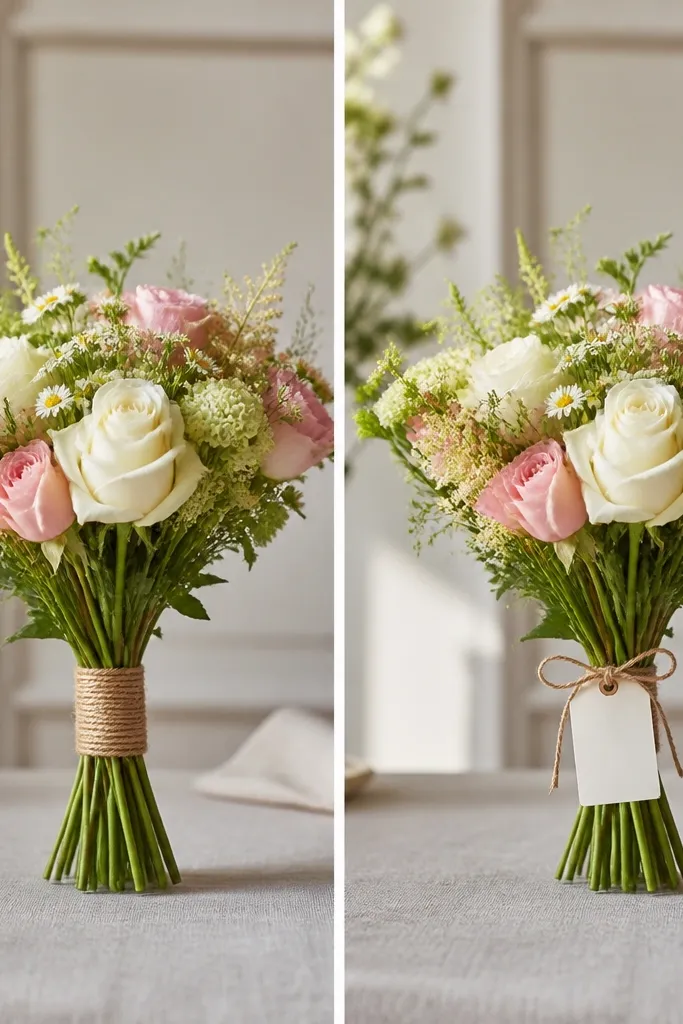
Before: the bouquet felt unfinished because there’s no clear “who is this for?” moment. After: a simple cardstock tag tied near the bow makes it feel intentional and keeps the bouquet from looking like a DIY craft project. The tag also helps in gifting scenarios like birthdays or graduations.
Good to knowPunch a hole at the top of your tag and tie twine or ribbon in a short loop so it hangs centered, not twisted.
7. Plain Twine to Textured “Twinkle” Wrap
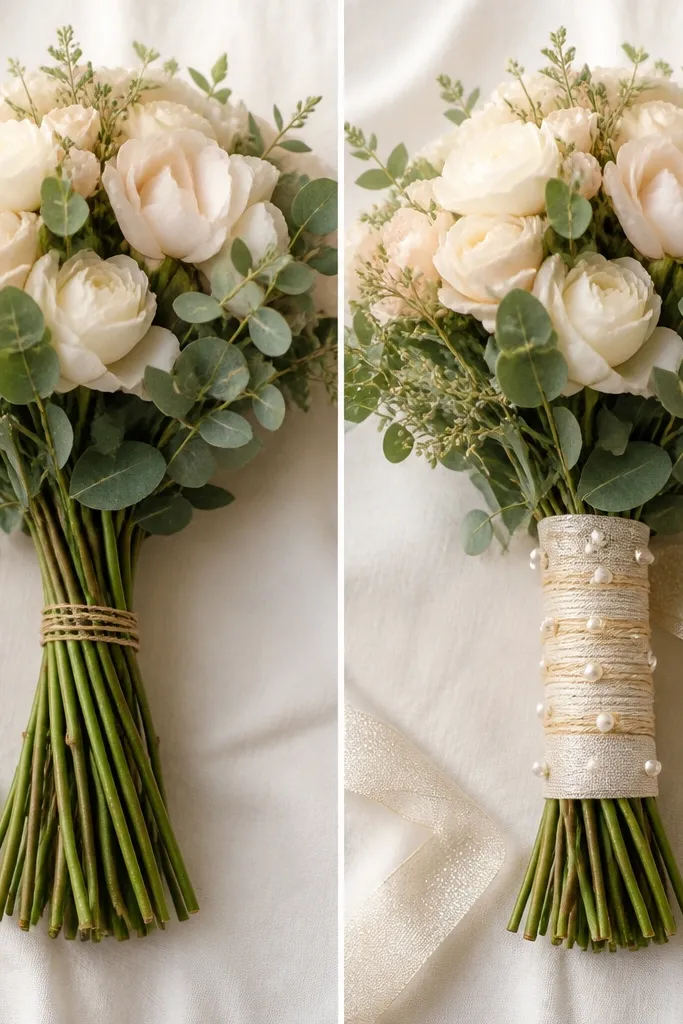
Before: the handle area looked bare, so the bouquet’s middle didn’t feel finished. After: the creator wrapped baker’s twine tightly and added small pearl picks or mini foam beads, then topped it with a thin glitter ribbon. Texture draws the eye to the center and makes the money bouquet look like a premium craft.
Wrap twine from bottom to top in overlapping spirals so it looks even, then hide the end under the final bow.
8. Too Much Tape to Minimal Secure Points
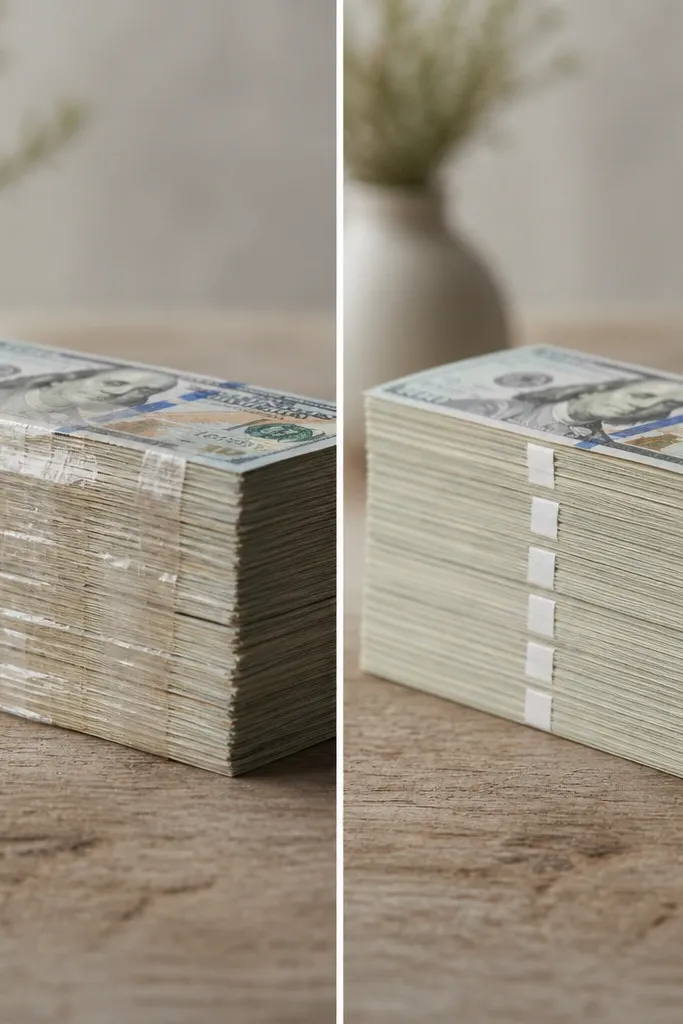
Before: too much tape covered the bill faces, making them look messy and less like a “real gift.” After: each money piece is secured only at the seam on the back, keeping the front smooth and presentable. This also helps bills lay flatter and stand straighter.
Good to knowUse clear tape on the back seam only — press firmly for 5 seconds so it bonds before you attach to the stem.
9. Flat Ribbon Bow to Double-Layer Bow Pop
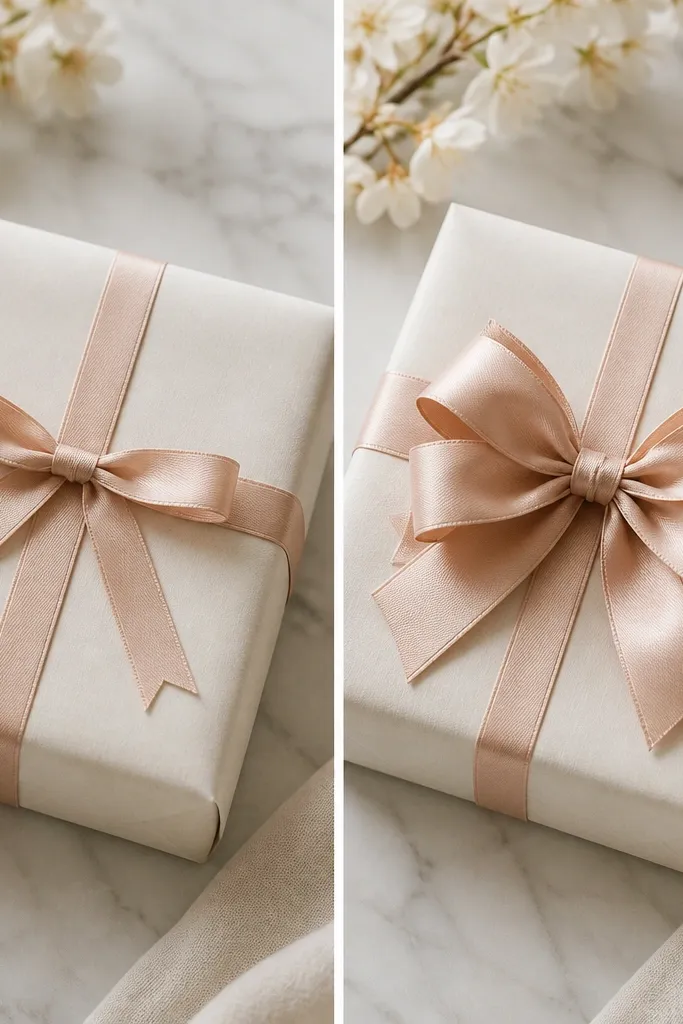
Before: the bow looked small compared to the bouquet size, so it didn’t anchor the gift. After: a double-layer bow adds height and volume, with one wider ribbon for the outer loops and a narrower ribbon on top. The result looks balanced and gives the bouquet a clear focal point.
Good to knowCut two bow ribbons in different widths and stack them before tying, then fluff the loops outward to create dimension.
10. Mixed Lengths to Tiered Height Arrangement
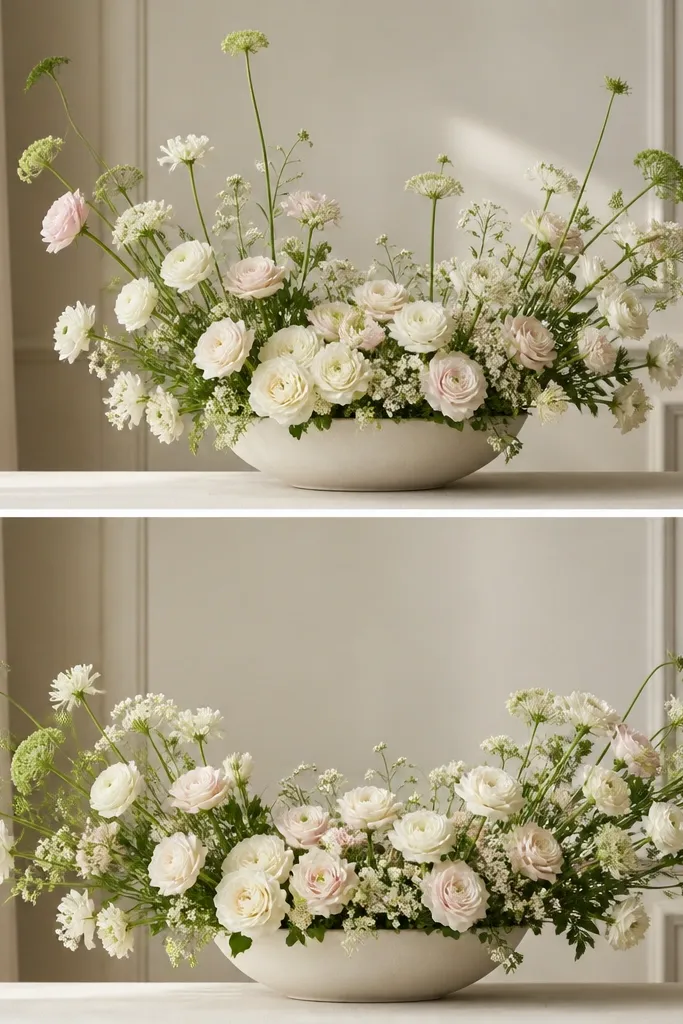
Before: random stem lengths made the bouquet look chaotic. After: the creator grouped stems by height, building a tiered arc — center is slightly shorter, outer ring is tallest. Money stems benefit from this structure because it keeps all bills visible in photos without constantly adjusting.
Good to knowTrim stems after you dry-fit: mark the tallest outer stems, then cut the rest to match your tier plan.
11. Bare Sticks to Faux Floral Stem Blending
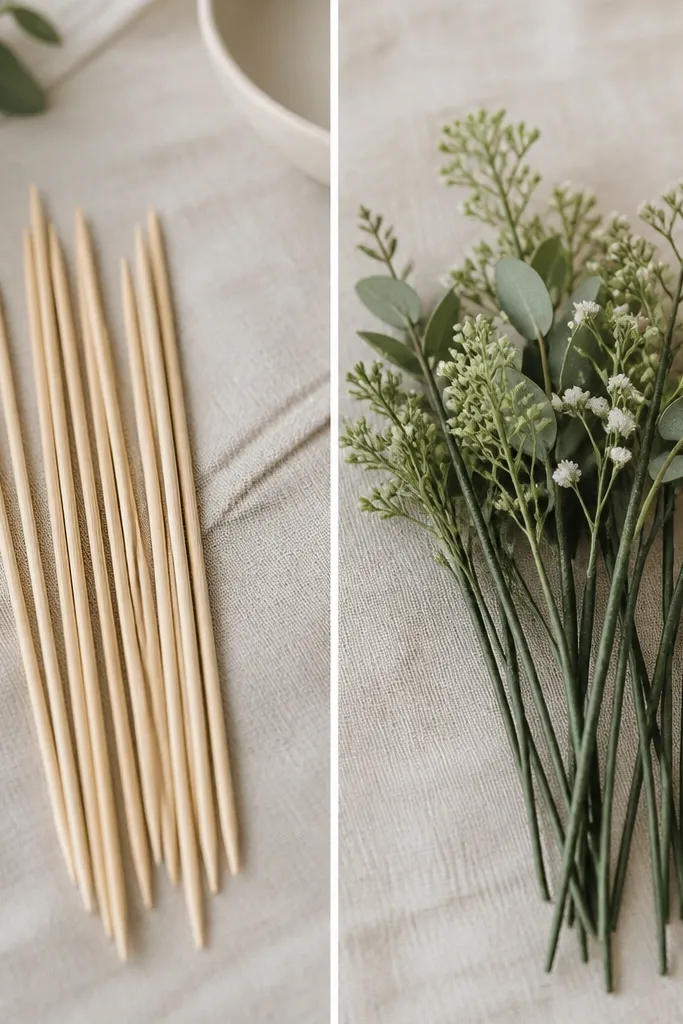
Before: bare sticks interrupted the “flower” illusion. After: the stems are wrapped with green floral tape and blended with small faux leaves, so the money stems look like part of a real bouquet. This makes the entire arrangement cohesive even if the money bills are the star.
Good to knowWrap floral tape from the base upward in overlapping turns, then add one leaf cluster near each money stem for a natural blend.
12. Plain Packaging to Photo-Ready Cellophane Wrap
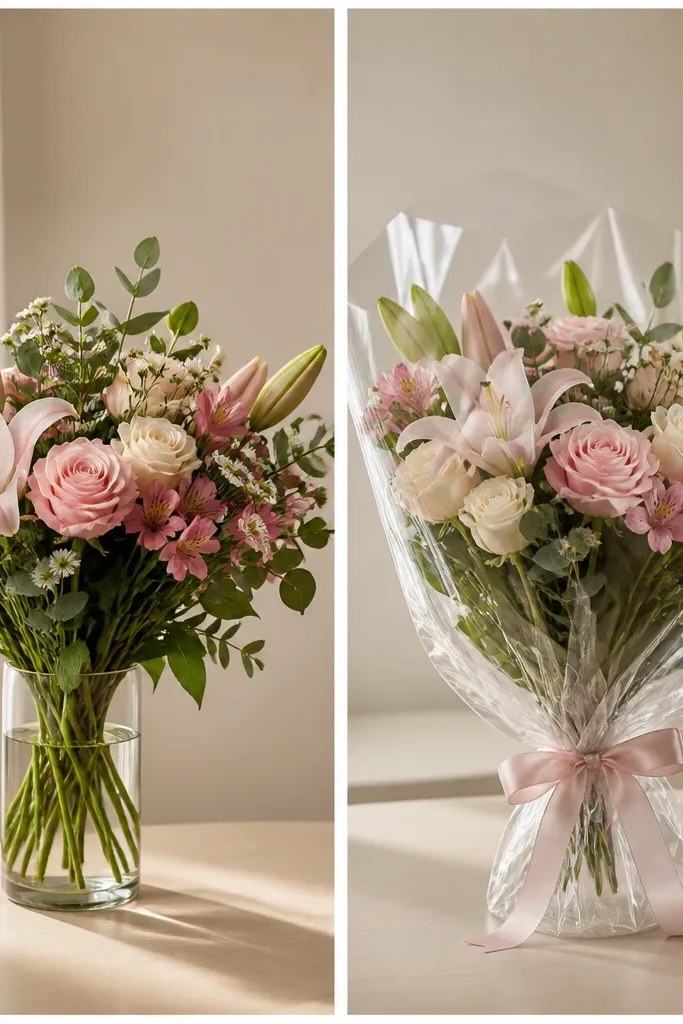
Before: uncovered bouquets look unfinished and can catch dust in transit. After: a clear cellophane wrap creates a crisp frame around the bouquet and keeps it protected while still showing the money. Tying ribbon at the base of the wrap gives a neat silhouette and looks great in social posts.
Pull cellophane taut, then tie ribbon around the narrowest point of the bouquet base so the wrap doesn’t sag.