1. Dollar-Store Photo Grid Board (9-Photo Layout)
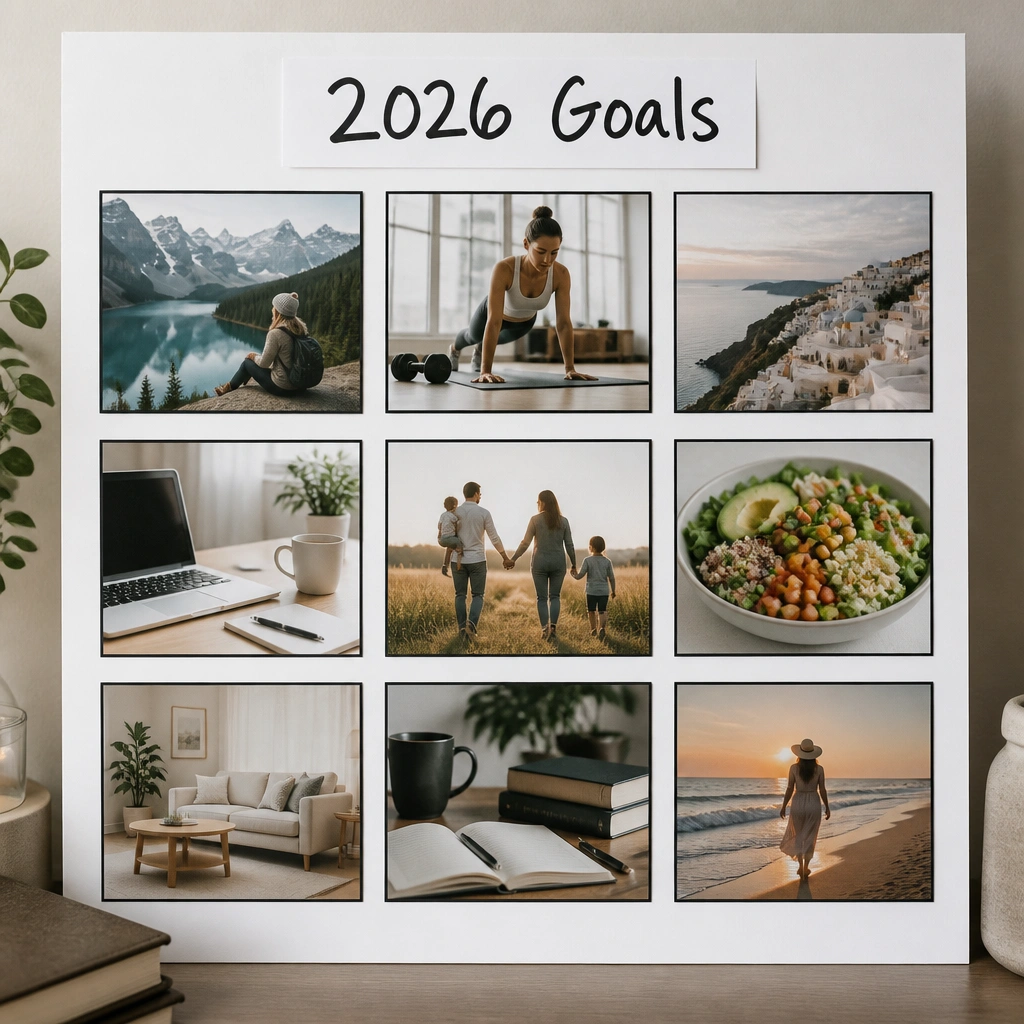
This layout works because your eye reads a clean grid first, then details second. Use nine printed pictures (or magazine cutouts) sized evenly — 2x3 or 2.5x3.5 — and add a consistent border so everything looks like one set. Keep the color palette to black/white plus one accent color like terracotta.
Good to knowBefore gluing, lay everything out on the board and measure with a ruler — spacing errors are what make cheap boards look cluttered.
2. Book-Page + Goals Collage (Text-First Look)
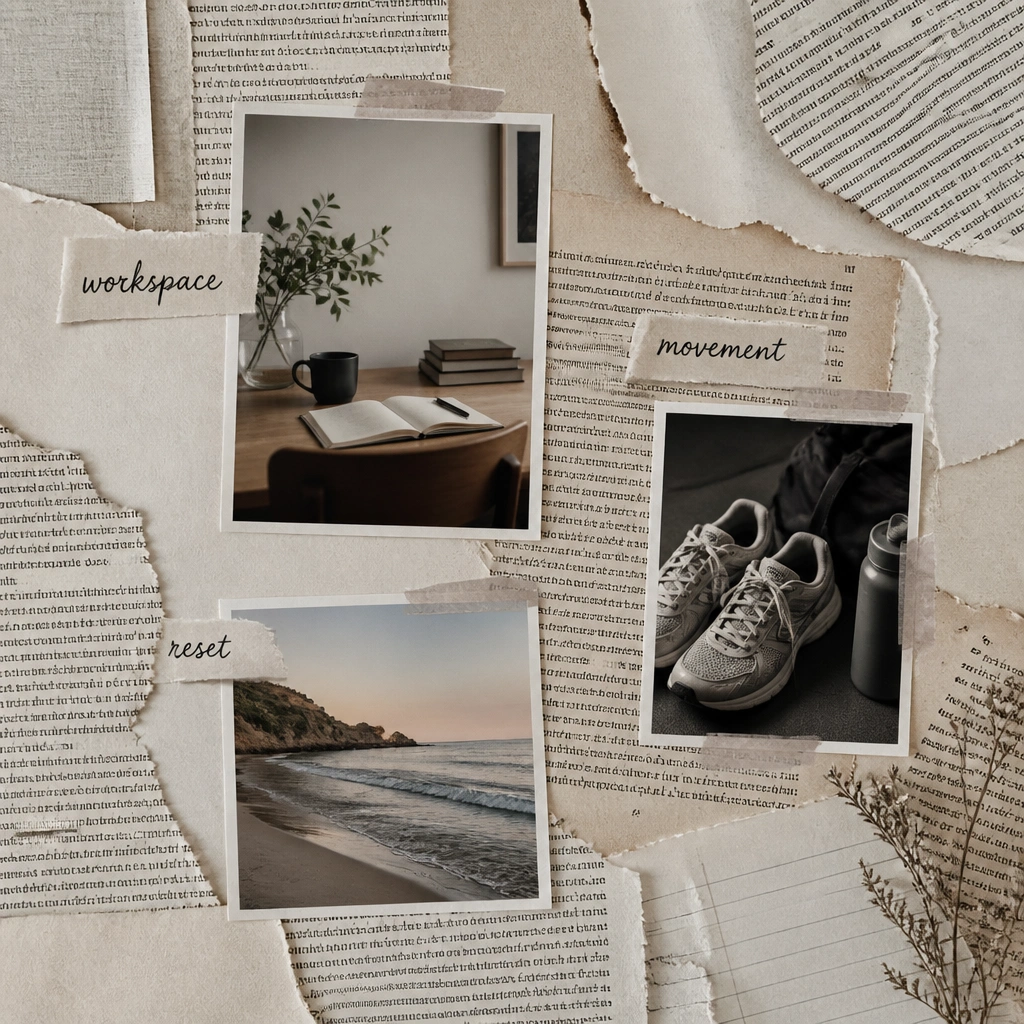
Start with torn book pages (or a cheap paperback) to give your board texture without buying expensive paper. Add only a few strong images — 6 to 10 — so the text background does the heavy lifting. Write tiny labels like 'Morning routine' or 'Weekend reset' so the board reads like a plan.
Use a glue stick for paper-to-paper and a tiny dab of Mod Podge only on the photo corners so nothing warps.
3. Clear Tape Photo Layering (No-Glue, Removable Style)
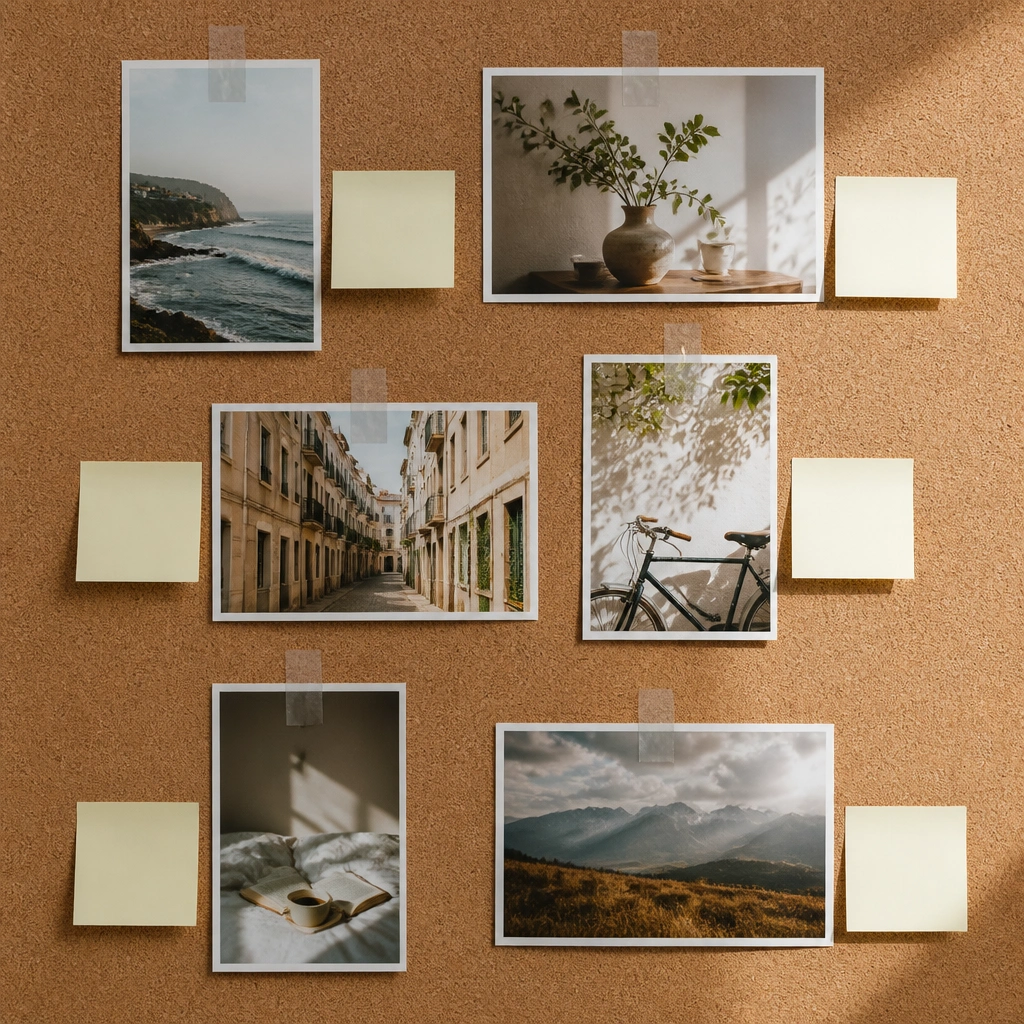
If you want a beginner-friendly board you can change later, use a corkboard or foam board with clear tape. Layer photos slightly overlapping — about 1/4 inch — for depth. Captions on sticky notes keep it readable and let you swap goals as you go.
Press each taped edge firmly with your thumbnail so the tape sticks flat and doesn’t peel.
4. Washi Tape Corner Anchors (Clean and Cute)
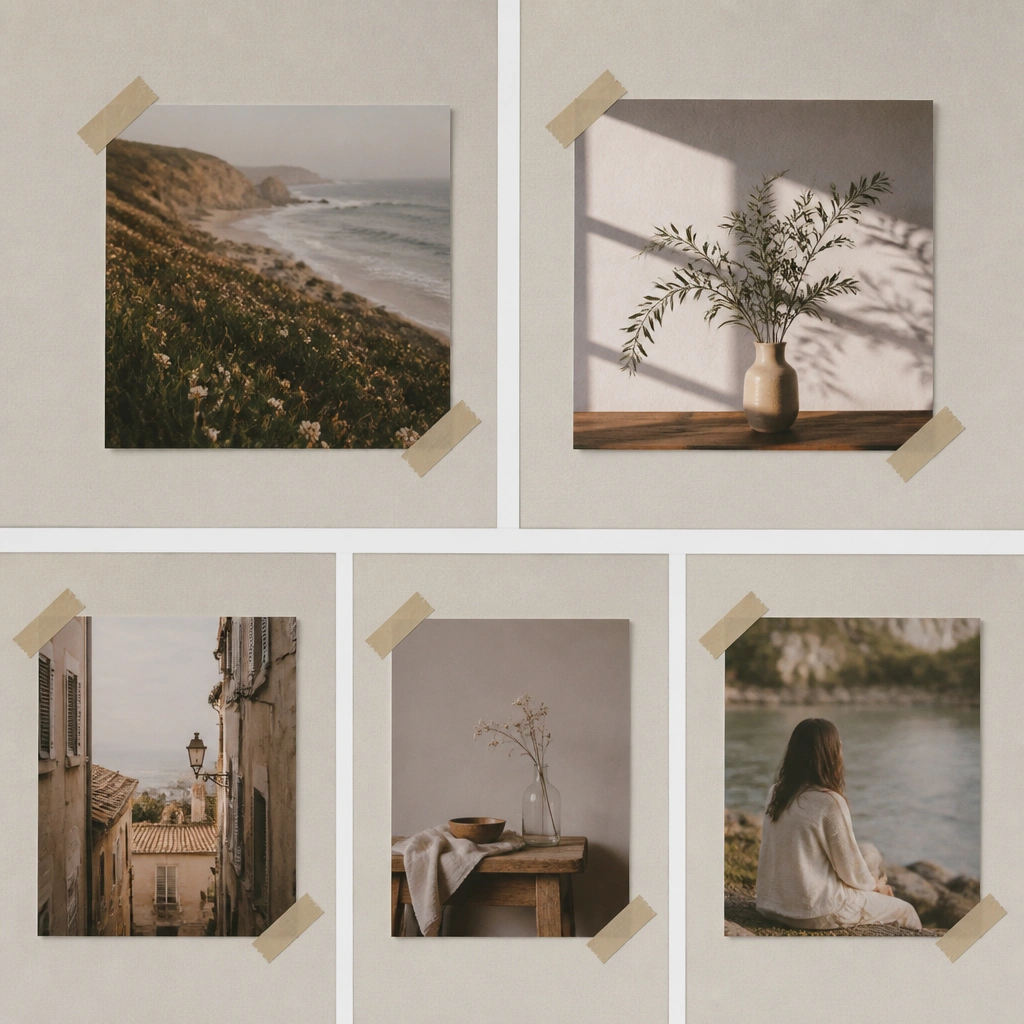
Instead of fully covering photos with glue, anchor them with washi tape at the corners. This keeps the board airy and makes it look styled even with few images. Add white cardstock strips between sections to create an organized 'timeline' feel.
Good to knowChoose one washi tape pattern (like dots or stripes) and repeat it for every photo so the board looks intentional.
5. Thrifted Frame + Mini Board Inside
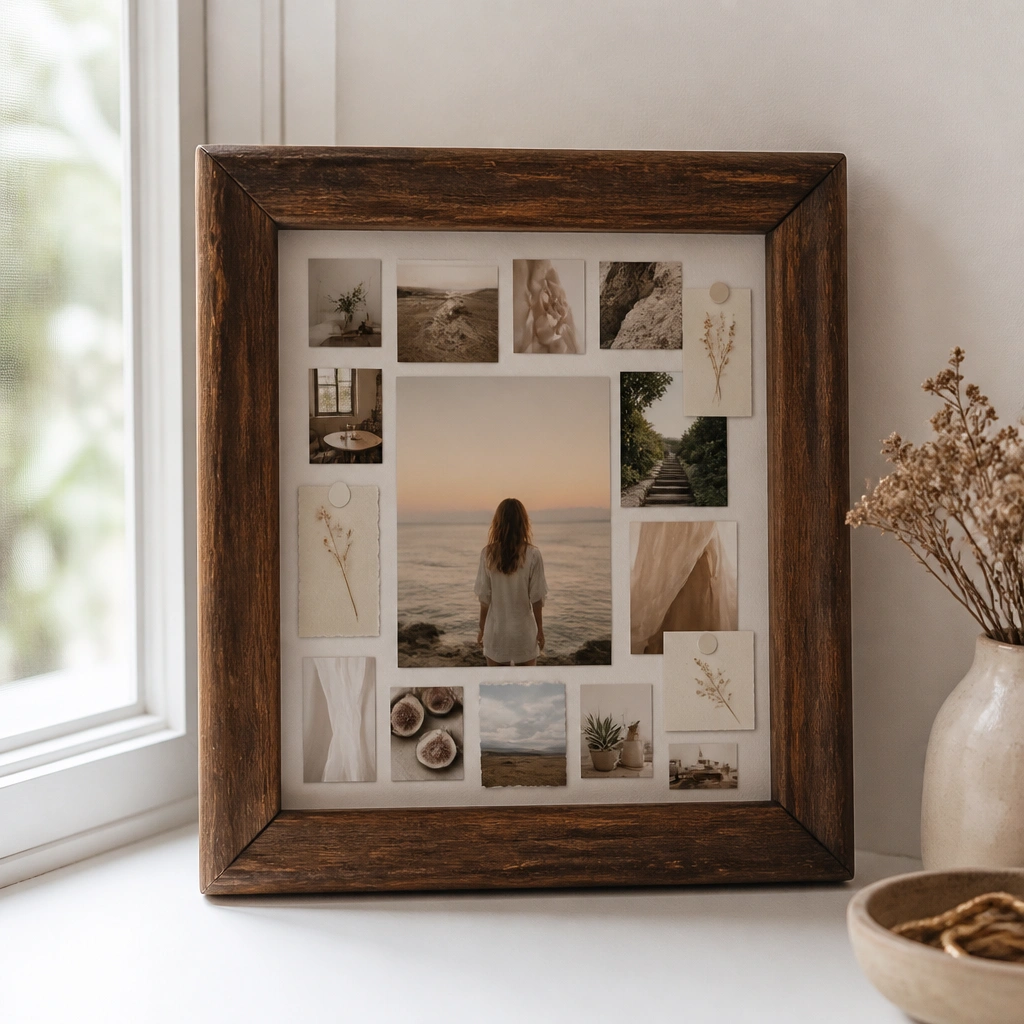
Frames instantly make it look more expensive. Use a thin foam sheet or cardstock backing inside the frame, then build your collage on top. Keep the content minimal: one hero image in the center and small supporting images around it.
Good to knowIf the frame has glass, skip glue and use double-sided tape only on the backing so you can rearrange later.
6. 3-Color Swatch Theme Board (Instant Cohesion)
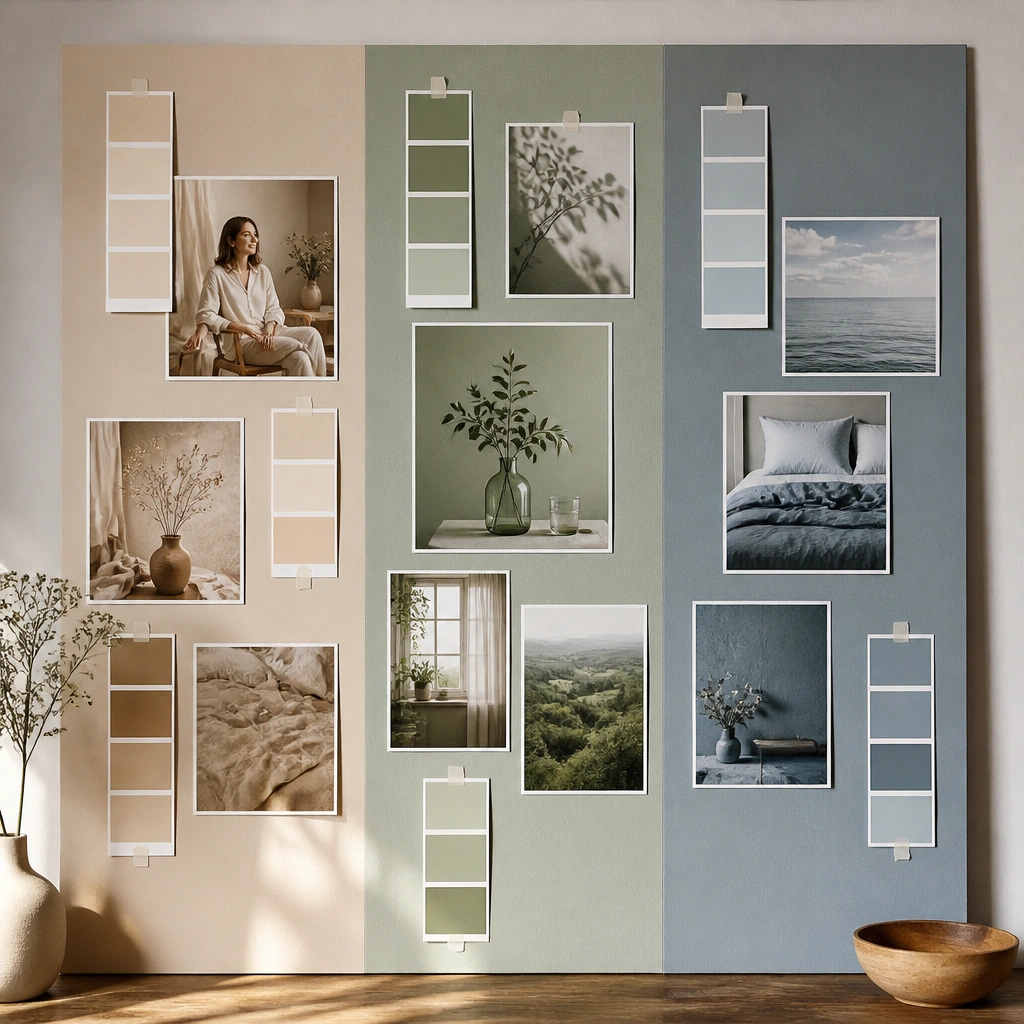
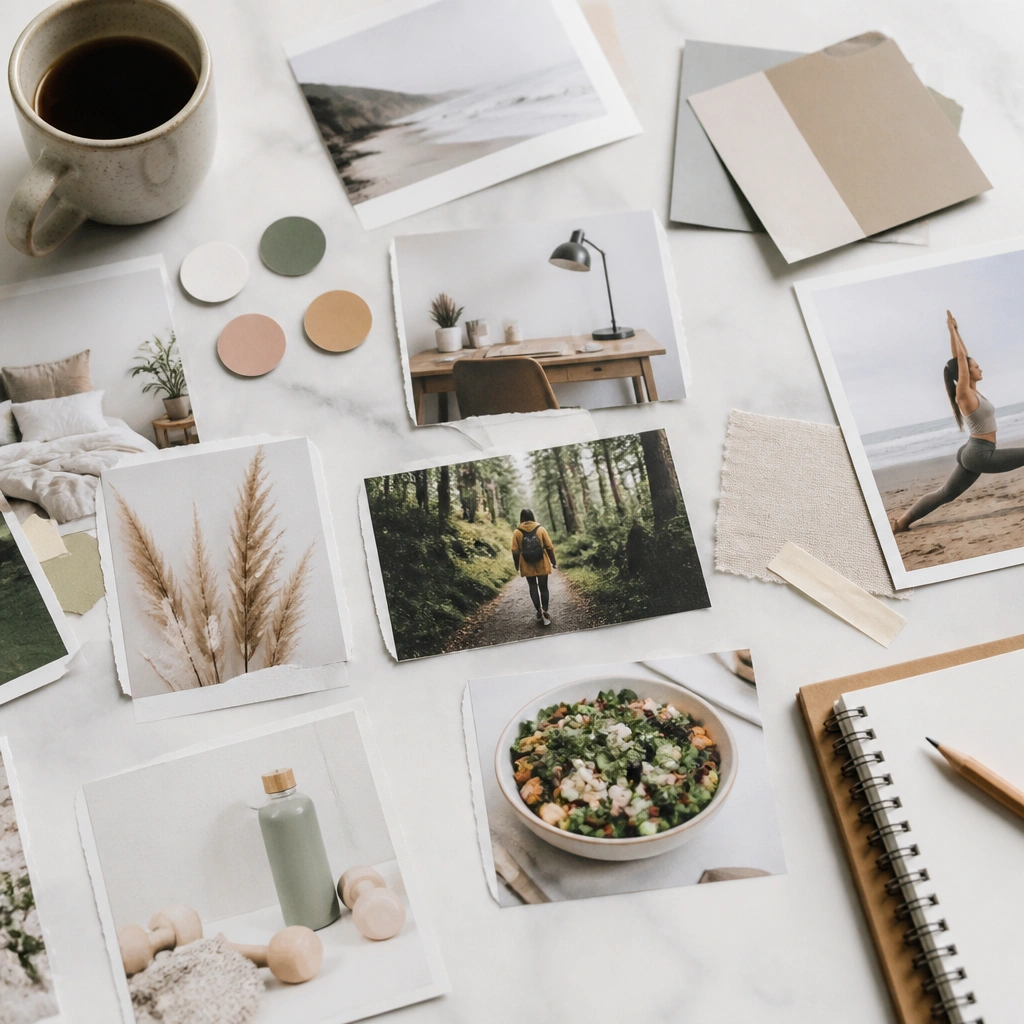
Pick 3 colors first — like sage green, cream, and warm brown — then choose images that naturally fit. Add small swatch cards at the top or side to show the theme. This makes your board look cohesive even if your photos come from different sources.
Good to knowPrint 3 small color swatches from a color palette generator or cut them from old packaging to guide your image selection.
7. Sticker + Photo Roadmap (Journey Layout)
A diagonal roadmap layout feels like progress, not just a random collage. Create a 'start' corner and end with a bigger photo at the far end. Use small stickers or icon cutouts as mile markers so it stays fun and beginner-friendly.
Good to knowUse painter’s tape to sketch the diagonal path first — then tear or cut paper strips to match the line.
8. Magazine Cutout Strips (Budget Column Style)
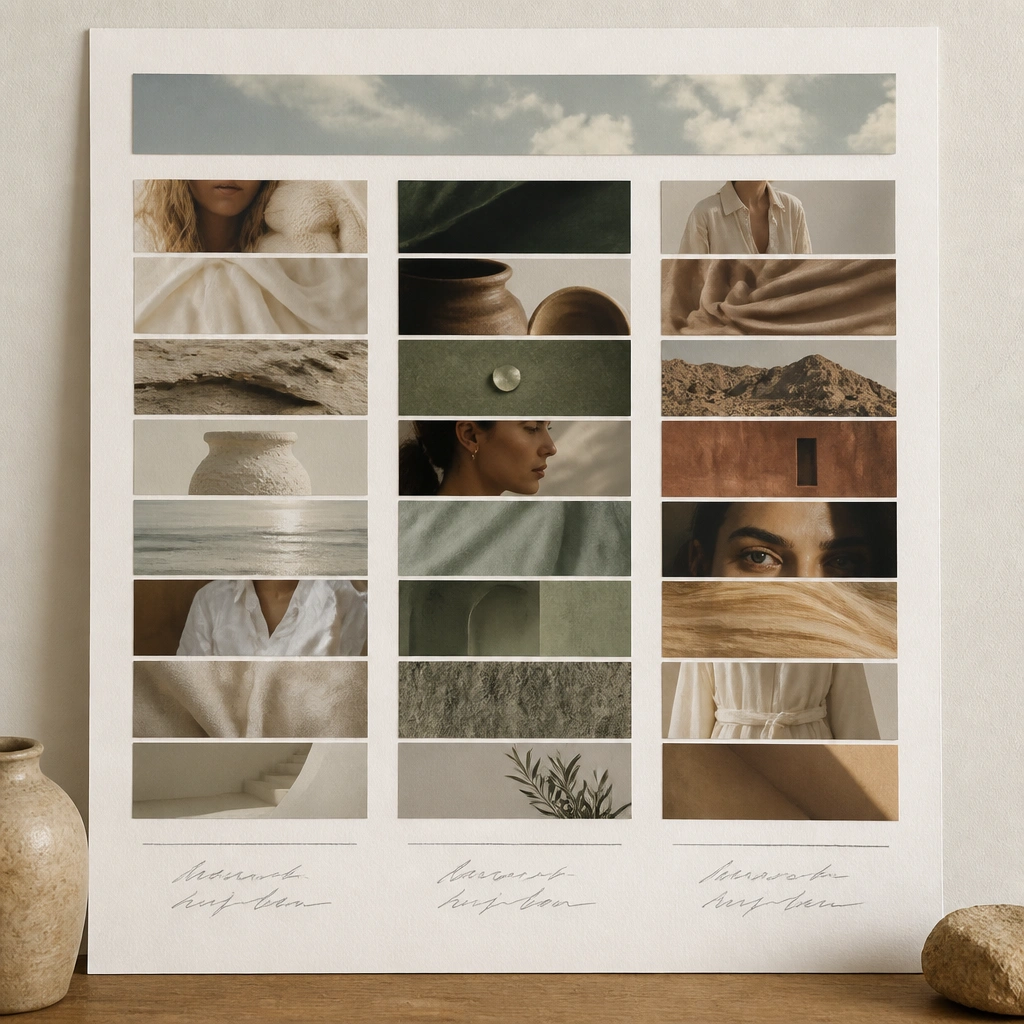
Magazine cutouts are free or cheap, and trimming into consistent strip sizes makes the board look designed. Make three columns like 'Health', 'Home', 'Money' or 'Work', 'Joy', 'Learning'. Add a tiny note under each strip with what you want to do.
Good to knowCut all strips to the same width (like 1.5 inches) — consistent sizing is the secret to a polished look.
9. Printable Quote + Photo Stack (Minimalist Page)
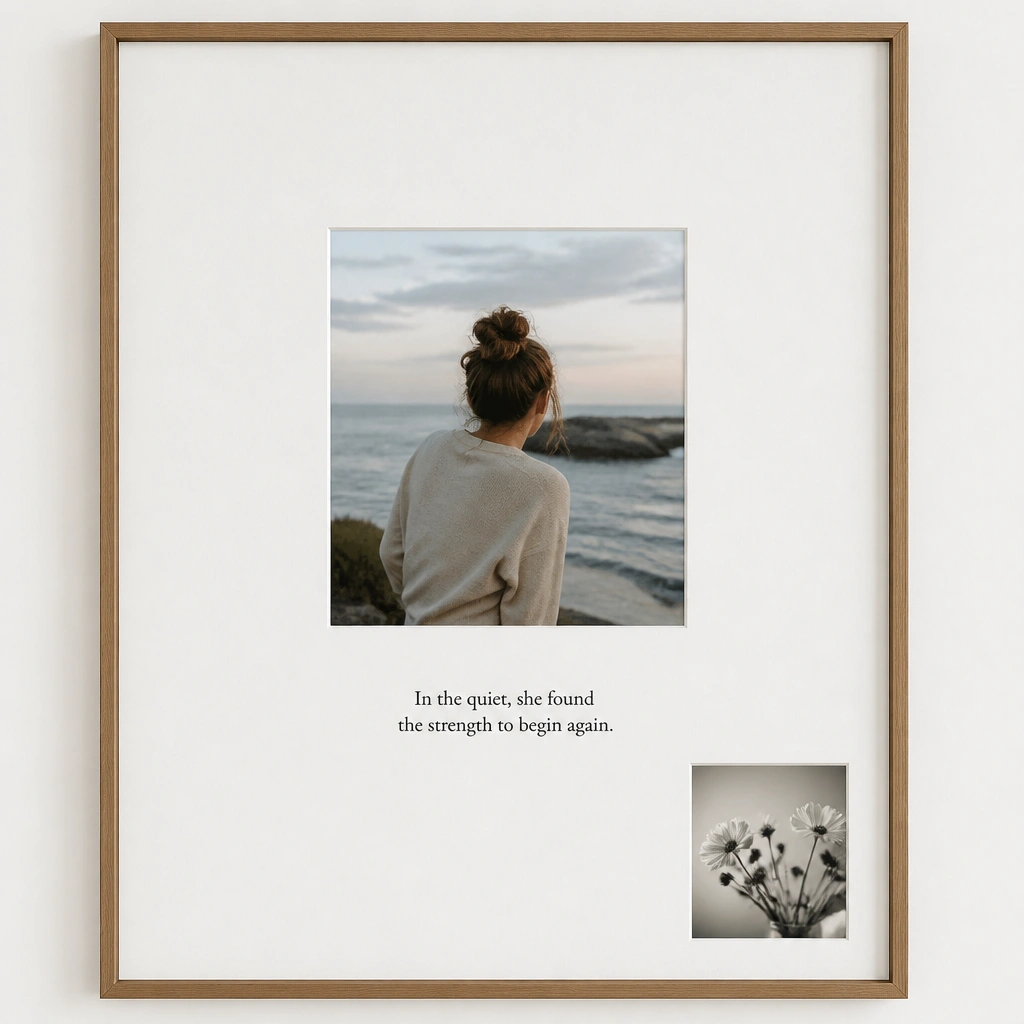
Minimal boards are easier than they look because you use less stuff. Print one quote per theme and pair it with one photo that matches the message. Leave lots of empty space so it doesn’t feel cluttered, especially if you’re using budget materials.
Use a ruler to keep the photo and quote perfectly centered — symmetry makes it look expensive.
10. Graduated Size Circle Layout (Big-to-Small Focus)
This layout guides your attention in a natural flow: center to outer ring. Cut paper circles (or trace plates) to create rings, then place images inside each ring based on priority. It’s great for beginners because the shape gives you structure.
Good to knowStart with the biggest center image and work outward — don’t place small photos first.
11. Sticky Note Action Grid (Vision + Next Steps)
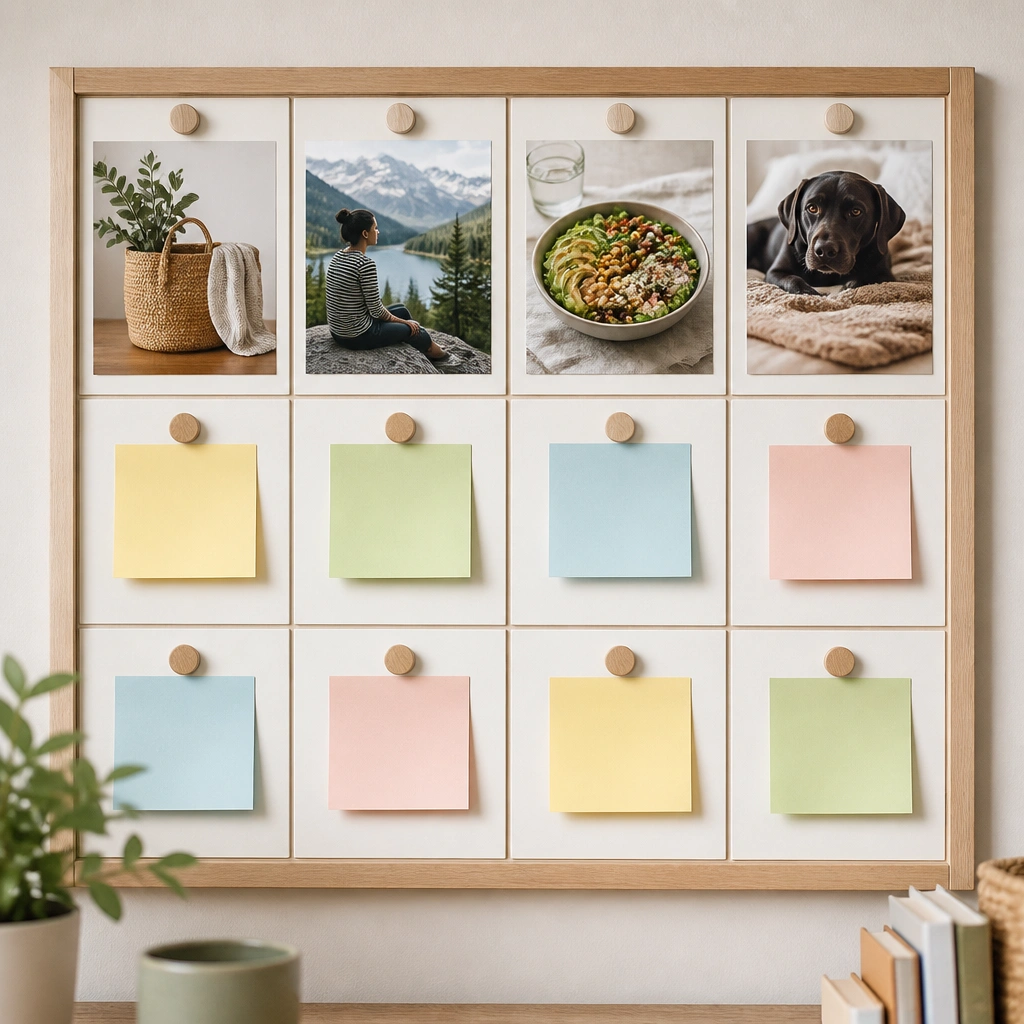
Most vision boards stop at inspiration, but you can make yours actionable. Put pictures in the 'vision' boxes and add sticky notes for the next step in the boxes below. This helps you actually use the board as a reminder.
Good to knowWrite actions as verbs: 'Walk 20 minutes' beats 'Fitness'. Keep them small enough to do this week.
12. Brown Paper Bag Background + Bright Photos
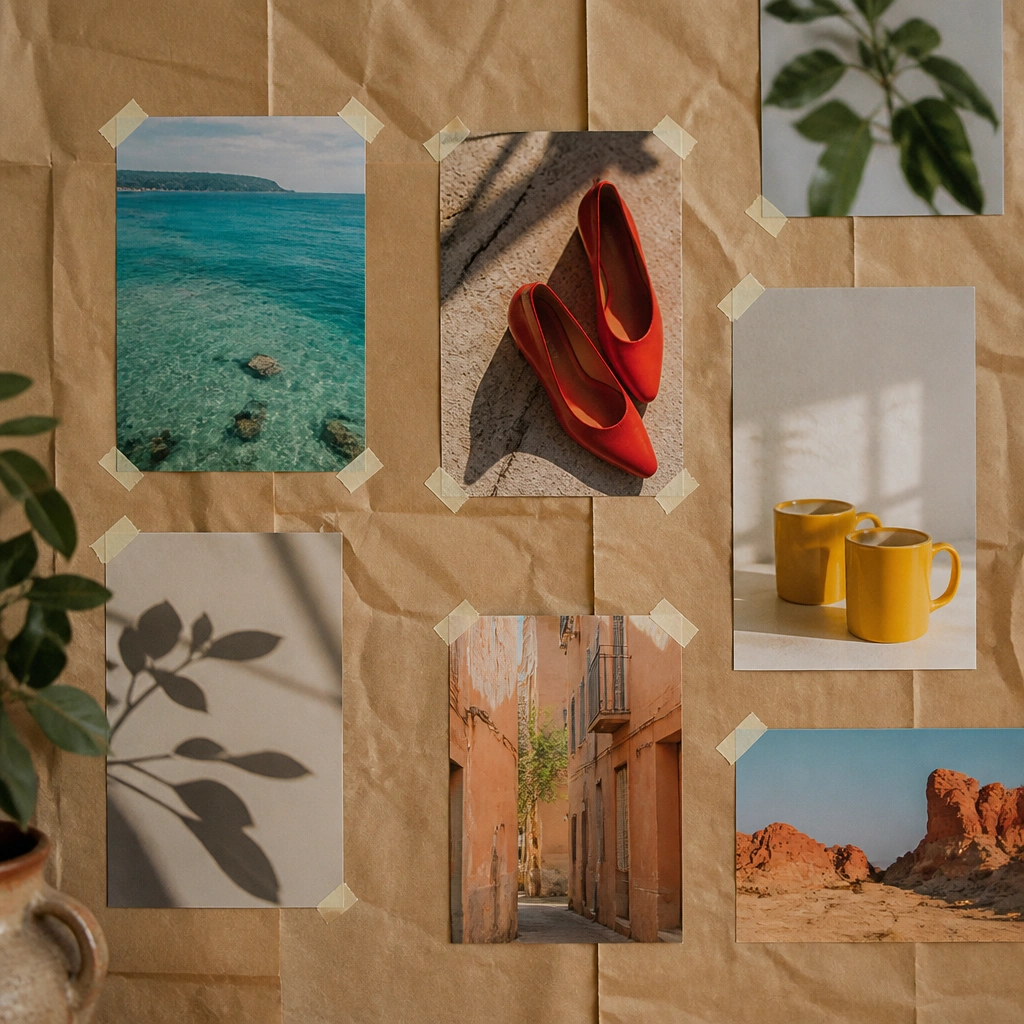
Brown paper gives you a warm, artsy texture without buying specialty cardstock. Because it’s neutral, bright photos stand out and your board looks lively. Use tape corners or glue dots to attach images so you can adjust spacing.
Flatten paper bags under a stack of books for 30 minutes before covering your board.