

1. Laundry Room Glow-Up Board (Sticker-to-Calendar System)
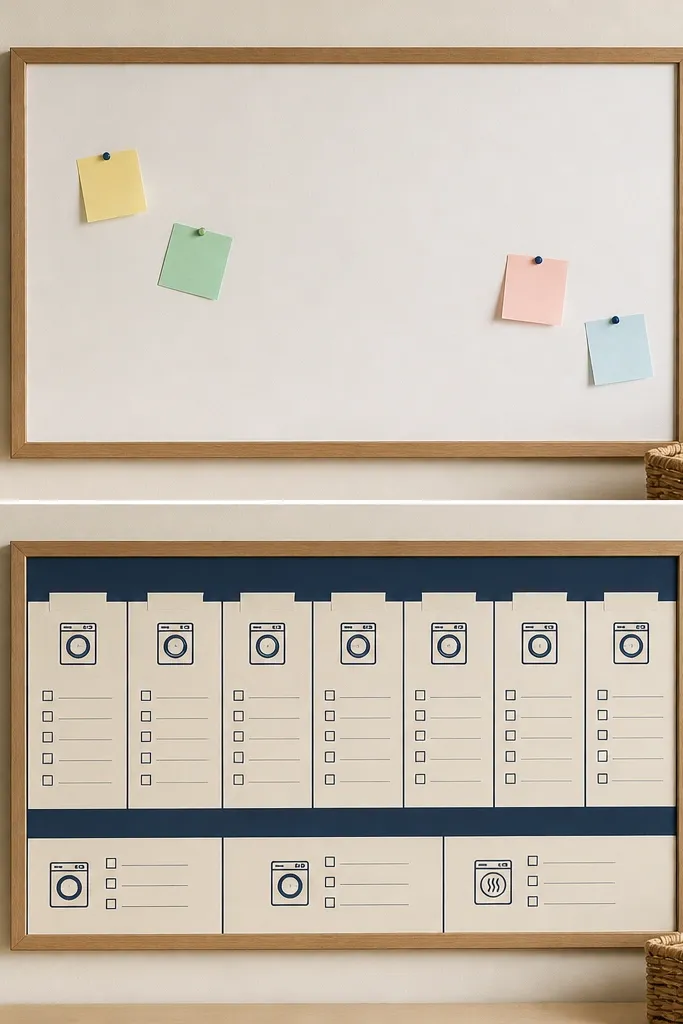
The transformation works because it turns vague goals into a weekly schedule you can check while you fold. Use a corkboard or pegboard base, then add a simple calendar grid with painter’s tape before sticking anything permanent. Navy ink and cream paper look clean together and photograph well.
Draw your weekly grid with a ruler using a washable marker first, then seal paper with a clear matte tape border so nothing peels later.
2. Budget Reset Vision Board (Thrift Frame + Price Tags)
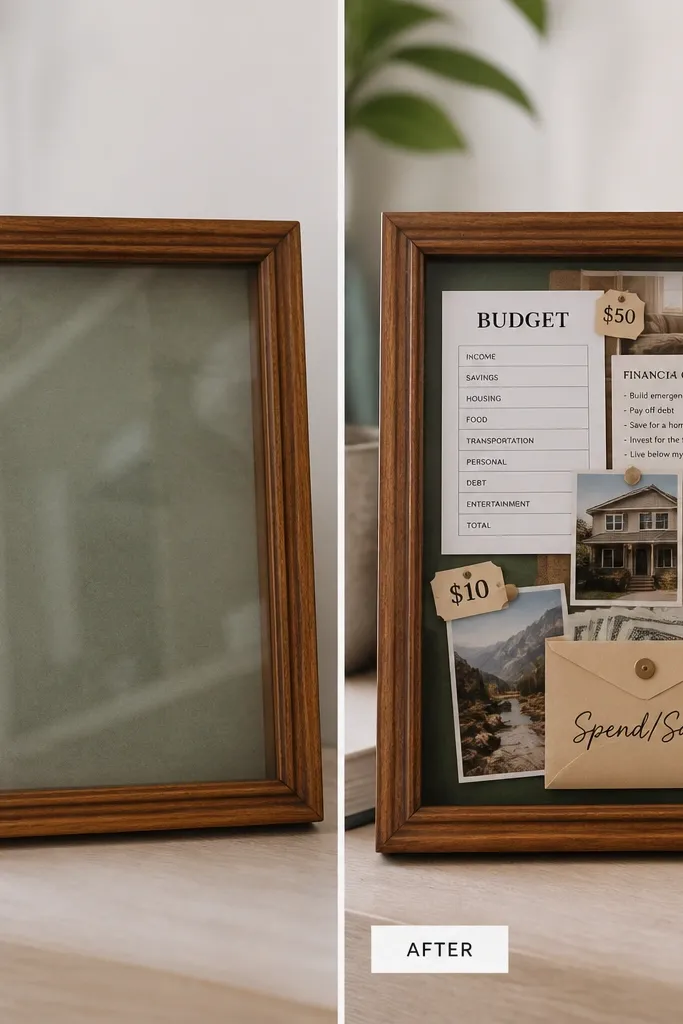
This idea is great if you want your board to feel like a real money plan. The thrift frame adds warmth, while the price tags make the goals tangible. Print your goals on cardstock, then lightly distress the edges with a sanding block for a consistent vintage look.
Use double-sided mounting tape for the paper corners so the glass stays clear and your board doesn’t warp.
3. Kitchen Counter Manifestation (Chore Cards + Photo Windows)
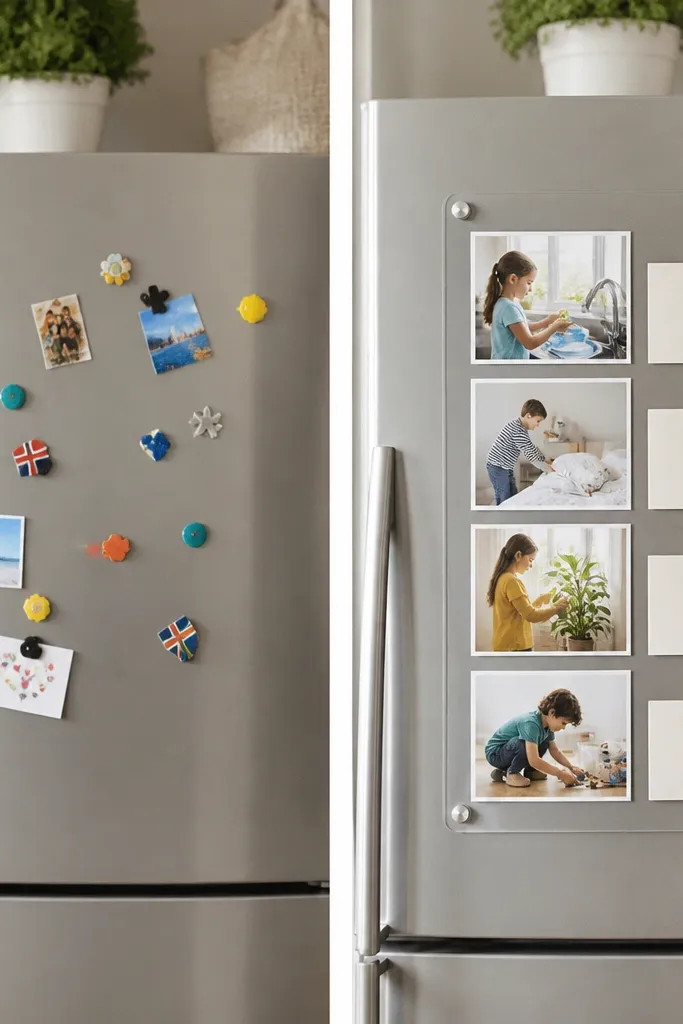
The key is separation — each photo has one job tied to it, like “meal prep = calm week” or “tidy counter = focused mornings.” Clip-on cards are easy to swap, which keeps the board from feeling stuck. Choose 2-3 photo sizes so it looks intentional.
Laminate or cover cards with clear contact paper so grease splatters wipe off easily.
4. Bedroom Headboard Board (Fabric Ribbon + Goal Pockets)
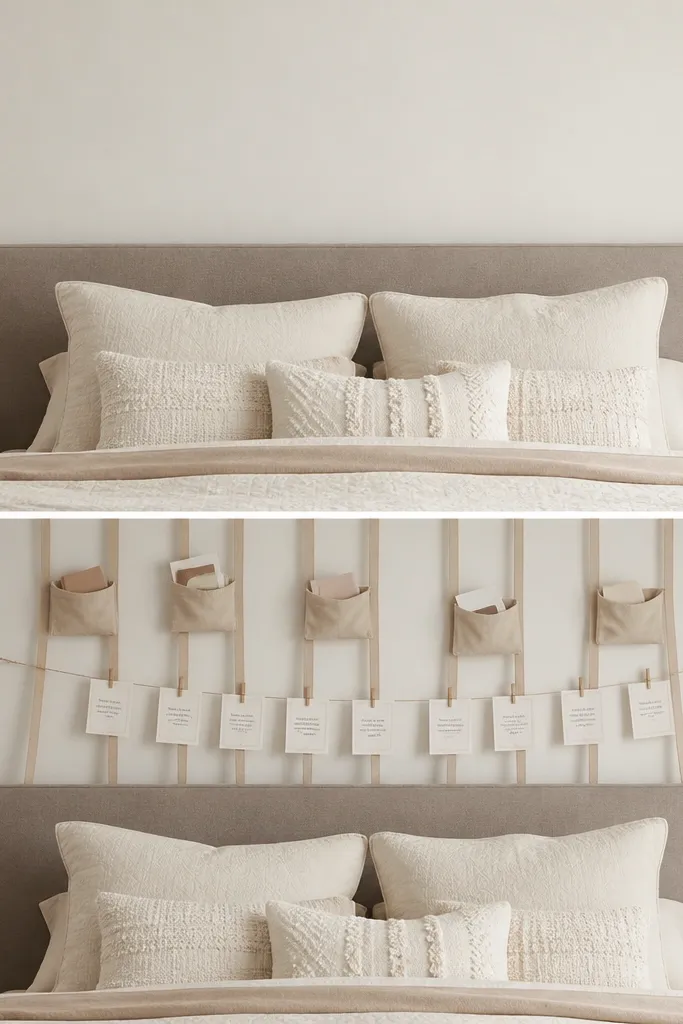
Fabric pockets make the vision board feel soft and personal, not like a poster. Use cotton or linen scraps, then stitch or hot-glue simple pocket seams. The ribbon line creates structure and makes the board easier to read from across the room.
Good to knowPre-fold cards to the same size and use uniform labels so your pockets look “designed” instead of random.
5. Office Desk Vision (Rolling Supplies + Rotating Tabs)
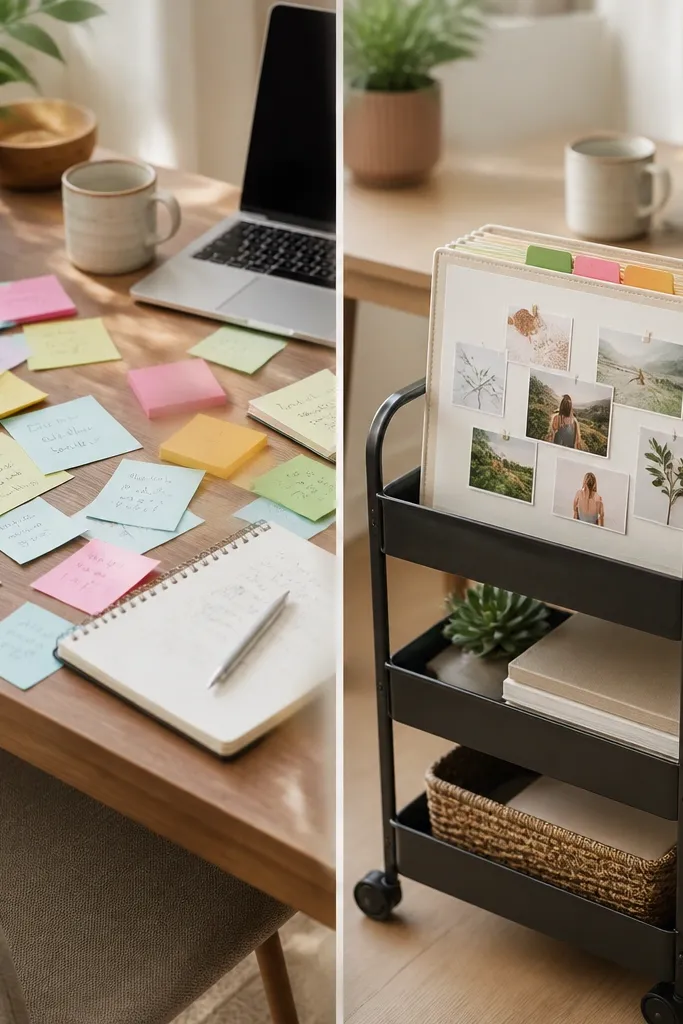
This transforms the vision board from a wall decoration into a daily tool. Rotating tabs help you focus without rereading everything. Pick a color system (green for action, blue for learning, yellow for long-term) so your brain can scan quickly.
Good to knowPunch holes in tab cards and use binder rings so you can swap goals in under 30 seconds.
6. Living Room Gallery Wall (Painted Mason Jar Labels)
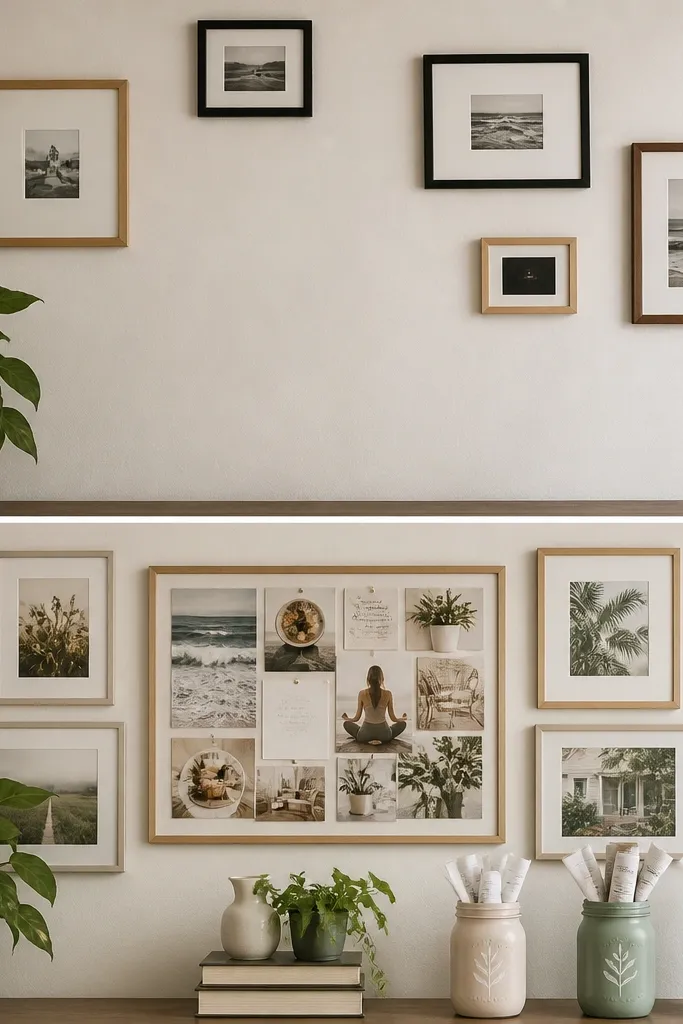
Jars add motion and depth — you can pull out a goal without tearing paper. Painting the labels in the same palette ties everything together. Use small rolled papers to keep the jars tidy, and keep jar openings facing the same direction for a cleaner look.
Good to knowUse chalk paint or acrylic + a clear matte topcoat so labels don’t rub off when you handle the jars.
7. Entryway Reset (Message Board + QR “Next Steps”)
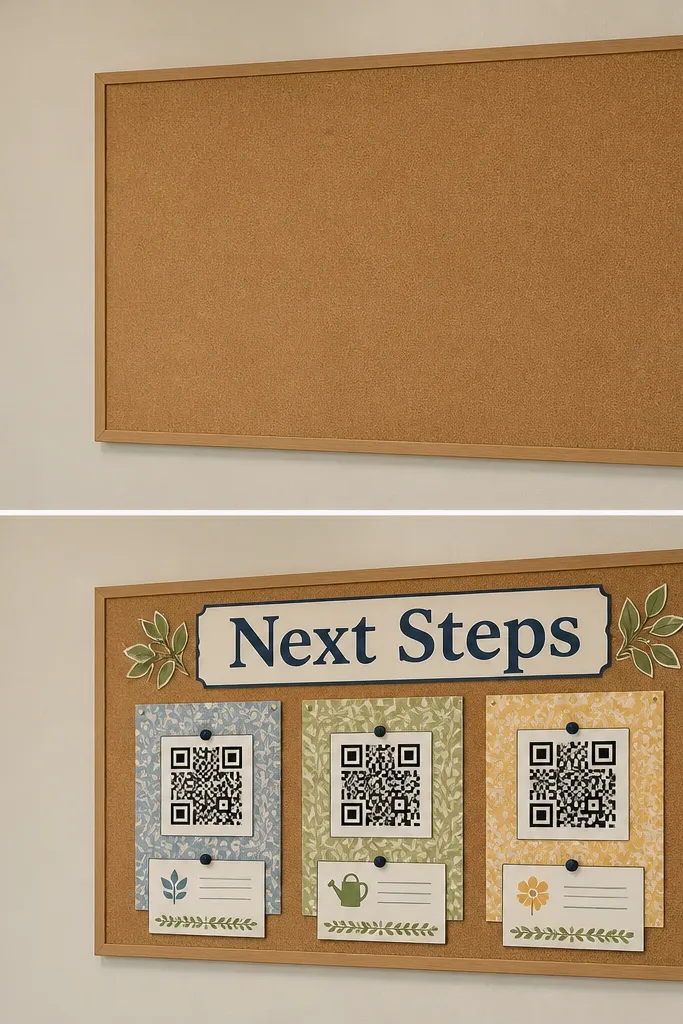
Putting QR codes on your vision board turns inspiration into a direct path. Link each QR code to a notes page or checklist so you don’t have to rewrite steps every time. The hallway placement also keeps you accountable because you see it daily when you leave.
Good to knowTest each QR code on your phone before printing the final version — blur or lighting issues can make scans fail.
8. Cozy Reading Nook Vision (Book Spine Labels + Bookmark Goals)
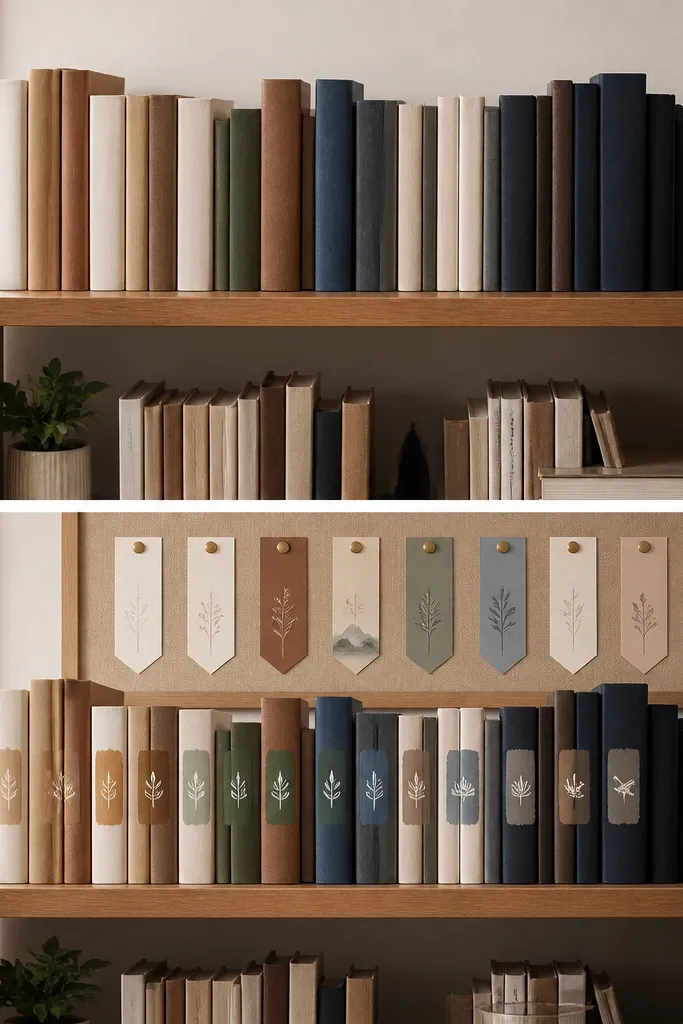
This works because it matches the vibe of the space — it’s not generic motivational art. Use bookmark-style cards for goals you’ll revisit while reading. Brass tacks look elevated and hold paper flat without bulky clips.
Cut cards from thick cardstock (200-300 gsm) so they don’t curl when pinned.
9. Closet “Out of the Box” (Before Clothes Piles to Color Map)
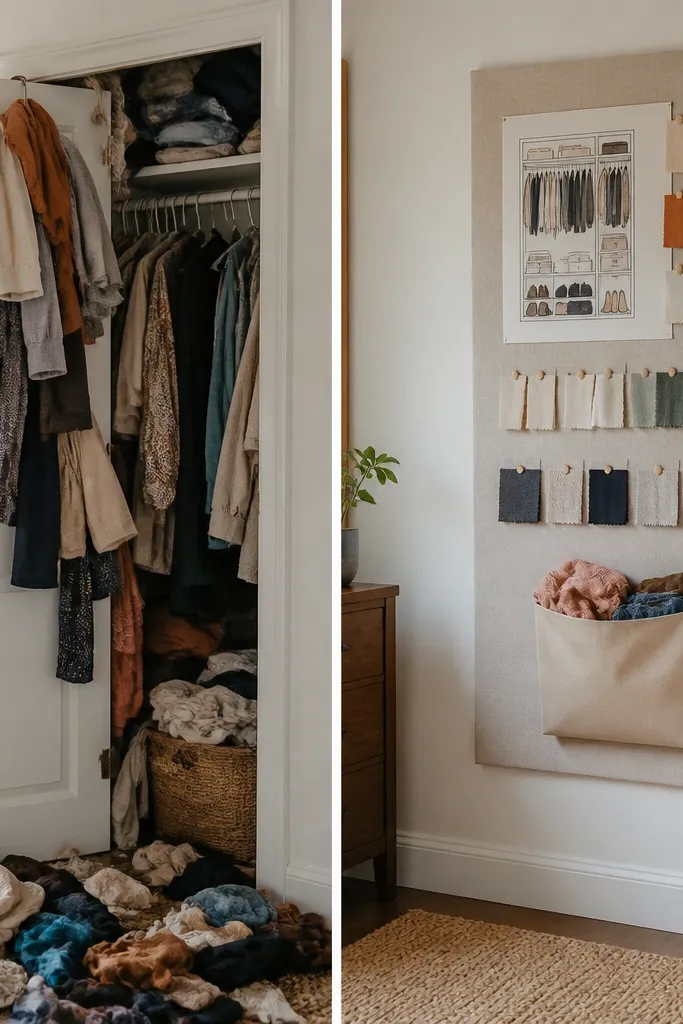
This is a vision board that supports a real-life habit: decluttering and styling. Fabric swatches make the plan visual, so you know what you’re aiming for. Pair it with a donation envelope so the board includes a clear action step, not just images.
Good to knowUse fabric glue dots or double-sided tape to attach swatches so they can be replaced when your closet changes.
10. Bathroom Spa Board (Spa Routine Strip + Before/After Tracker)
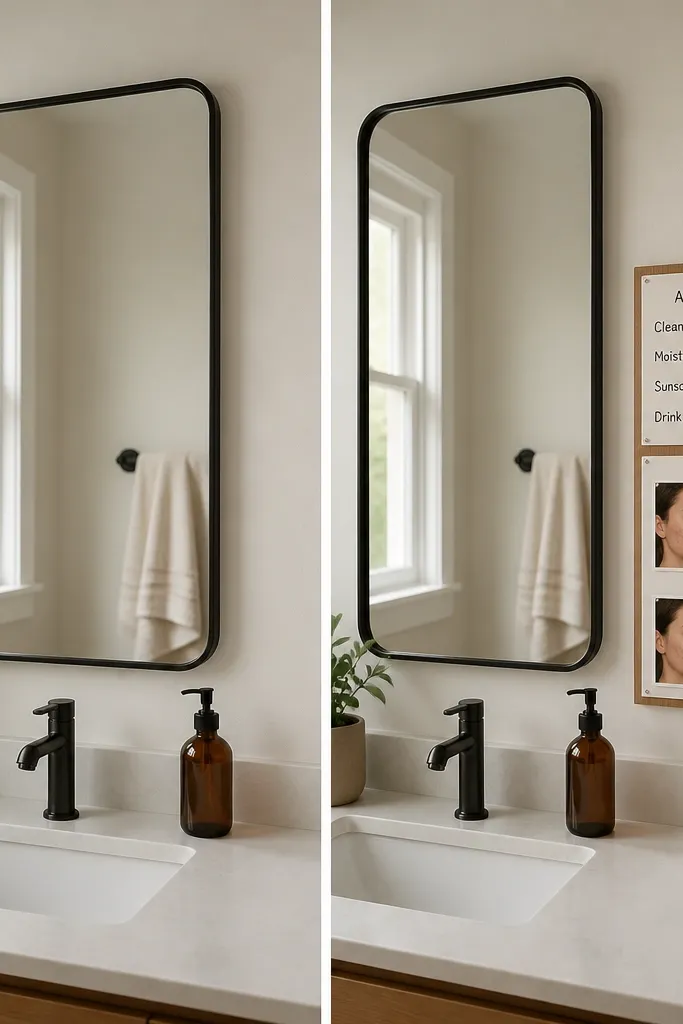
The standout detail is the routine strip — it turns your vision into a repeatable process. Use water-resistant materials like laminated paper or plastic photo sleeves. The week tracker makes the board feel like a progress log you can celebrate.
Photo-friendly lighting matters: keep the board matte (avoid glossy laminates) so your pictures don’t glare.
11. Garage Project Tracker (Pegboard + Tool-Goal Matching)
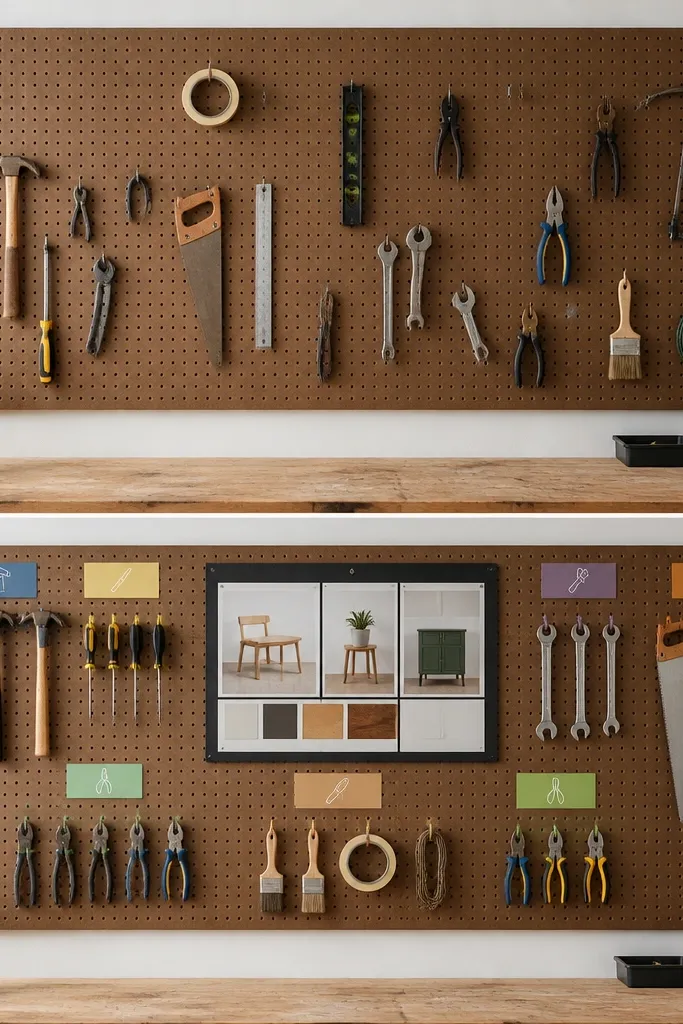
When your goals require tools, matching tools to projects keeps motivation from fading. Pegboards are perfect because they’re modular — you can move cards as priorities change. Use two colors max for categories so it stays readable from across the garage.
Write category names on cardstock and slide them into clear adhesive pockets so you can update without reprinting everything.