
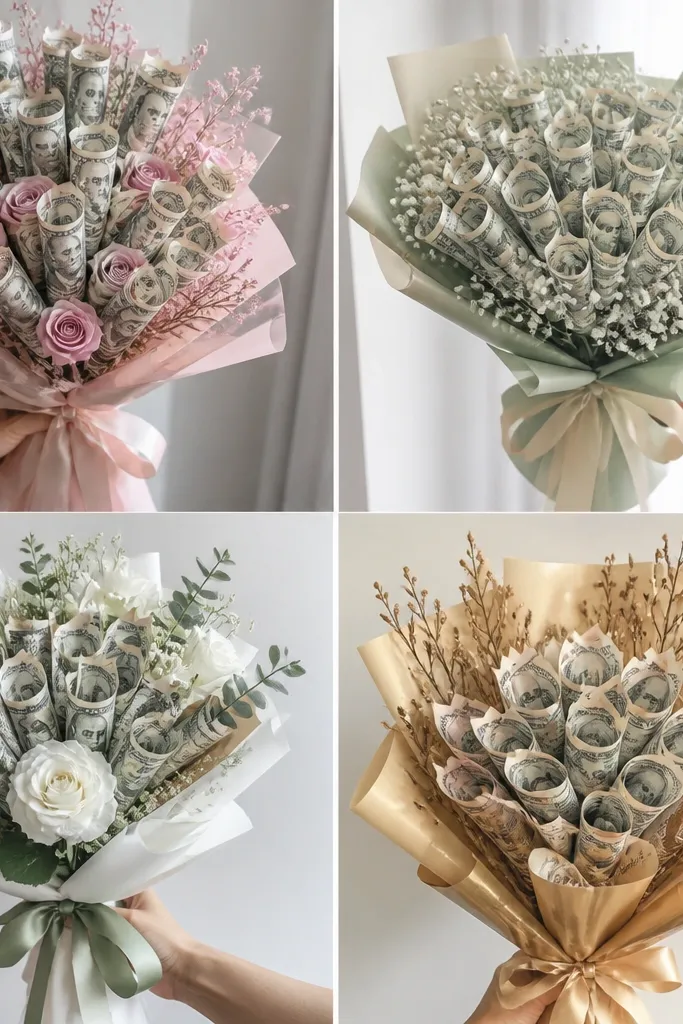
1. Blush Rose Buds with Hidden Bill Centers
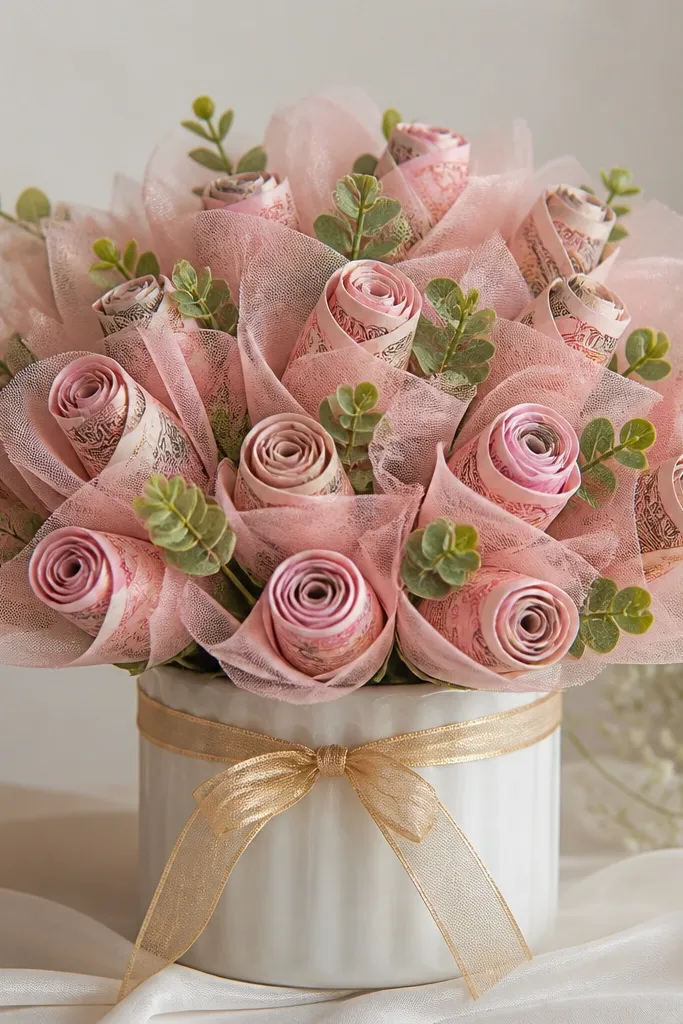
Fold small sections of a bill into a rose-bud shape, then secure the base with thin clear tape. Add a blush tulle wrap so the “money” reads like petals instead of flat rectangles. Finish with a tiny leaf cluster made from green felt or cardstock so each bud looks like it belongs in a real bouquet.
Good to knowUse 2 layers of tulle — one loose and one tight — to hide any tape edges and make the petals look rounded.
2. Black-Gold Luxe Bouquet with Satin Money Wrap

Wrap each bill around a slim floral pick, then cover the outside with a thin satin strip (black or deep charcoal). Add gold ribbon rings at the “mid-bloom” for a jewelry-like look. This style works best with metallic faux greenery because it creates contrast against the dark palette.
Good to knowBefore wrapping, lightly press bills under a heavy book for 10 minutes so the satin sits smoothly.
3. Pastel Rainbow Tulips (Bill-Fold Petals)
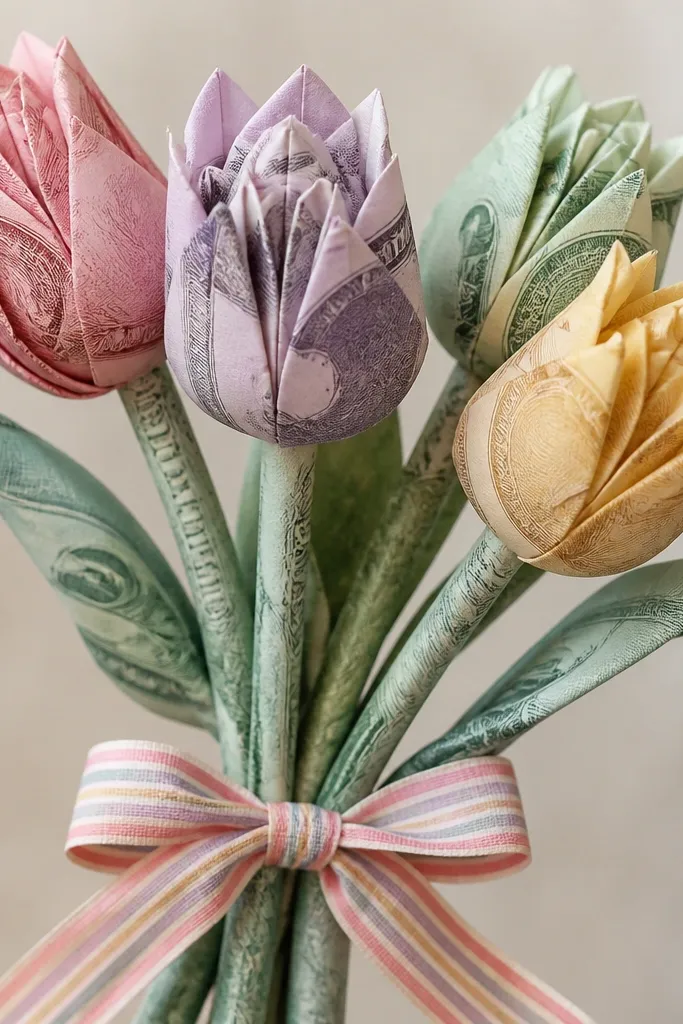
Create tulip heads by folding each bill into 3 petal layers around a mini paper cone. Keep edges neat using double-sided tape so the folds don’t separate. Tie stems with ribbon in a rainbow gradient to make the bouquet look playful and Instagram-ready.
Good to knowCut petal layers slightly different sizes (small, medium, large) so each tulip head looks layered instead of flat.
4. Sunflower Money Blooms with Brown Paper Centers
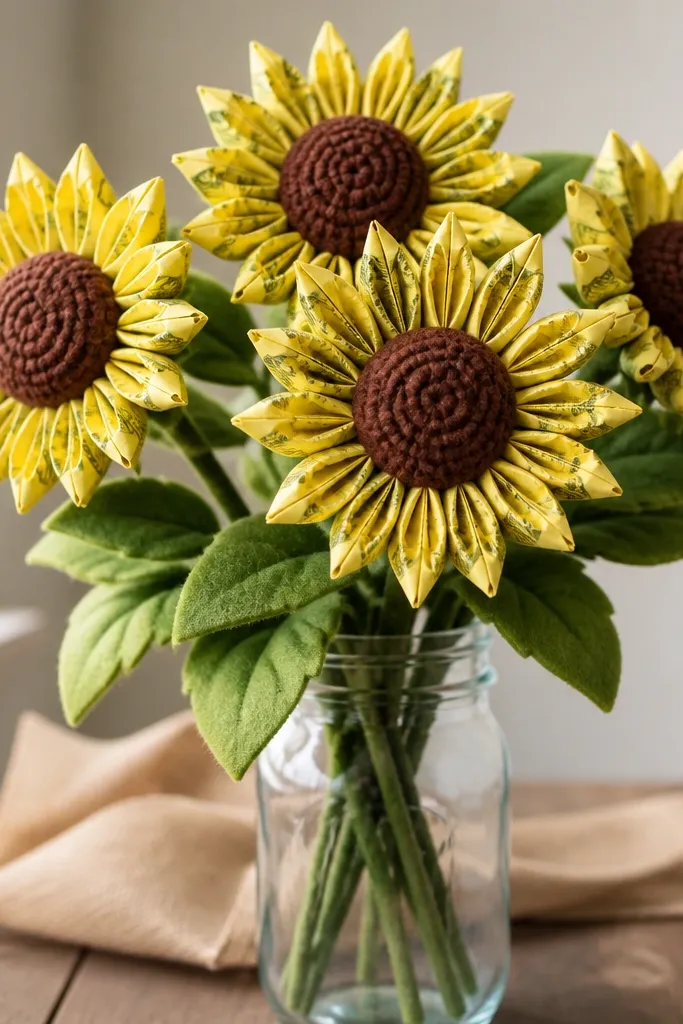
Use yellow paper or yellow-tinted bills for the petals, then roll the center using brown cardstock strips for texture. Glue the petal bundles onto a thick cardstock circle so the center has something sturdy to anchor to. Add two layered felt leaves per stem to make it look full from every angle.
Good to knowMake the center first — a textured coil — then glue petals around it like a real sunflower spiral.
5. Monochrome White Bloom Bouquet (Clean Minimal Look)
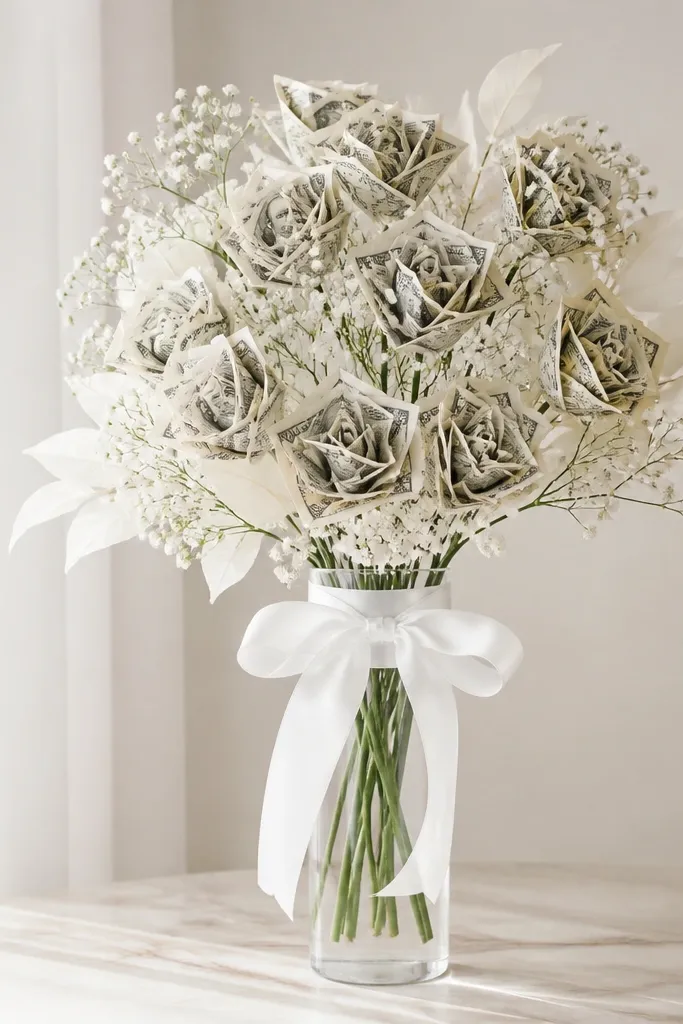
Choose bills that feel “white” visually (or cover bills with white tissue paper) and fold into uniform petals. Wrap stems with white floral tape and leave stems mostly visible for a modern, airy look. A monochrome palette makes the bouquet feel high-end even with simple shapes like 5-petal blooms.
Good to knowUse clear cellophane tape sparingly and hide it under a thin strip of white cardstock at each petal base.
6. Envelope Bouquet Roses (Money + Note Surprise)
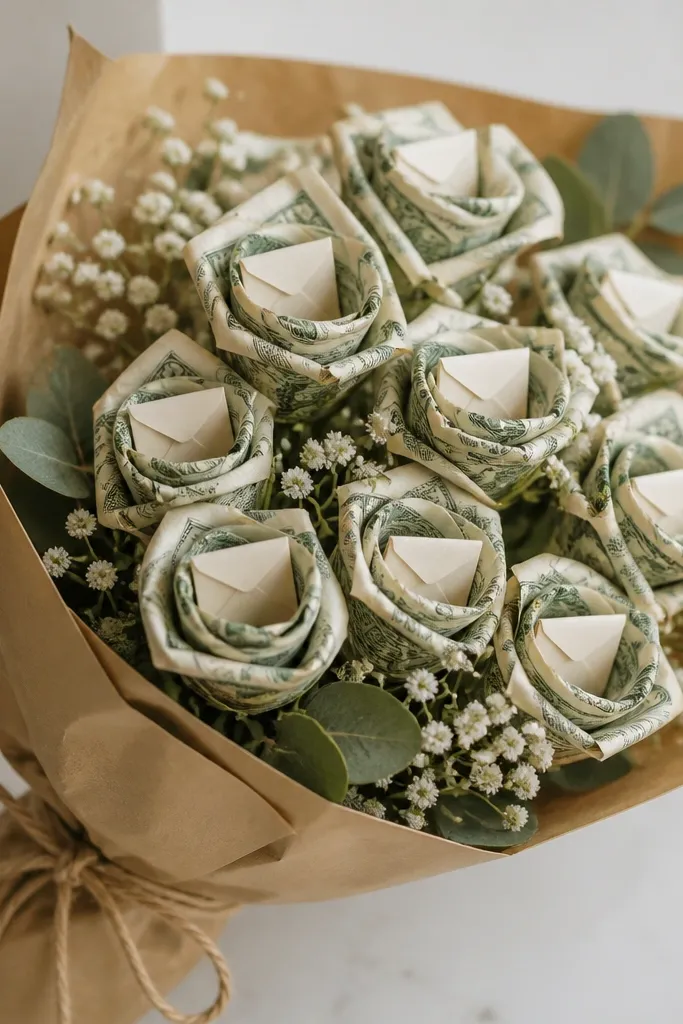
Roll bills into rose-like tubes, then glue a mini envelope cut from cardstock behind the top center. Write a short message on the envelope and tuck it so it peeks out like a secret note. Kraft paper wrapping + twine makes the whole bouquet look rustic-chic and intentional.
Good to knowCut the envelope slightly smaller than the rose center so it doesn’t bulge and distort the bloom shape.
7. Emerald Sage Botanical Money Bouquet
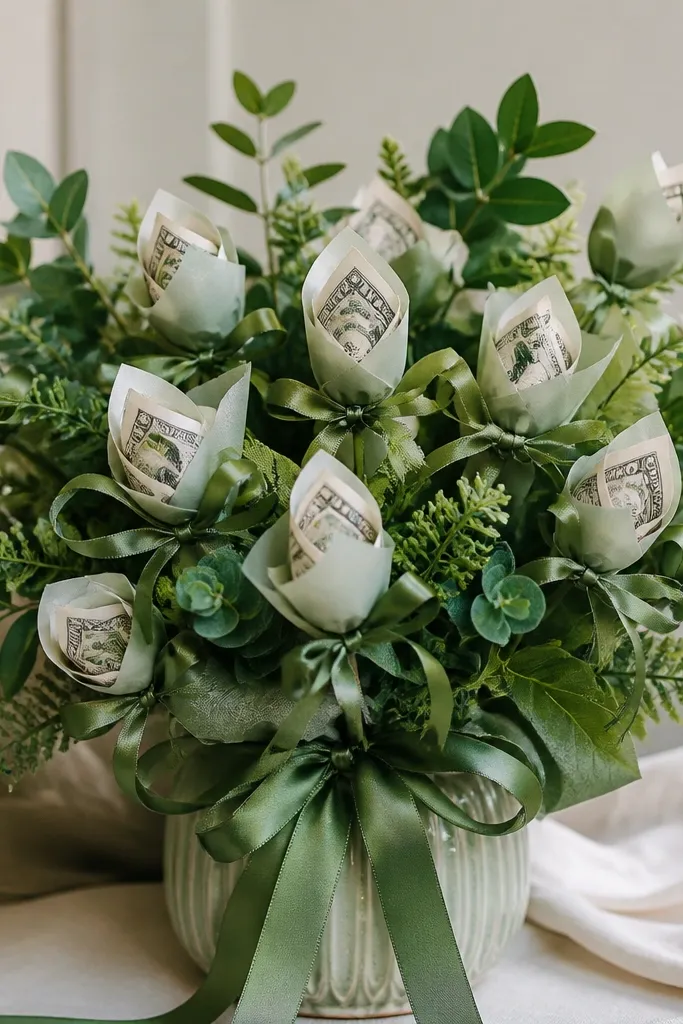
Wrap bills with sage-green tissue paper for a botanical tint, then secure with thin ribbon ties. Add faux eucalyptus sprigs and layered leaf cutouts so money blooms feel like part of a real plant arrangement. This palette is perfect for housewarming gifts because it looks calm, not flashy.
Good to knowBalance the bouquet by placing 70% greenery and 30% money blooms — it makes the blooms look more realistic.
8. Marble-Effect Money Bouquet with Faux Stone Vase
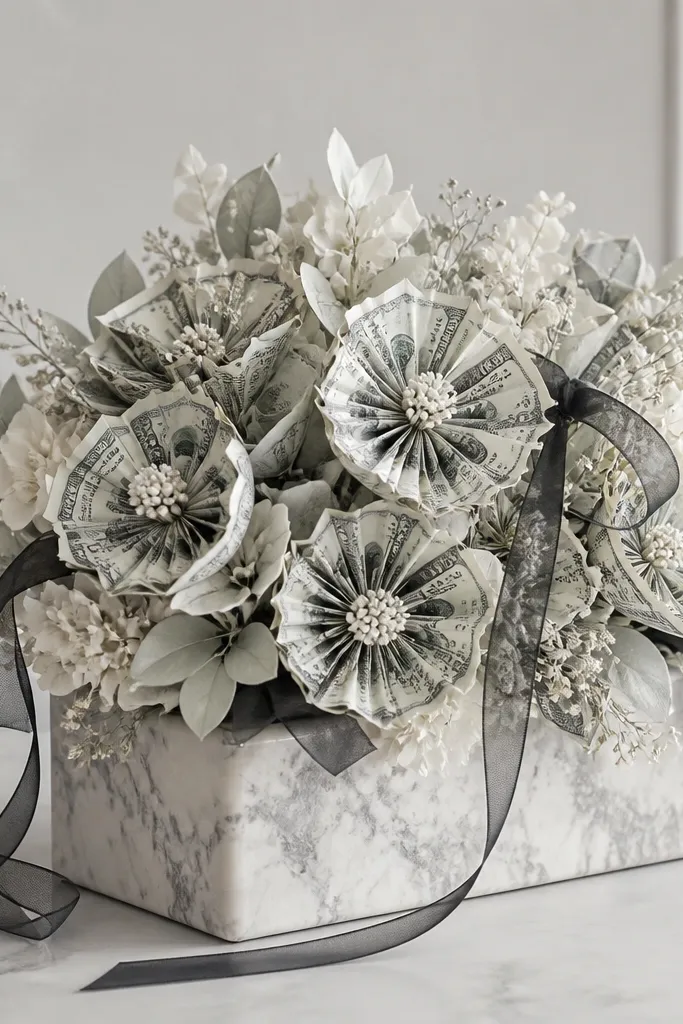
Create marble vibes by covering bills with white tissue paper and adding faint gray swirls using a watered-down gray craft paint on the tissue (let dry fully). Build each bloom from consistent petal folds so the pattern looks cohesive. Pair with a gray faux-stone container and thin black ribbon to complete the “designed” look.
Good to knowTest your paint on a scrap tissue first — you want wispy swirls, not fully painted blobs.
9. Coastal Seashell Money Bouquet (Blue-Gold Ribbon)

Fold bills into simple fan petals, then layer them around a small circle backing. Tie stems with blue-and-white striped ribbon and add tiny seashell charms (hot glue on the stem wrap area). The gold ribbon keeps it from looking too beachy and helps the bouquet look “gift boutique.”
If you use charms, attach them after the bouquet is assembled so you can space them evenly.
10. Red Velvet Rose Bouquet with Glitter Edge Petals

Tint bills with red tissue paper so they read like velvet roses. Add glitter edge detail by lightly dusting craft glitter to the outer petal fold only, avoiding the center so it doesn’t look messy. Finish with dark green felt leaves and wrap the stems in deep red paper for a dramatic holiday vibe.
Seal glitter with a tiny spritz of clear acrylic spray so it doesn’t shed while you handle the bouquet.