









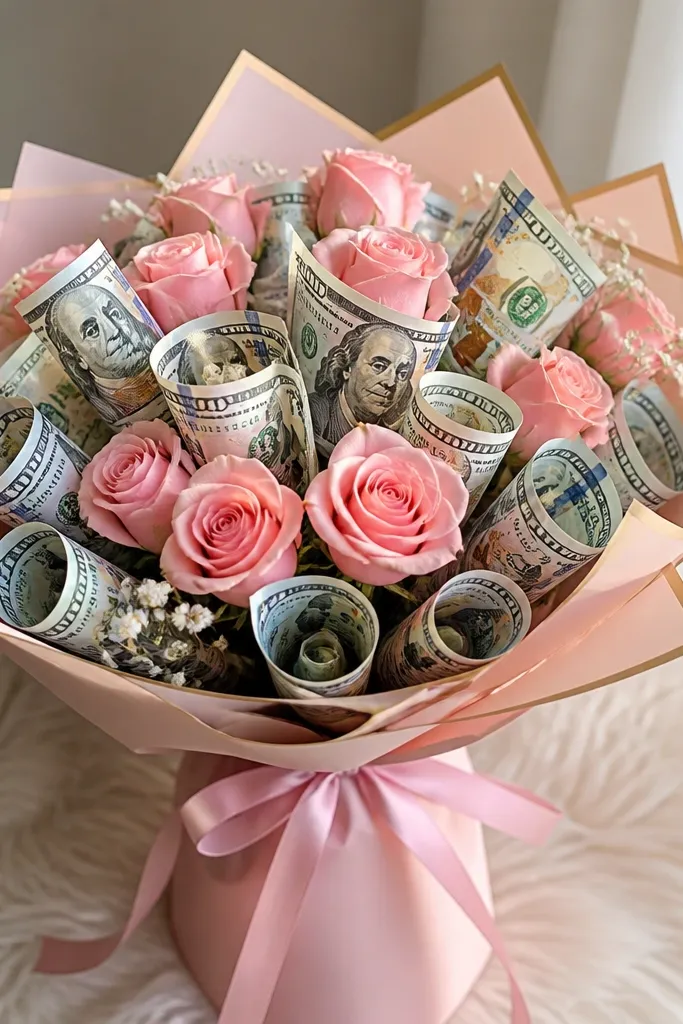
1. Foam Block Bouquet Base (Fast + Stable)
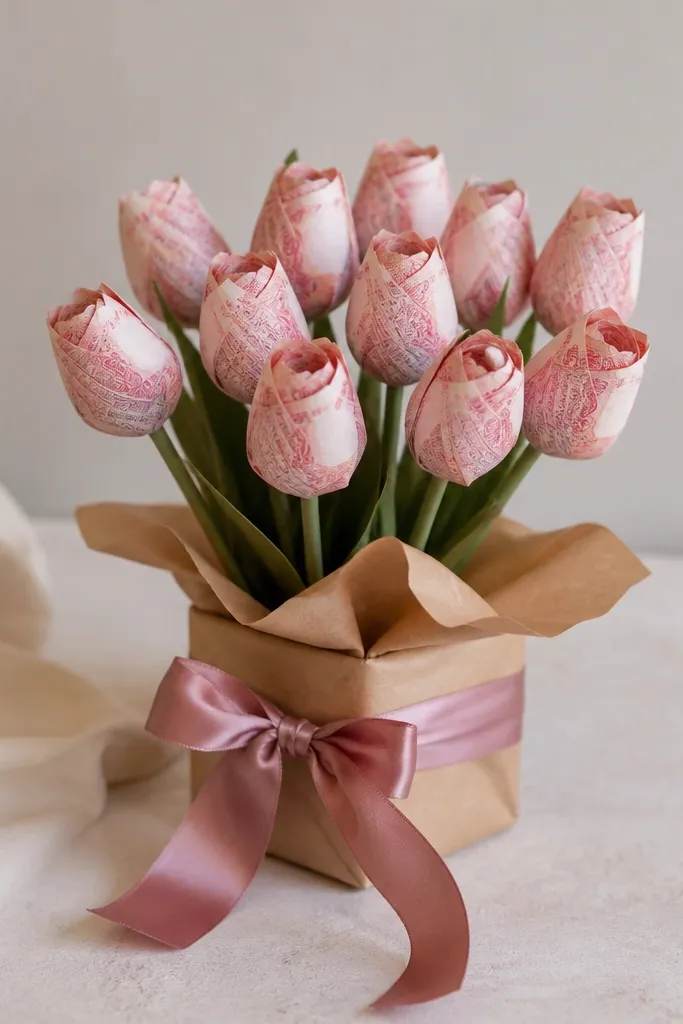
A foam block gives you instant structure, so your money stems stay upright while you build. Wrap the block in kraft paper or fabric to hide the rough edges, then insert your stems at slight angles for a natural bouquet curve. This method is beginner-friendly because it’s forgiving if your first few stems aren’t perfectly straight.
Good to knowCut the foam to fit your vase or basket opening, then insert stems 1-2 cm apart so the bouquet fills out without gaps.
2. Dollar Bill Rose Clips (No Gluing Needed)
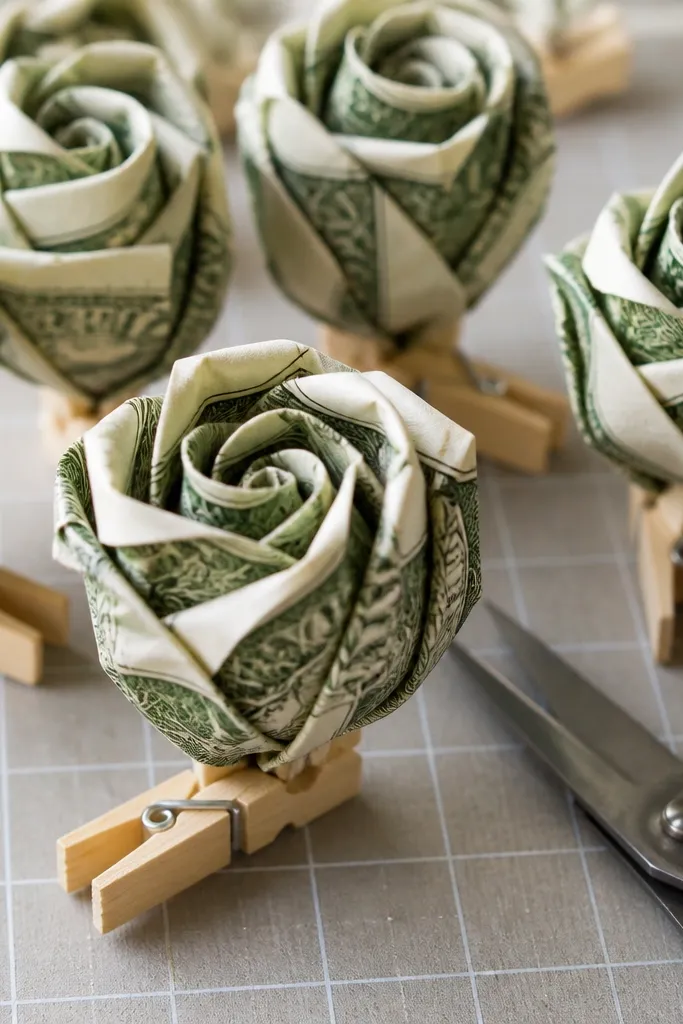
Instead of gluing, you can shape each bill into a rose-like fold and secure it with a small paper clip or clothespin. The clip holds the folds together while you attach the stem, which keeps everything adjustable. Use crisp bills (new or ironed gently) so the edges don’t look wrinkly.
If your bills curl, press them under a heavy book for 10 minutes before folding.
3. Ribbon-Wrapped Stems for a Clean Look
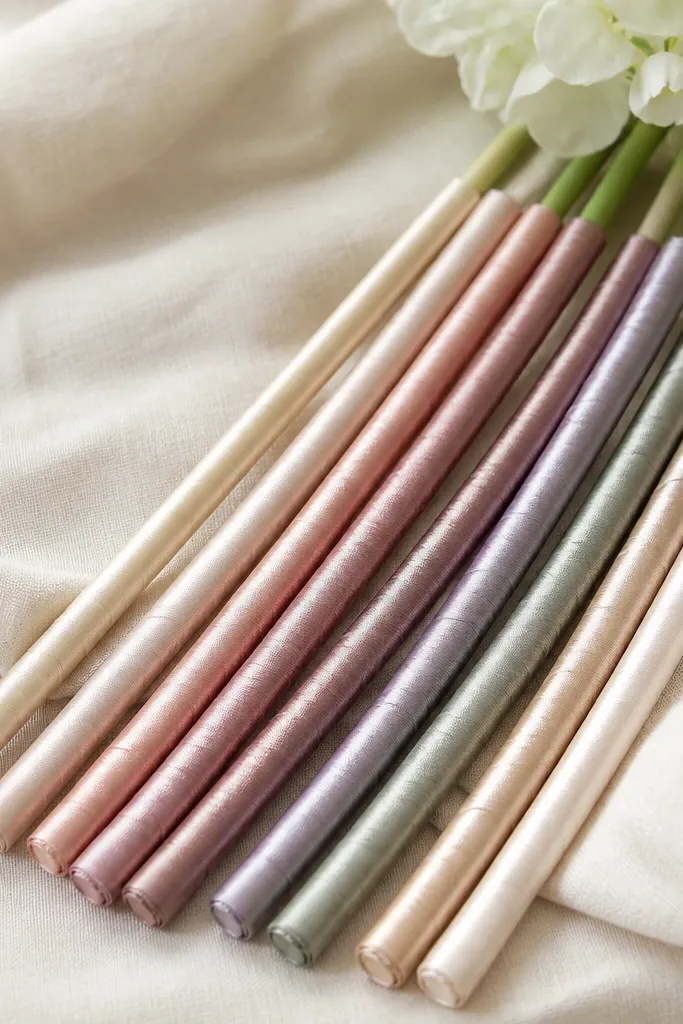
Bare sticks look unfinished, but ribbon-wrapped stems make the bouquet look polished instantly. Use floral tape or double-sided tape to anchor the ribbon, then wrap in a tight spiral downward. This also helps hide any small tape spots where money flowers attach.
Start the ribbon at the bottom of the stem and overlap by 1/3 each wrap for a smooth finish.
4. Crease-First Money Folding Technique
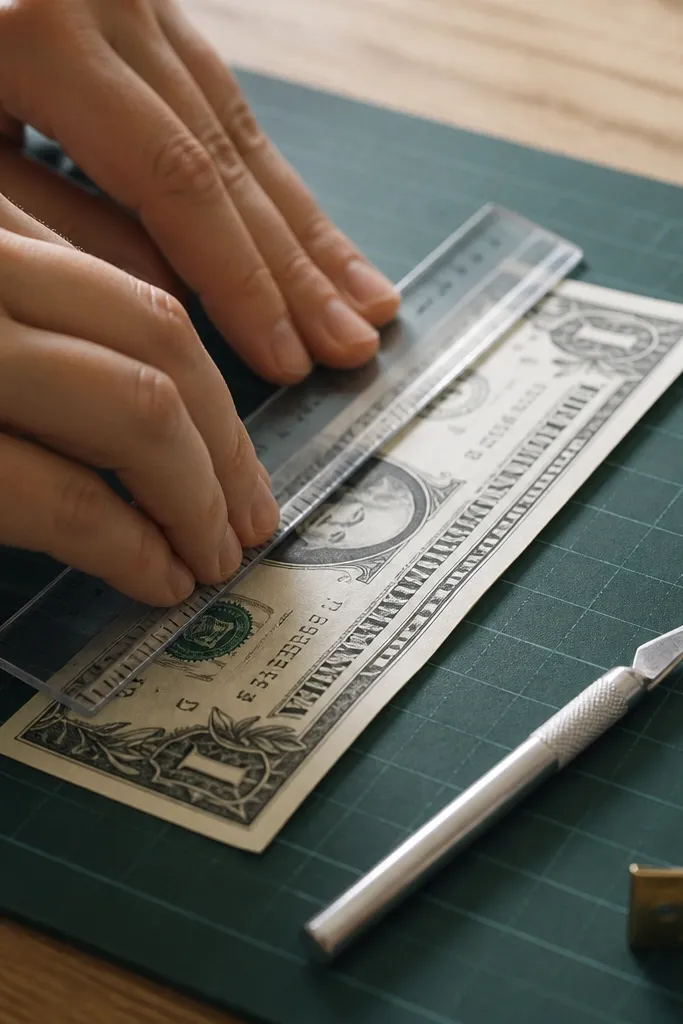
Before you fold, make quick, light creases using a ruler so your money shapes stay crisp. The creases act like guides and reduce wonky edges, especially for beginners. This is the fastest way to keep your “blooms” from looking messy.
Use the ruler edge to press for 2-3 seconds per fold, then unfold and refold along the same line.
5. Layered Tissue Paper Filler Behind Money Blooms
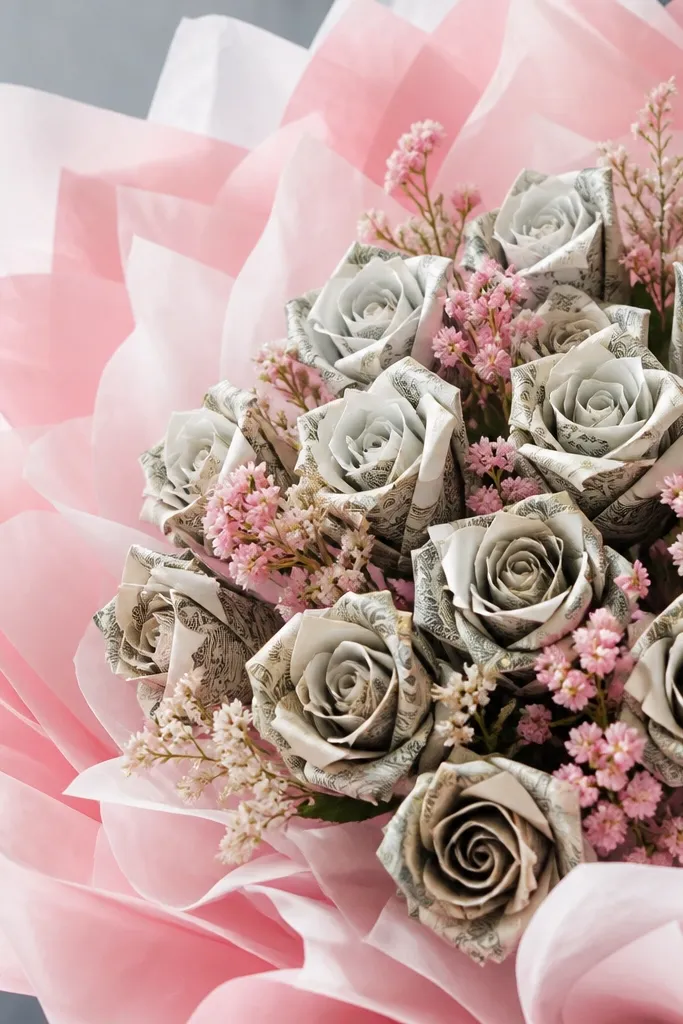
Tissue paper filler makes the bouquet look full even if you only have 10-12 money flowers. Cut tissue into small rectangles, then pinch and fan them to create soft “petals.” Place filler behind and between blooms so the money stays the star while the gaps disappear.
Stick filler with hot glue dots only where it won’t show, or tuck it into foam gaps for a clean look.
6. Kraft Paper Wrap + Decorative Edge
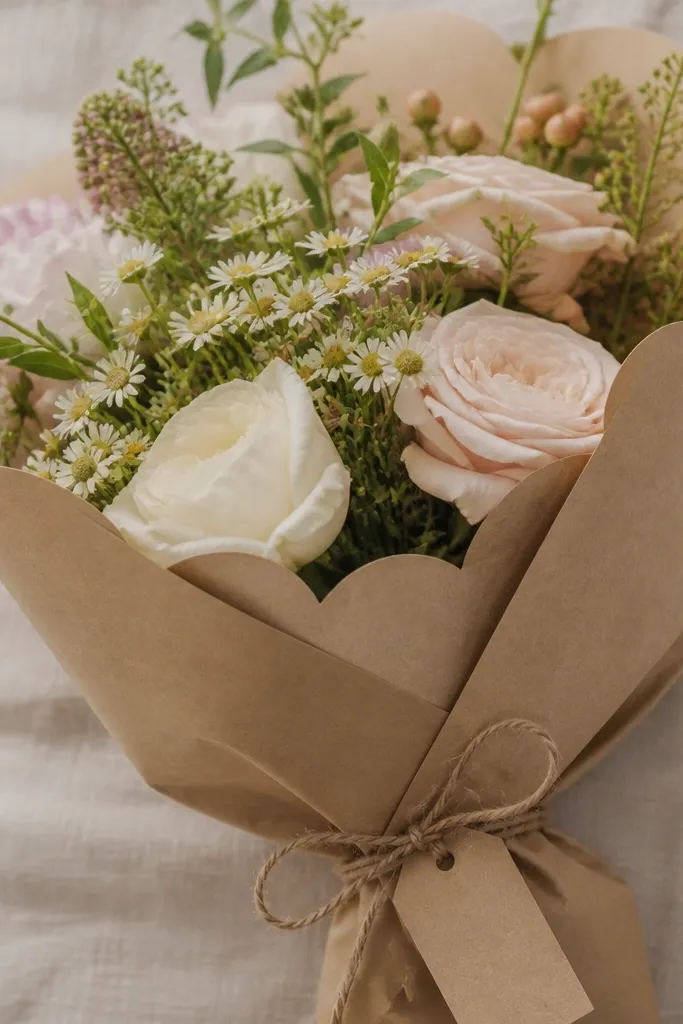
Wrapping the base in kraft paper hides the foam and gives a gift-shop vibe. For a beginner-friendly upgrade, trim the top edge into a soft scallop or zigzag before tying ribbon. Add twine or a satin bow to make it feel intentional and not “just a craft.”
Measure the wrap height by holding paper against the bouquet, then add 2-3 cm for overlap.
7. Mini Bow Placement at the Center
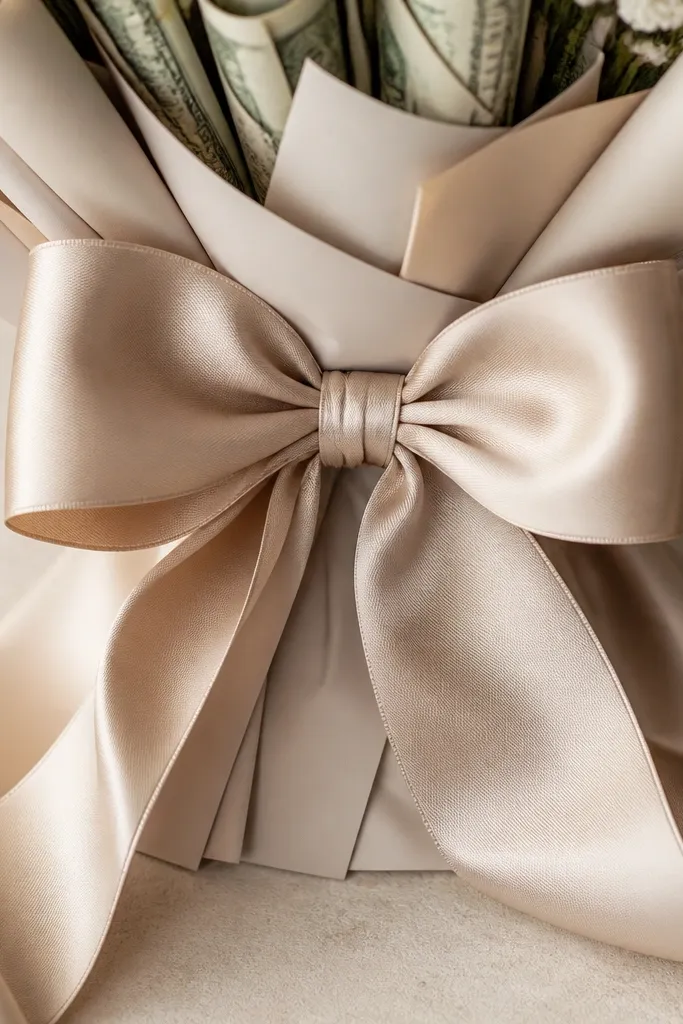
A centered bow instantly makes the bouquet look like a finished present. Use a 1-2 inch bow and tie it where the wrap seam meets, so it hides any uneven edges. Keep the bow small enough that it doesn’t cover the money blooms.
Hot glue the knot underside only, so you can still adjust the ribbon tails before it sets.
8. Money Flower + Faux Greenery Mix
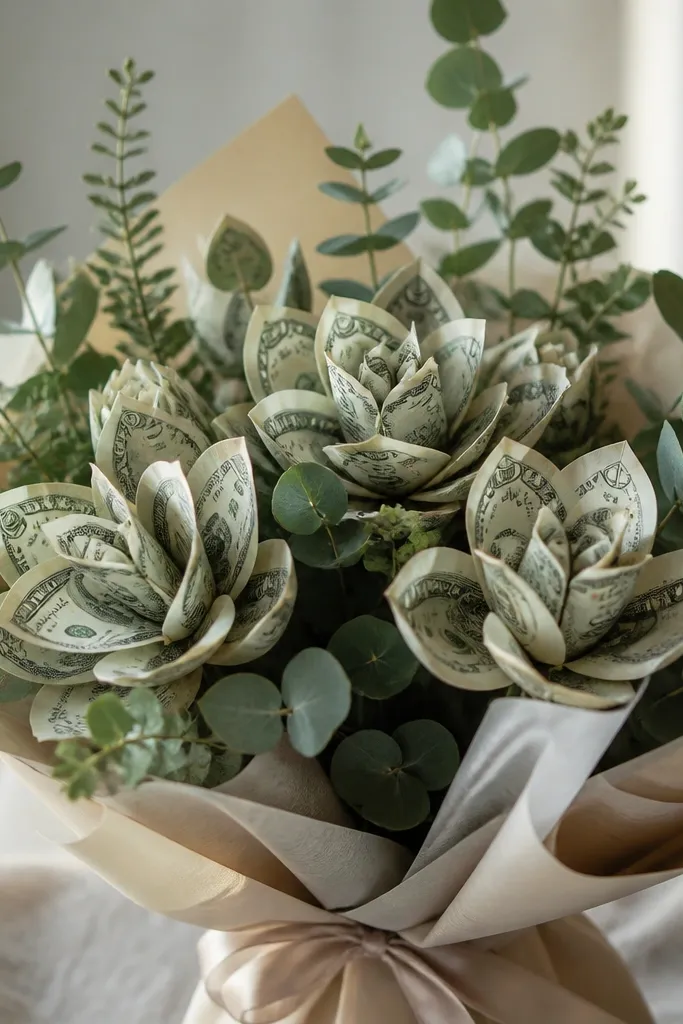
Faux greenery fills space and adds realism, making your money flowers look more like real stems. Add 3-5 sprigs at different heights so the bouquet has dimension. Choose muted greens (sage or olive) so the money colors pop.
Cut greenery stems so they reach about 1-2 inches below the tallest money bloom for a balanced silhouette.
9. Clear Cellophane + Ribbon Finish
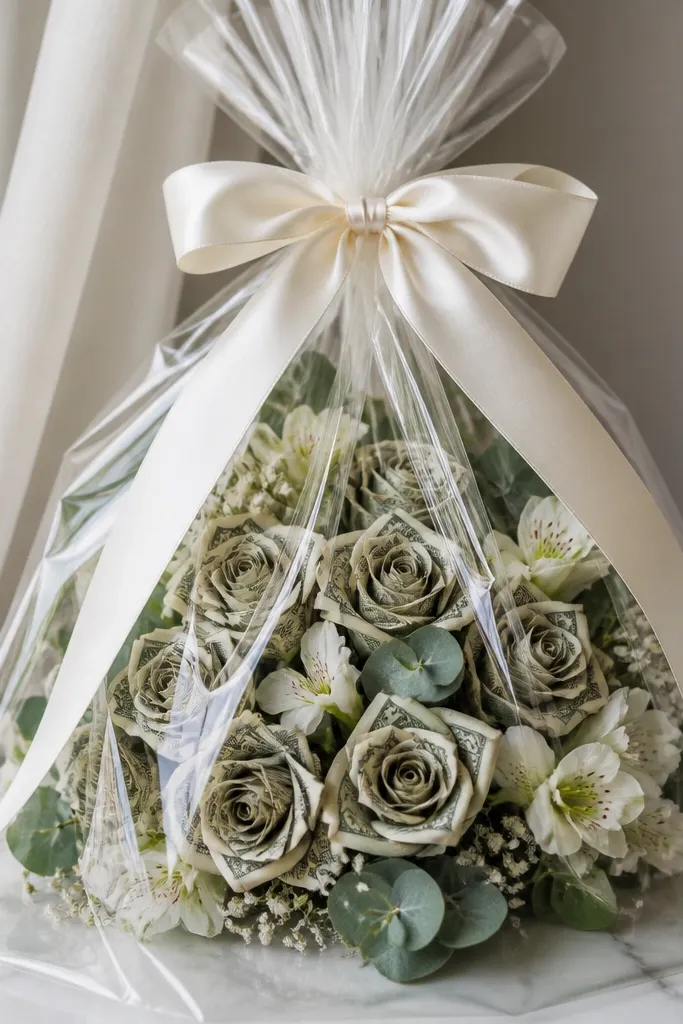
Cellophane protects your bouquet and makes it look like a packaged flower arrangement. Wrap loosely so the money flowers aren’t crushed, then tie with ribbon at the top. This method is great if you want a “wow” look without extra filler materials.
Good to knowUse a slightly wider ribbon than you think you need so the bow looks full, not flat.
10. Basket Bouquet with Floral Foam Insert
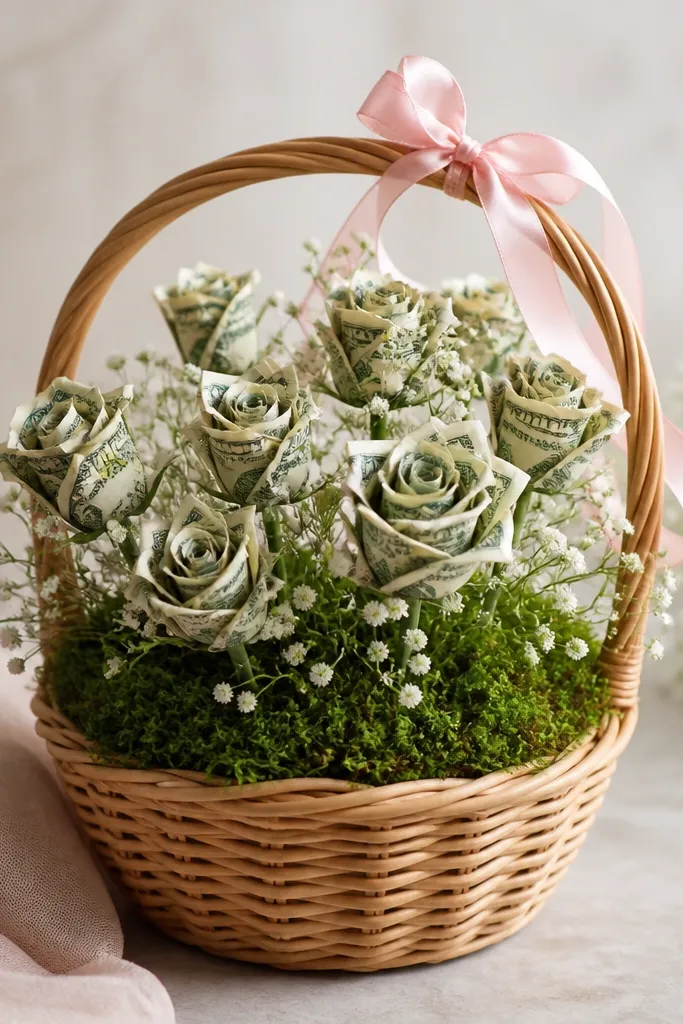
A basket base is beginner-friendly because it holds the foam and gives you a ready container. Cover the foam with moss or shredded paper so the base looks natural. Then insert stems so the money blooms rise above the basket rim.
Test stem length by placing them in the basket first, then trim only after you like the height.
11. Envelope Pocket for Optional Gift Note
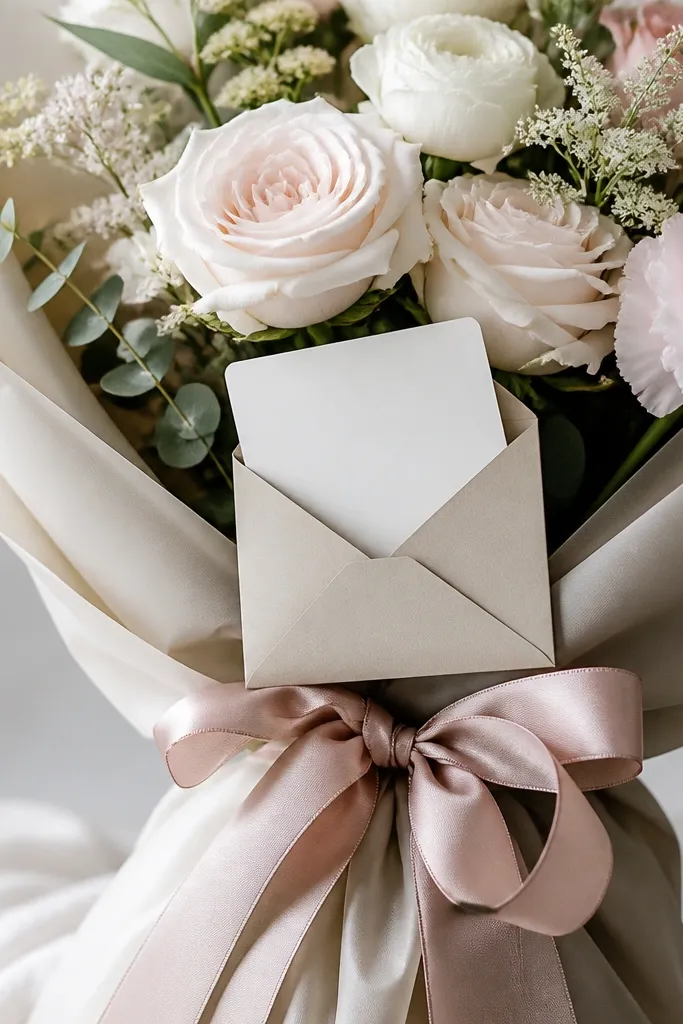
Adding a tiny envelope pocket makes your money bouquet feel more thoughtful and useful. Use cardstock to create a simple envelope and attach it behind the wrap where it won’t interfere with stems. You can tuck in a note, gift card, or short message without losing the bouquet’s clean look.
Use a foldable pocket size that fits a standard gift card (about 3.5 x 2 inches).

