1. Morning Tea Cup With Tiny Constellations
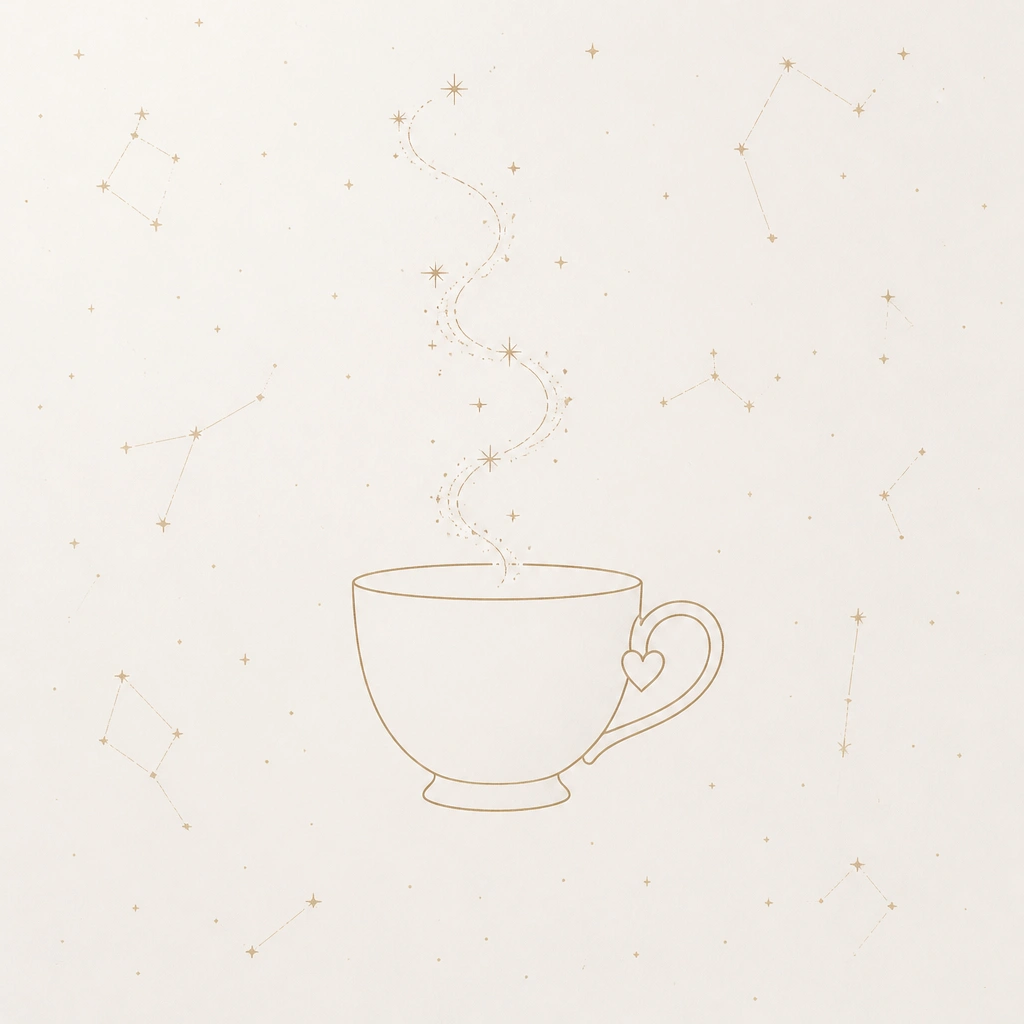
Draw a slightly tilted teacup using a single continuous line, then turn the steam into a constellation by placing 10-15 tiny dot stars along the steam curve. Add 3 short “stitch” lines near the bottom like a cozy scarf detail. Use warm beige paper-friendly colors: light brown, dusty rose, and a tiny touch of muted gold (gel pen) for the star highlights.
Good to knowStart with dots first: place your star points lightly, then connect only where steam would naturally flow. This keeps the steam from looking messy.
2. Pressed Flower Corner Frame (No Real Press Needed)
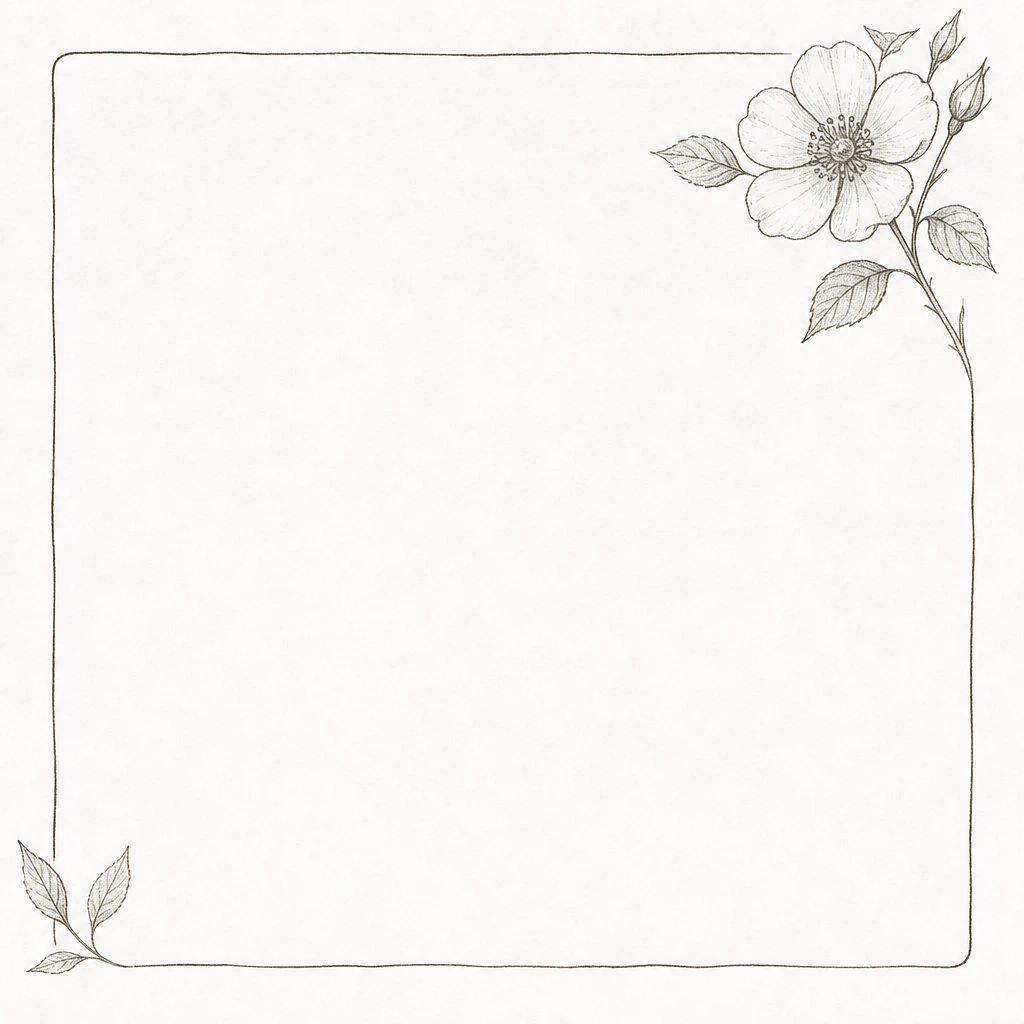
Sketch a thin corner rectangle and leave a gap so it feels airy. Inside, draw one small flower (like a simple 5-petal bloom) and add 2 leaves with vein lines using a 0.3 fineliner. For the “pressed” look, color petals with a very light wash using colored pencil, then erase a few highlights so it looks textured.
Good to knowKeep it to one flower + two leaves. One focal cluster looks more aesthetic than scattering multiple blooms.
3. Vintage Ticket Stub + Date Box
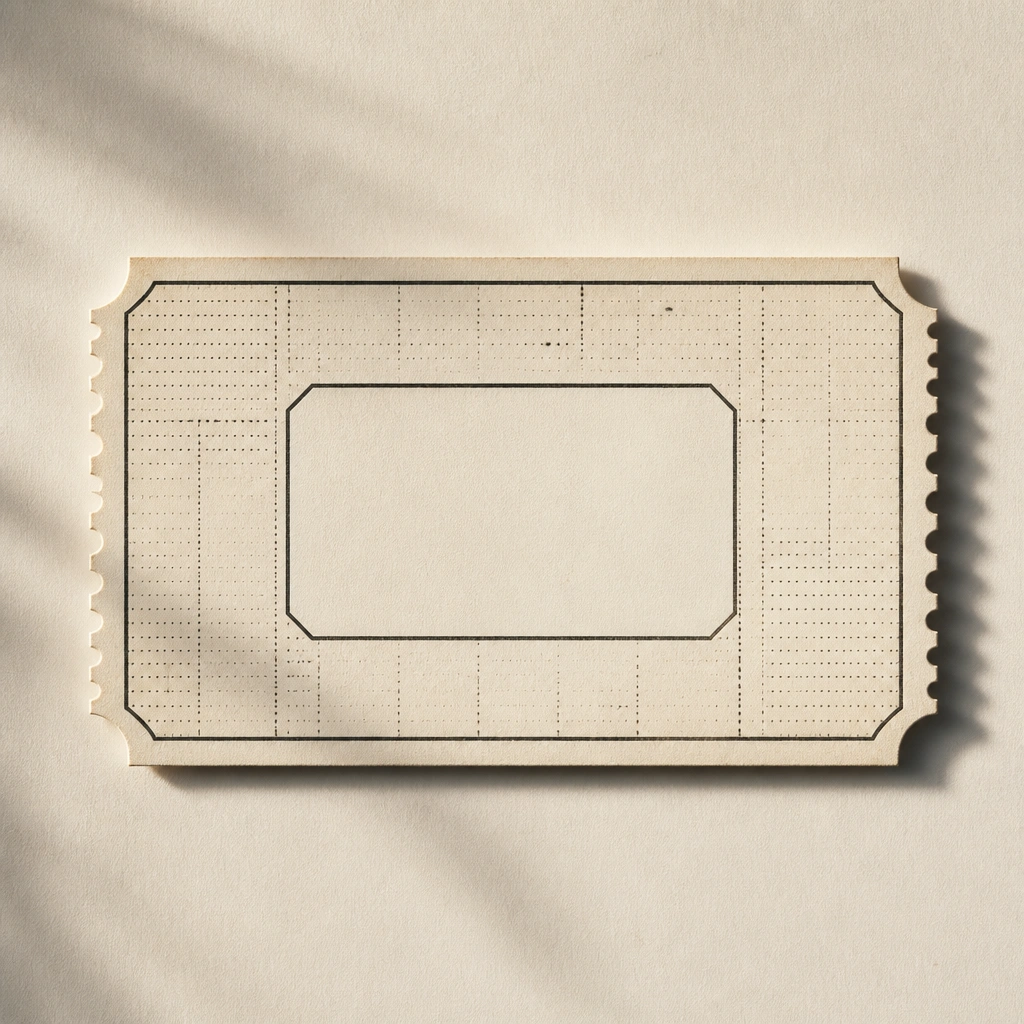
Draw a ticket with scalloped perforation edges on the left and right sides. Add a central date box (a clean square) and fill the rest with micro-patterns: dots, short lines, and a tiny border. Use muted ink colors — sepia or dark gray — then highlight the date box with a soft wash of pale yellow or blush.
Use a ruler for the ticket borders, but freehand the perforations so they don’t look too perfect.
4. Clouds + Raindrop Checklist
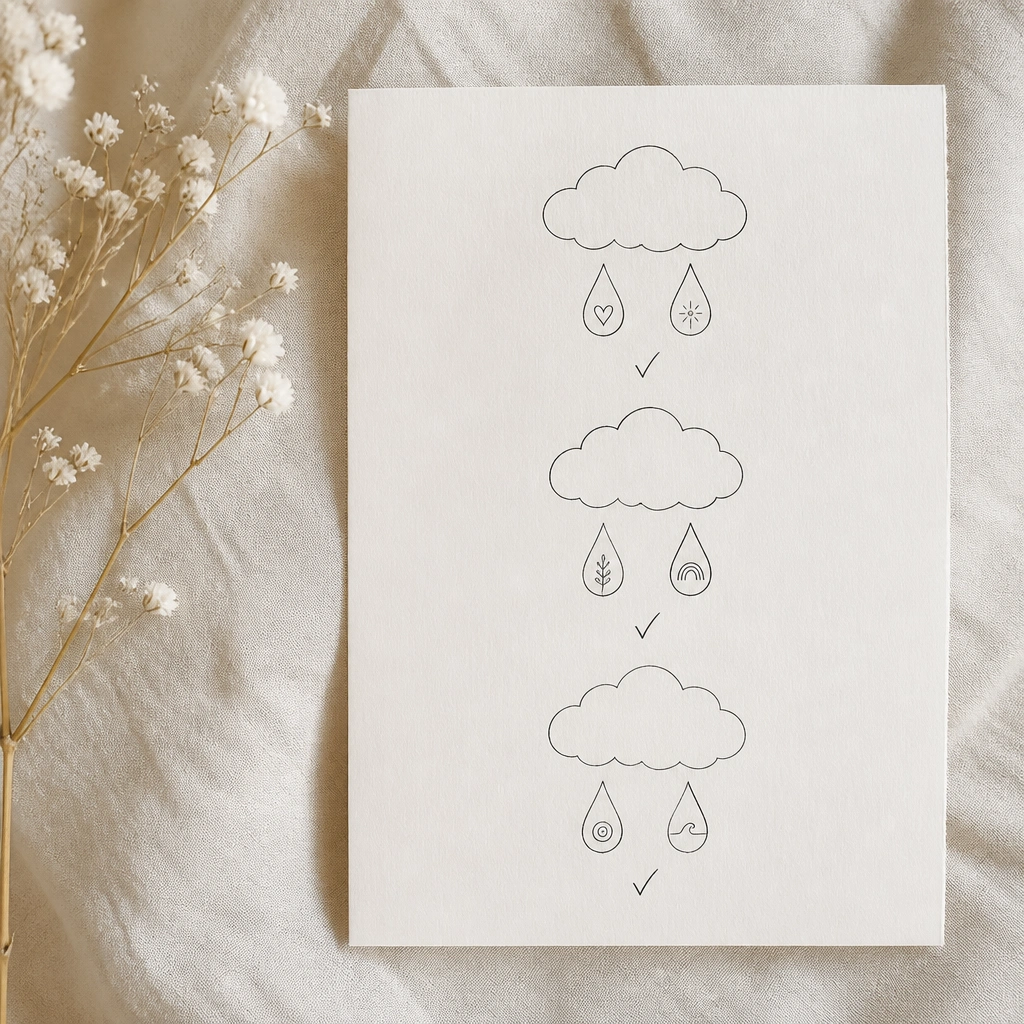
Create a vertical mini scene: 3 clouds with raindrops that turn into your “to-do” or “mood” words. Write one short phrase inside each raindrop (keep it under 4 letters if you want it extra tidy). Color the clouds in light blue-gray using gel pen or colored pencil, and underline each raindrop with a darker stroke for contrast.
Good to knowMake raindrops uniform by drawing them as teardrops with the same height. Consistency makes the page instantly aesthetic.
5. Washi Tape Strip Frames (Drawn, Not Stuck)
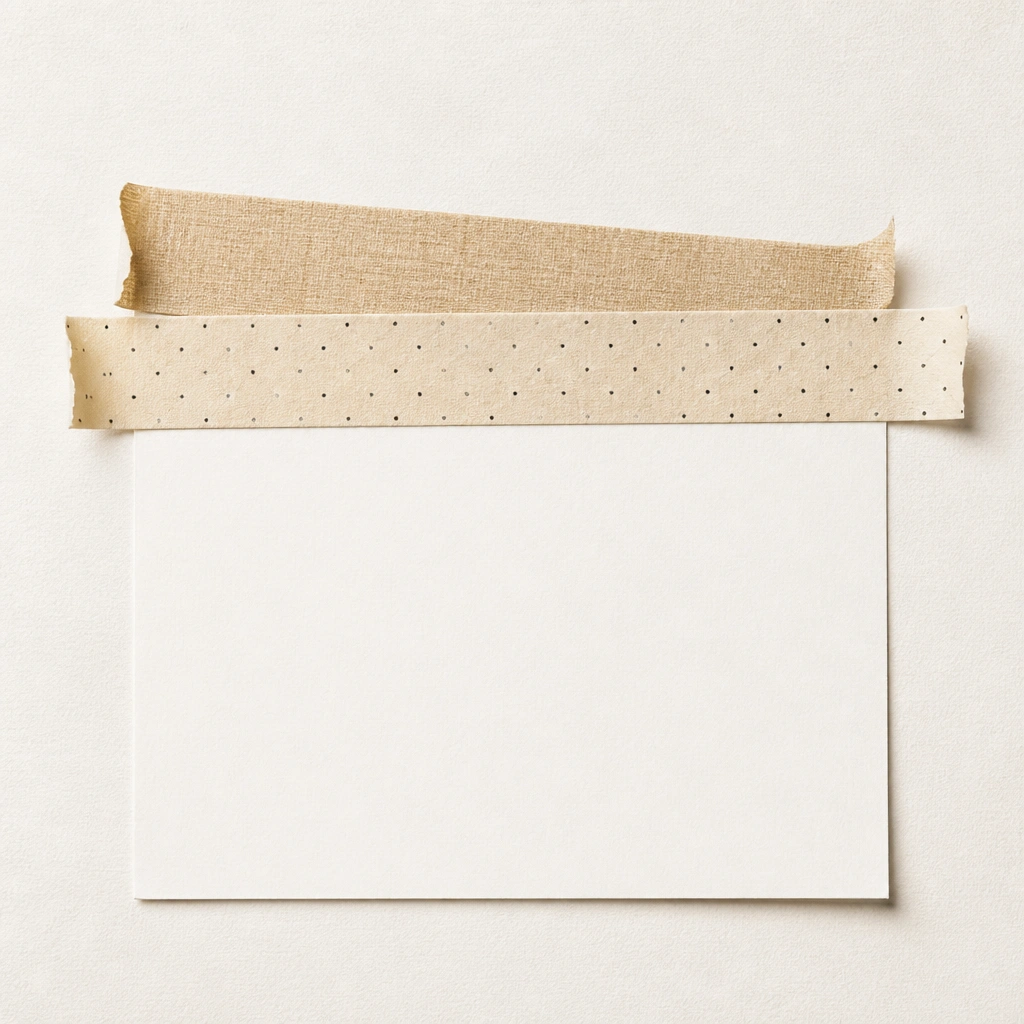
Sketch 2-3 strips across the page and add tape edges that curl slightly at the ends. Give each tape a different pattern: tiny dots, thin stripes, or micro florals. Then frame a blank “photo” area by drawing a thin rectangle inside the taped space. This is perfect for diary entries where you want structure without gluing anything.
Good to knowAdd shadow under each tape strip with a light pencil line. It makes the tape look layered even though it’s only drawn.
6. Mini Landscape Window (Curtain + Skyline)

Draw a window frame and two curtain folds using smooth curves. Inside, use 3 bands for the sky (pale pink, light peach, and pale blue) and keep the skyline simple: one rounded hill layer, one smaller layer in front, and a tiny sun. Add a few sparkly dots near the sun to give it that “dreamy morning” feeling.
For gradients, color lightly in bands first, then blend with a dry colored pencil tip or a clean finger — no water needed.
7. Cute Polaroid Stickers With Blank Captions
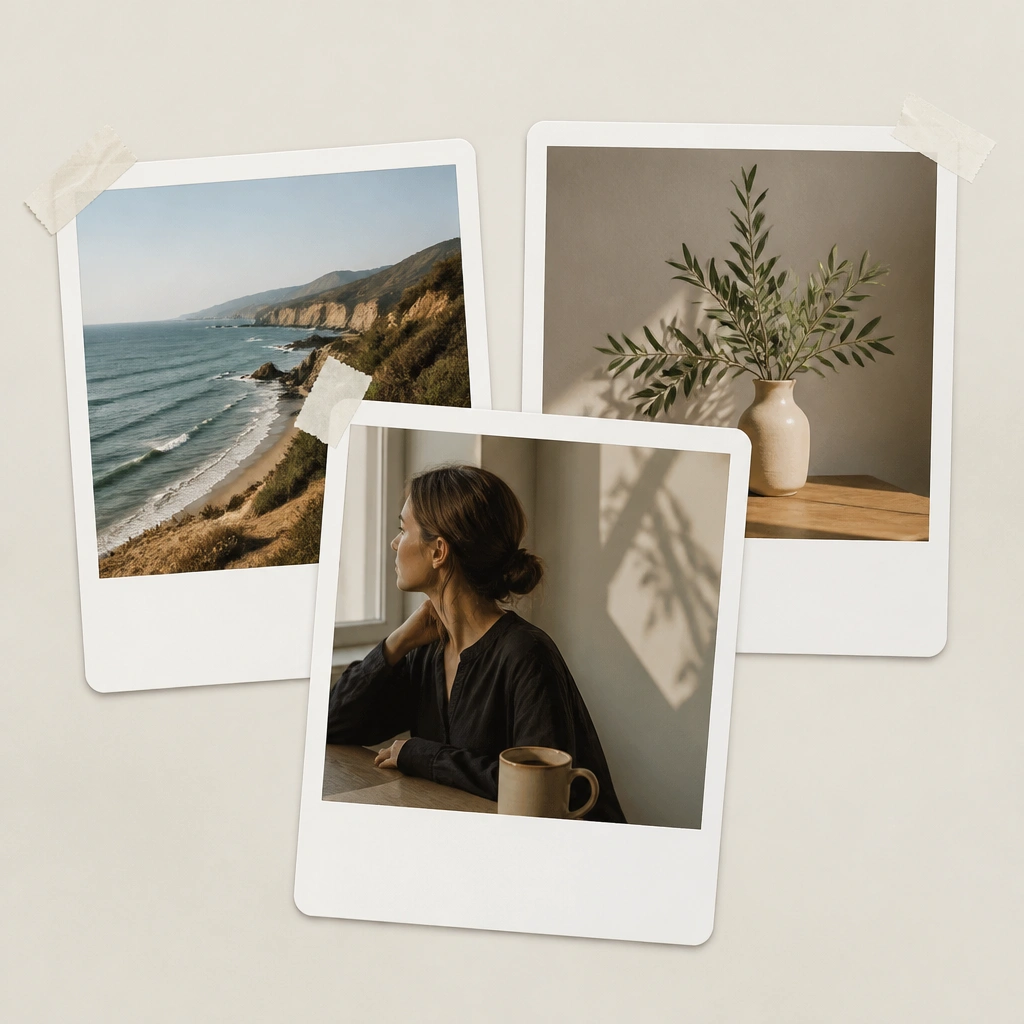
Draw 3 polaroid frames and tilt them slightly so they feel like real stickers. Keep the caption strip blank or write tiny dates — your real entry text can go there later. Use a soft border shadow by tracing the polaroid outline again in a lighter gray offset by 1-2 mm.
Good to knowUse one consistent border color (like warm gray) across all three polaroids to avoid a mismatched look.
8. Ice Cream Swirl With Sprinkles Border
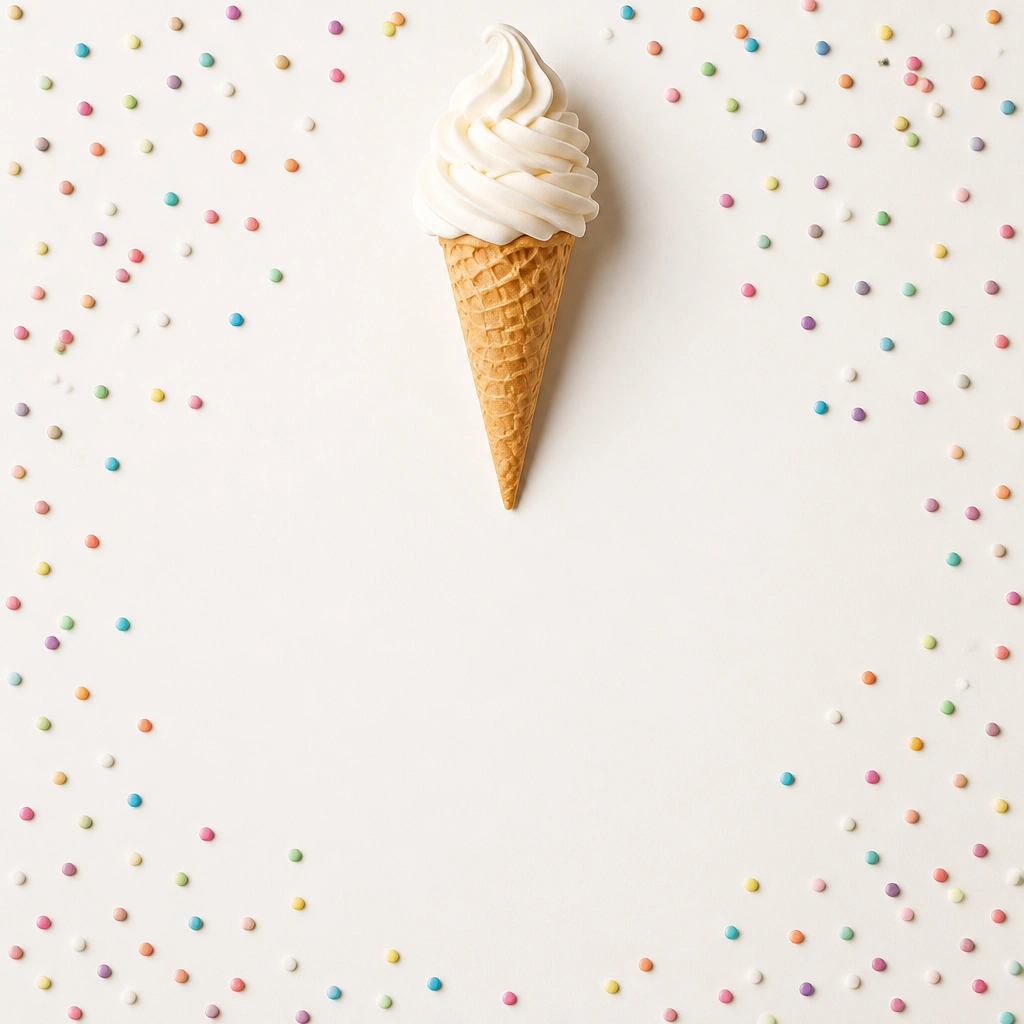
Draw the cone with simple triangle lines and then make the scoop a spiral swirl with 2-3 thick curves. Color the scoop in mint, strawberry, or vanilla using colored pencil or gel pens. Then add sprinkles only around the border area — short lines and small circles — so the doodle doesn’t overwhelm your diary text.
Leave a writing zone in the middle: draw sprinkles around the outside, not behind any important entry lines.
9. Book Page Bookmark With Hand-Drawn Margins
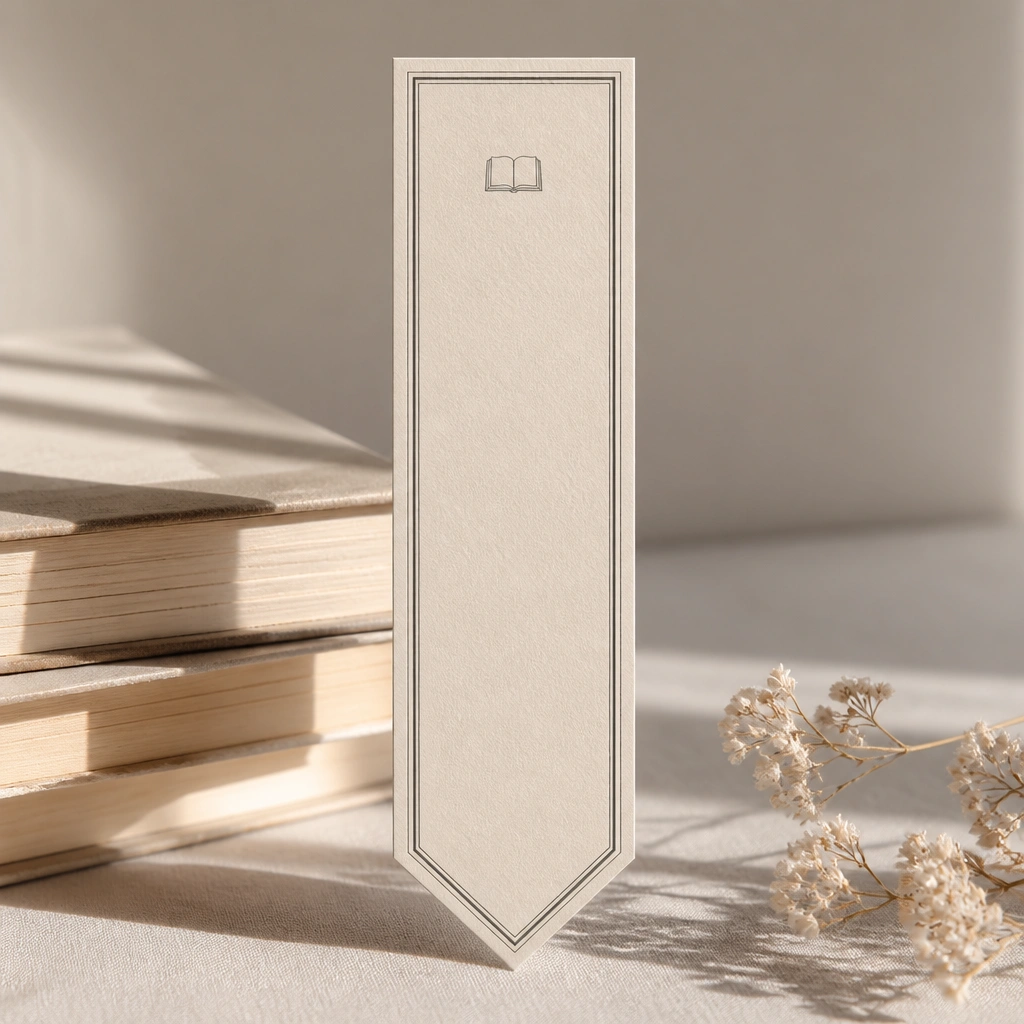
Make a vertical bookmark doodle with a pointed tip. Draw a small open book at the top and add “margin lines” down the sides using alternating thick/thin strokes. Color the bookmark base in a muted tone (cream, light gray, or soft lilac) and keep the icon in dark fineliner so it stays crisp.
Good to knowIf your diary pages are lined, align the bookmark’s side margin lines to the notebook’s line spacing for instant symmetry.
10. Sushi Roll Icons in a Grid (Tiny and Clean)
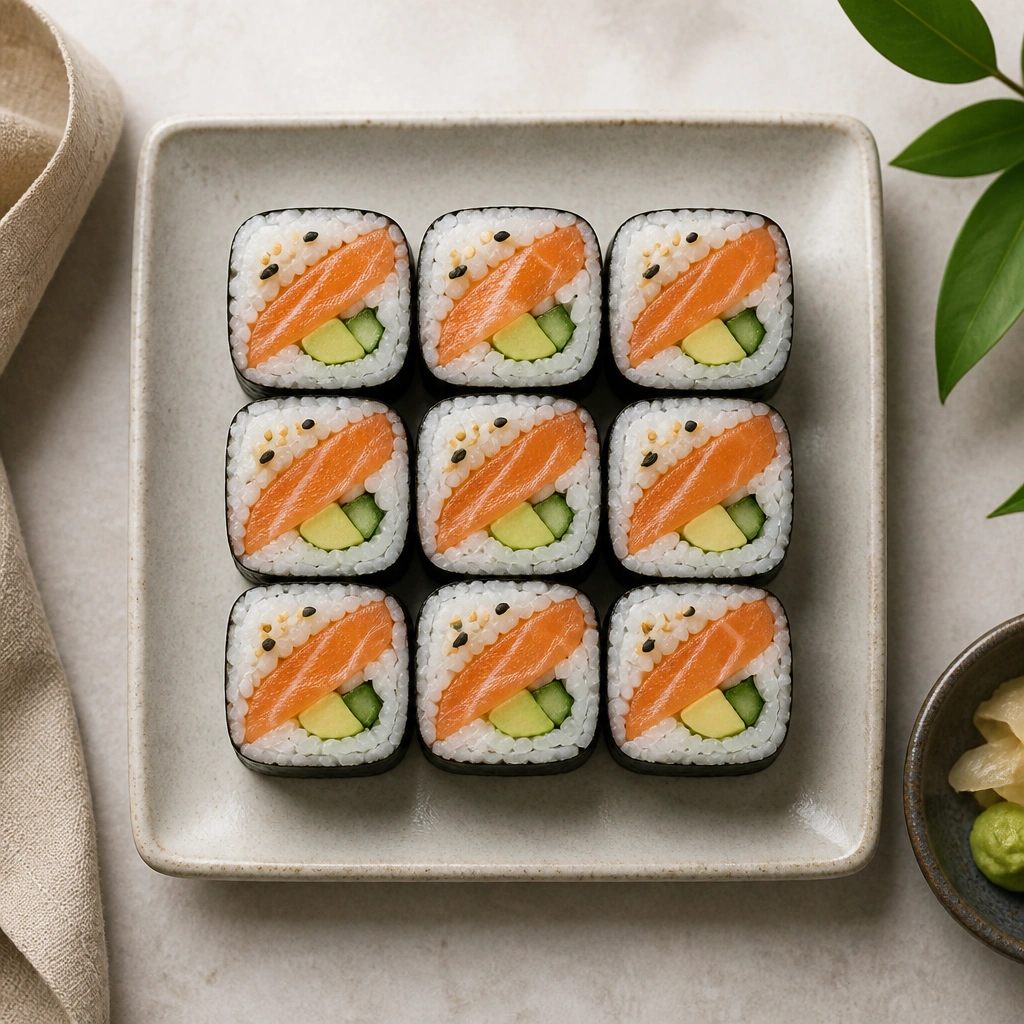
Draw a 3x3 grid and fill each square with a simplified sushi roll: one long rectangle, a curved top edge, and 1-2 diagonal lines for detail. Add 3-5 sesame dots per roll so they feel alive without getting busy. Color only two tones: warm beige for rice and a muted green or red for toppings.
Use a fine tip for the sesame dots. If they’re too big, the grid will look cluttered.
11. Face Emoji Mood Meter (Soft Pastel Scale)

Create a mood meter by drawing a 5-segment bar and placing a tiny face in each segment. Keep the faces minimal: dot eyes and small curved mouths. Use pastel coloring per segment (lavender, light blue, peach, mint, pale yellow) and outline the bar in a darker gray for clarity.
Add a small arrow you can move each entry — draw it as a separate element above the bar so you can reuse the layout.