1. Washi Tape Grid Check-In Page
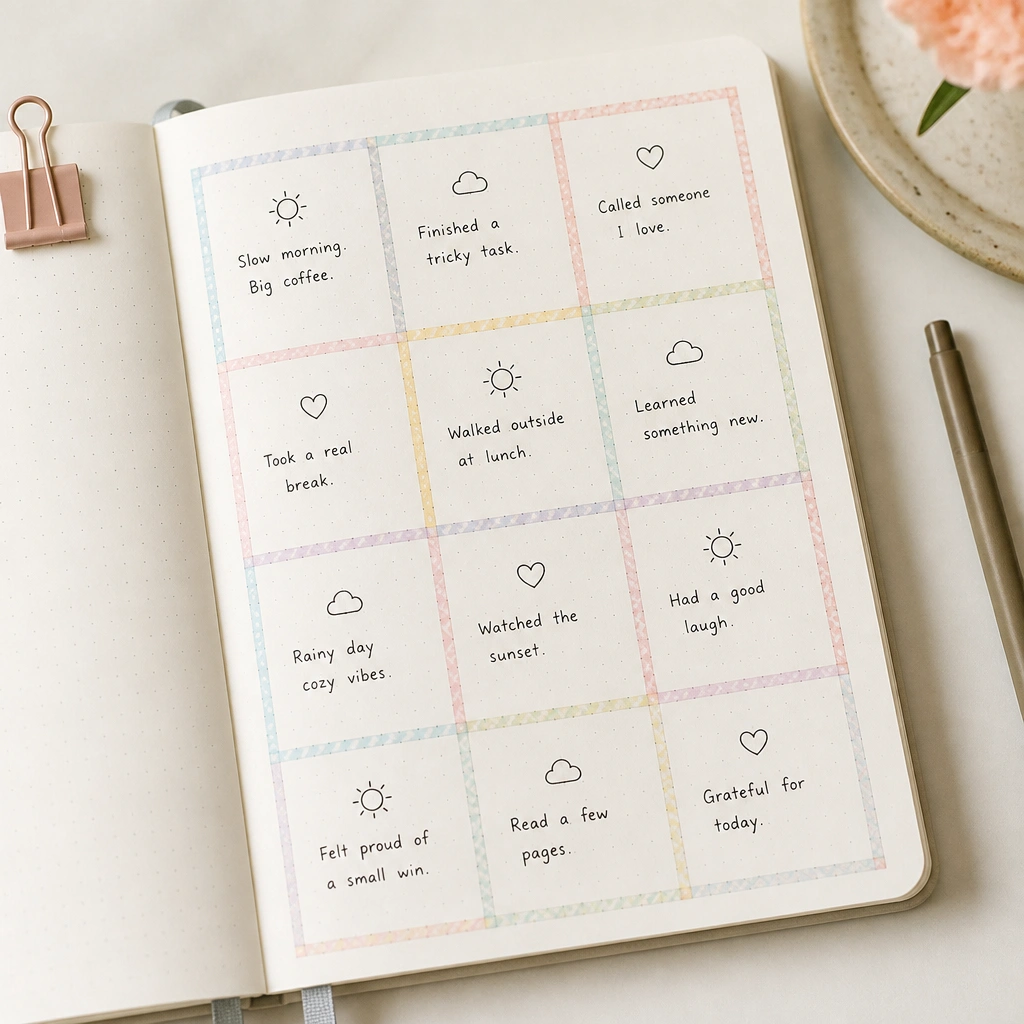
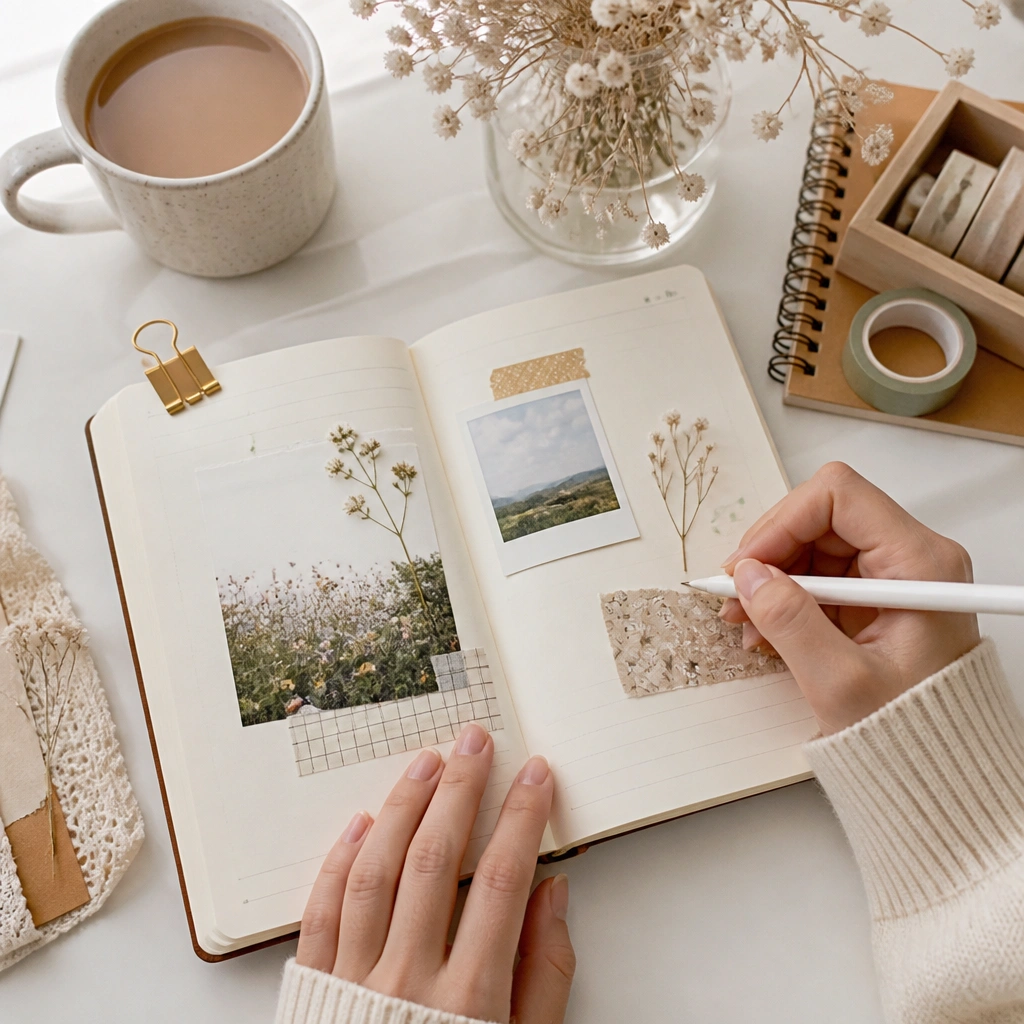
Cover the page with 4-6 vertical and horizontal washi strips, leaving small empty squares for writing. Use one color family (like blush + cream + dusty blue) so the grid looks cohesive even with messy days. Write one sentence per box to keep entries quick and consistent.
Good to knowUse low-tack washi tape so you can reposition without tearing paper. If your handwriting is uneven, write the smallest text only in the boxes.
2. Polaroid Photo Corner + Caption
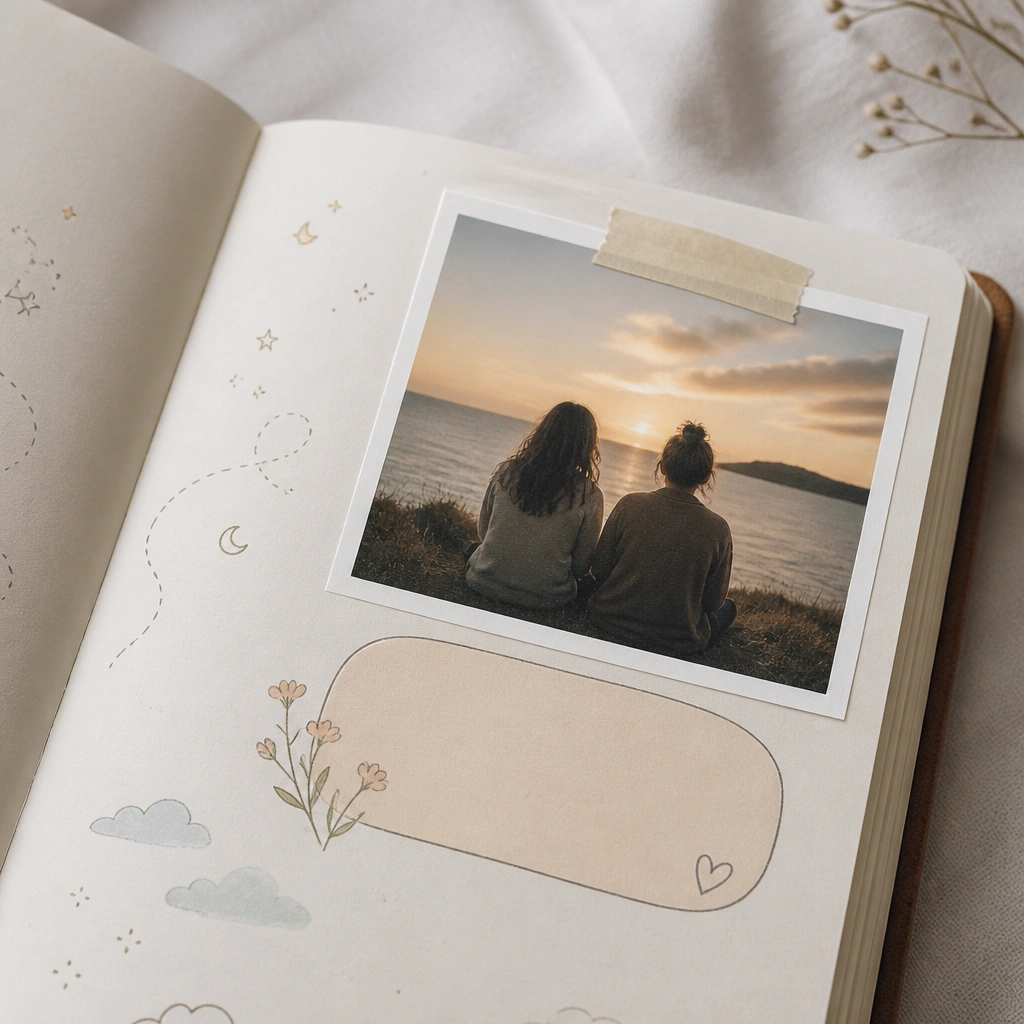
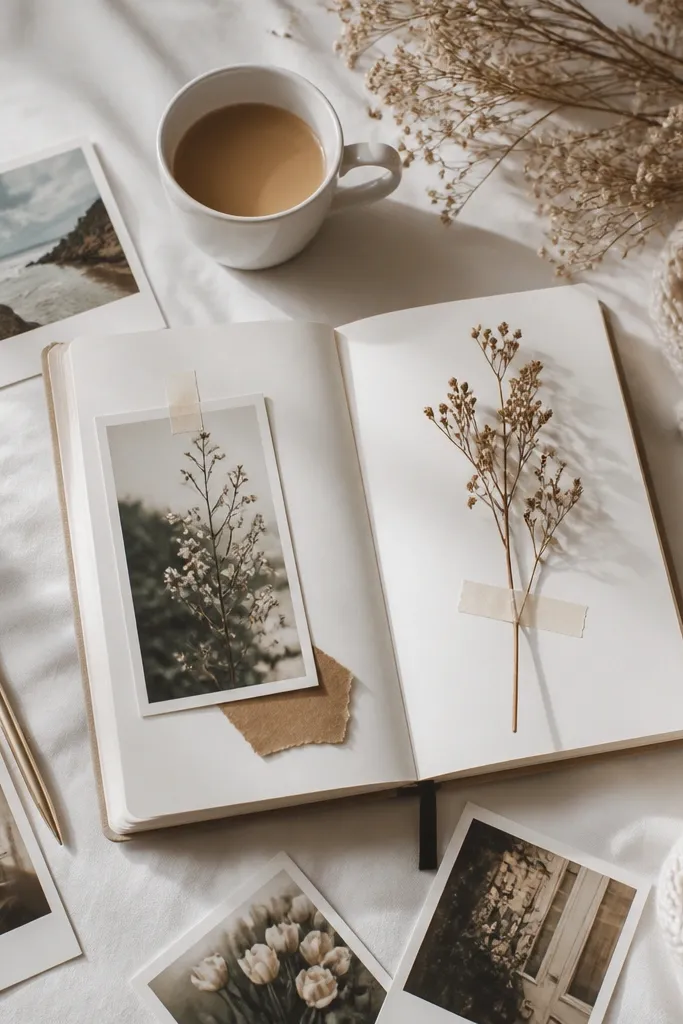
Print or cut a small photo (or even a magazine image) and tape it into one corner with a thicker strip of washi at the top edge only. Add a caption bubble with a few words: what happened + how you felt. The blank space around the photo makes your handwriting look more intentional.
Print photos in black-and-white for an instant cohesive aesthetic. Leave a 1 cm border so the tape edges don’t look bulky.
3. Sticker Label Mood Bar
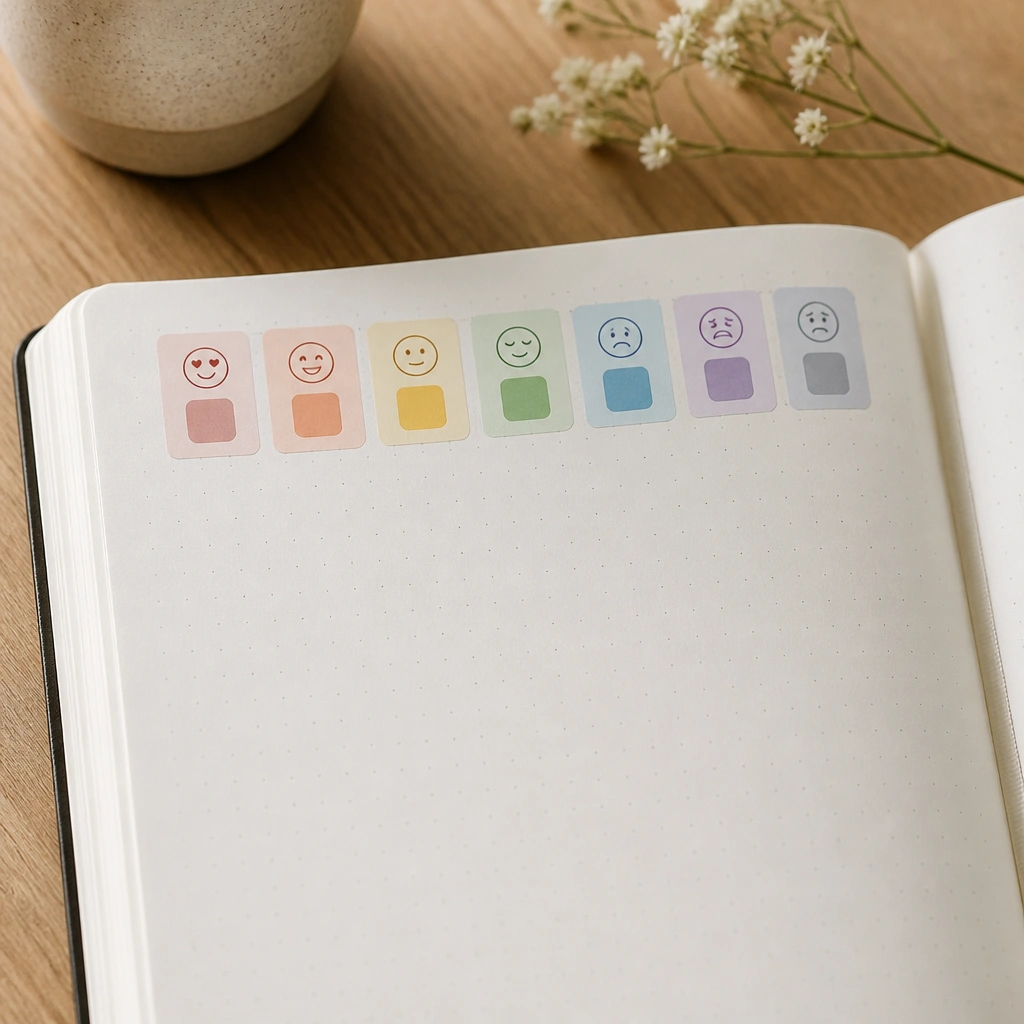
Create a “mood bar” using 5-7 small sticker rectangles or cut paper squares. Label each block with a mood word (like calm, excited, tired) and choose a color for each. In your daily entry, circle one block and write a 2-line reflection under it.
Keep the mood bar consistent across the week. Use the same font style (all caps or all lowercase) so it looks designed, not random.
4. Pressed Flower Timeline Edge
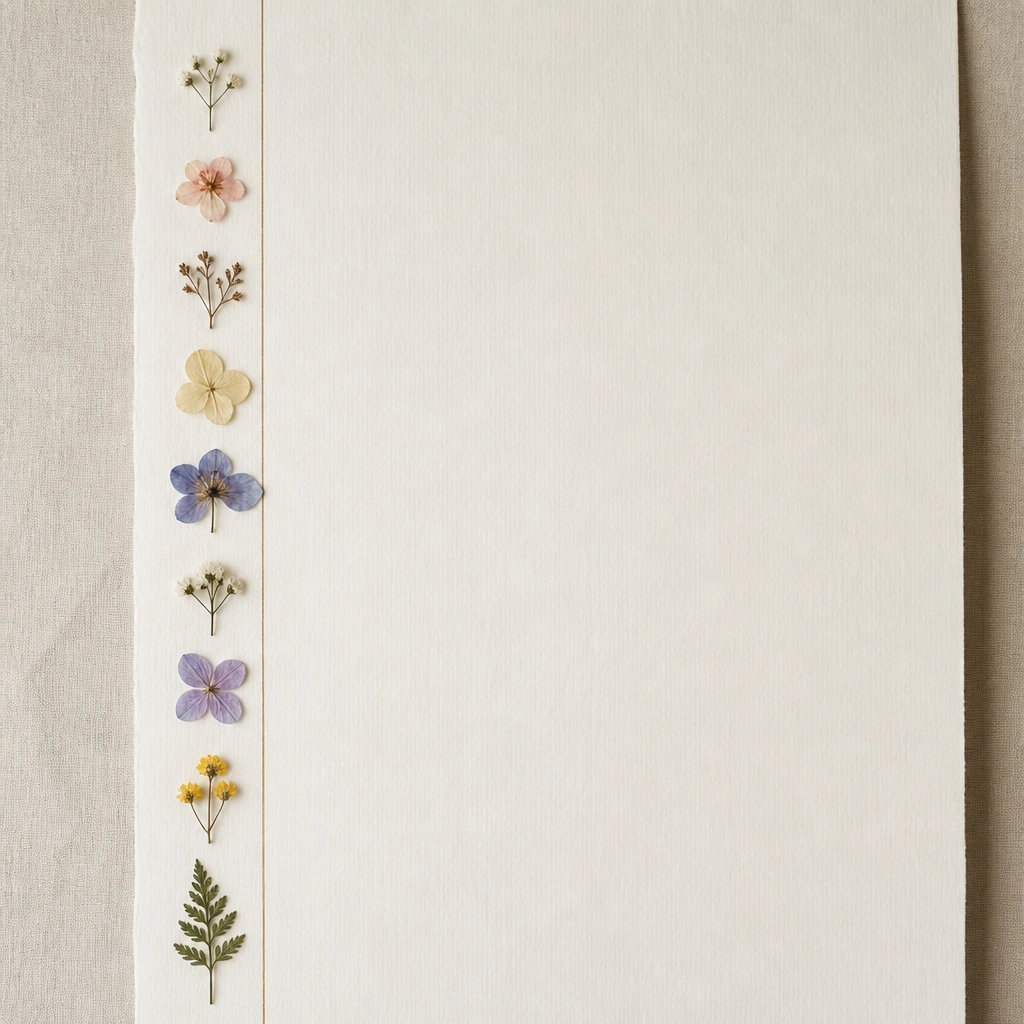
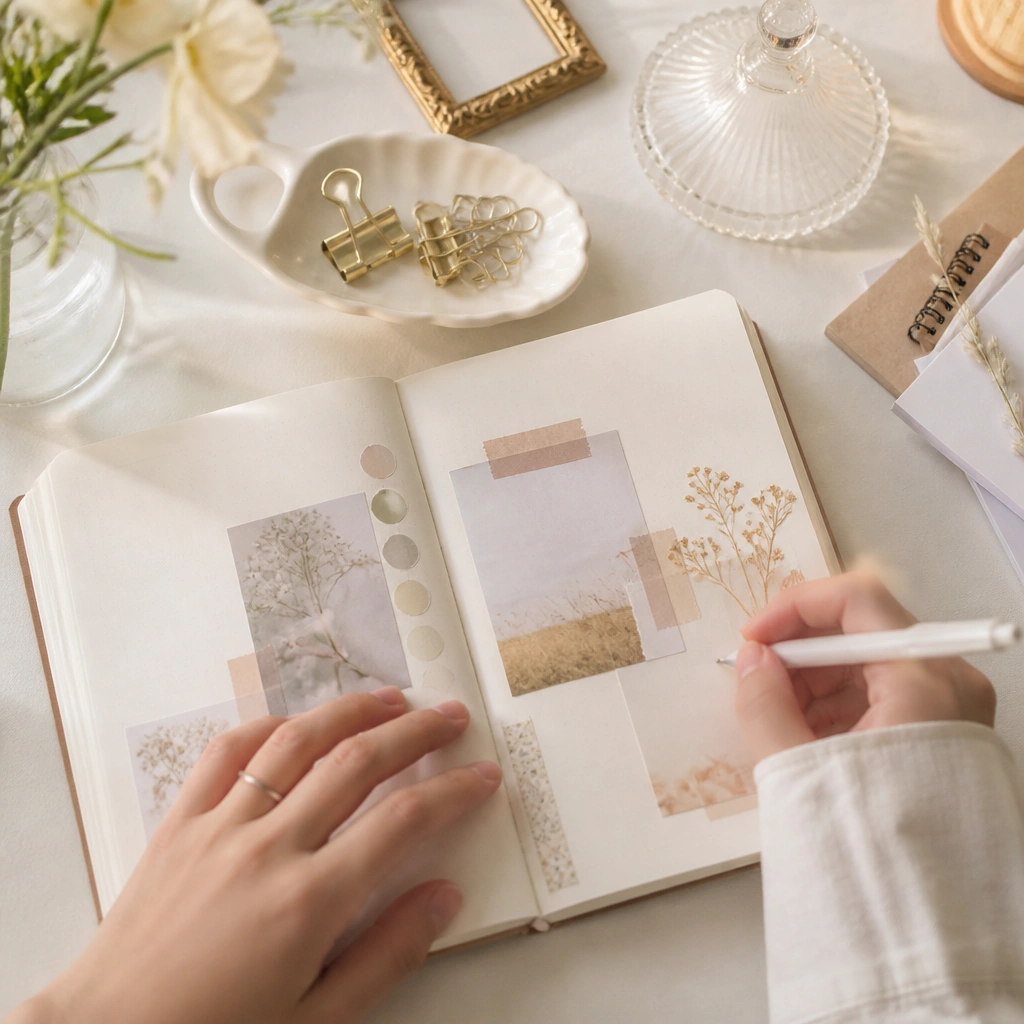
Place 3-5 tiny pressed flowers along one page edge next to a simple timeline line. Write your day in chronological order (AM, PM, evening) in a narrow column so the flowers act like a decorative “bookmark.” Small flowers look best because they won’t overpower your text.
Good to knowPress flowers between parchment and a heavy book for 1-2 weeks. Seal with clear matte tape or a thin layer of clear craft glue only on the edges to avoid lifting.
5. Coffee Stain Ombre Background + Quote Line
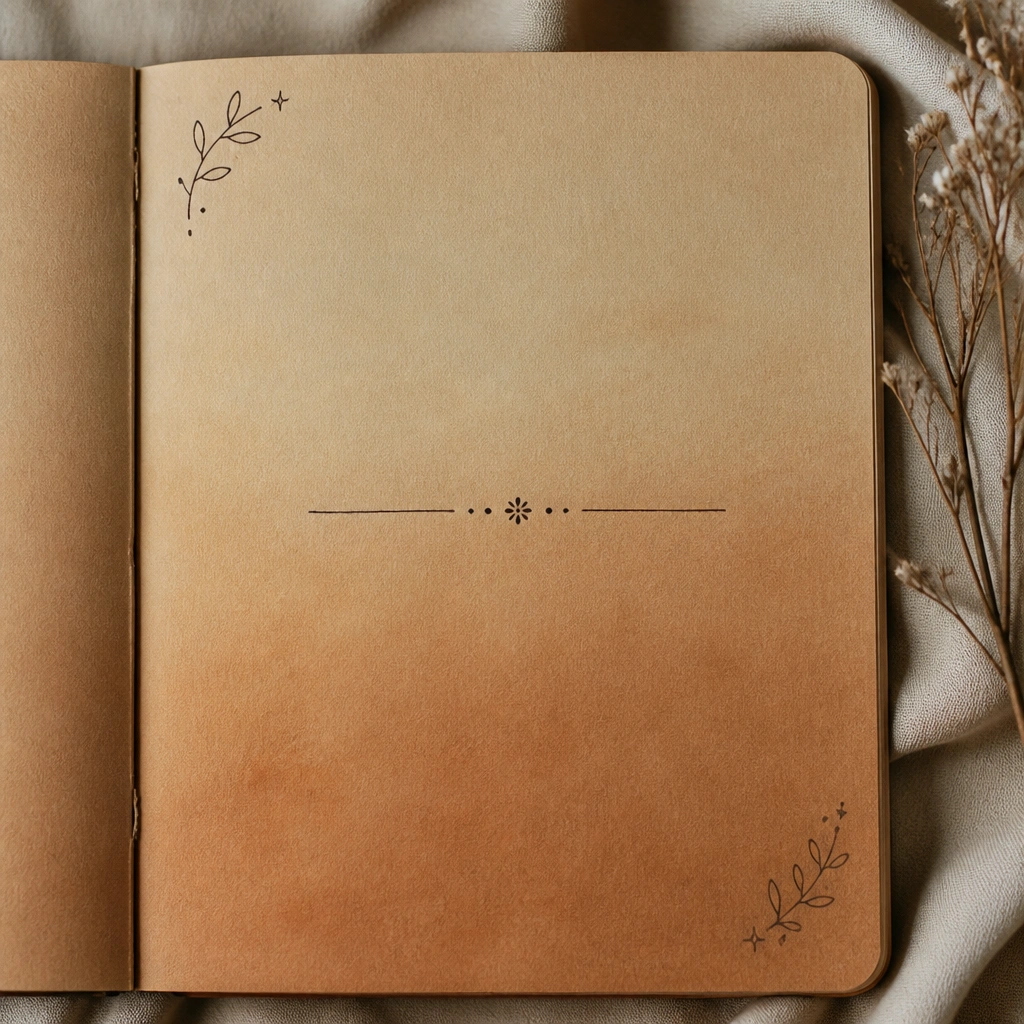
Brew a weak cup of coffee and lightly dab a sponge or tissue near the bottom, then blend upward for an ombre effect. Let it dry fully before writing. Add one centered quote line or “today I learned…” statement, plus tiny corner doodles to frame the page.
Test on scrap paper first — coffee strength changes fast. Use gel pen on fully dry pages to prevent smearing.
6. Bubble Weather Doodles + Mini Forecast
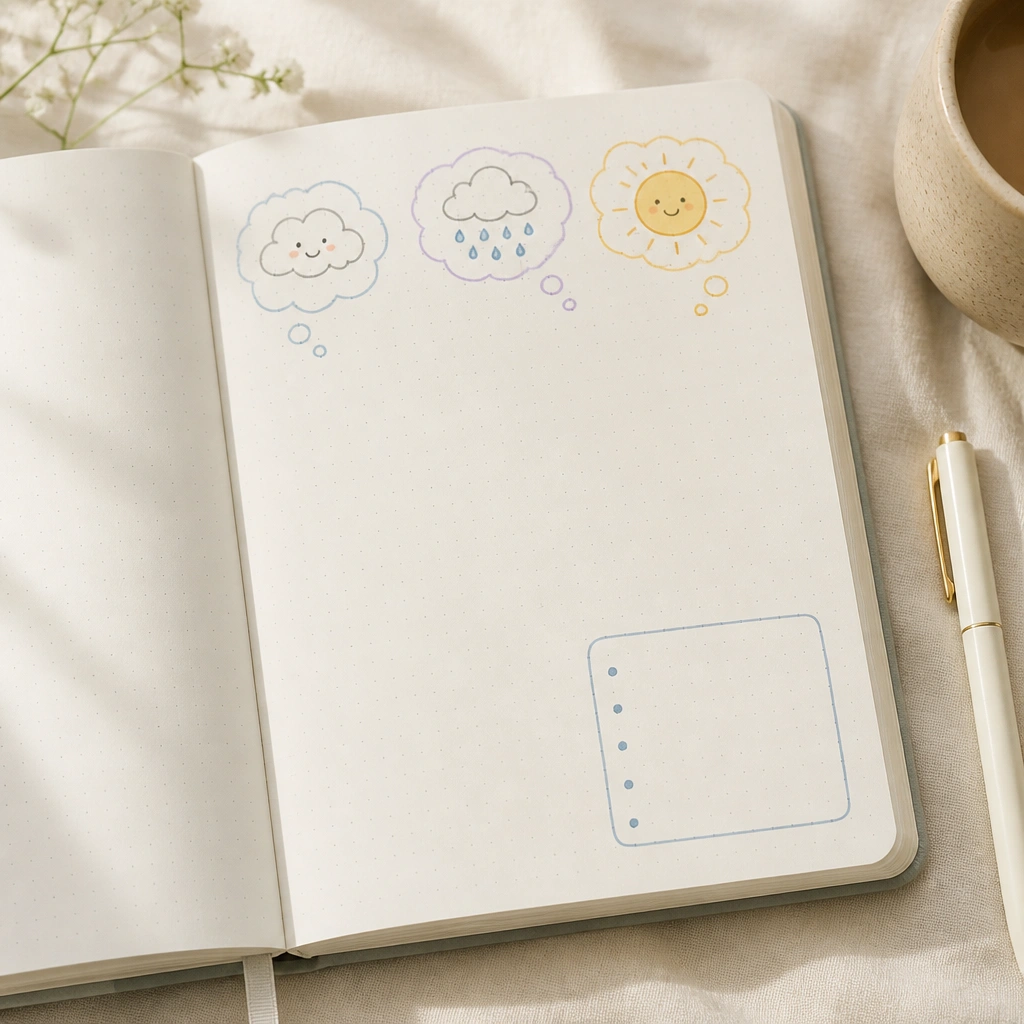
Draw simple weather doodles in 3 rows: sun, clouds, rain — each one should be the same size so it looks curated. Under the doodles, write today’s weather in one sentence and tomorrow’s vibe in three bullets. This turns everyday notes into a consistent visual theme.
Good to knowUse a single pen color for doodles (like muted navy) and write the rest in black. Make your bullets tiny so they don’t compete with the doodles.
7. Color-Coded Gratitude Stars
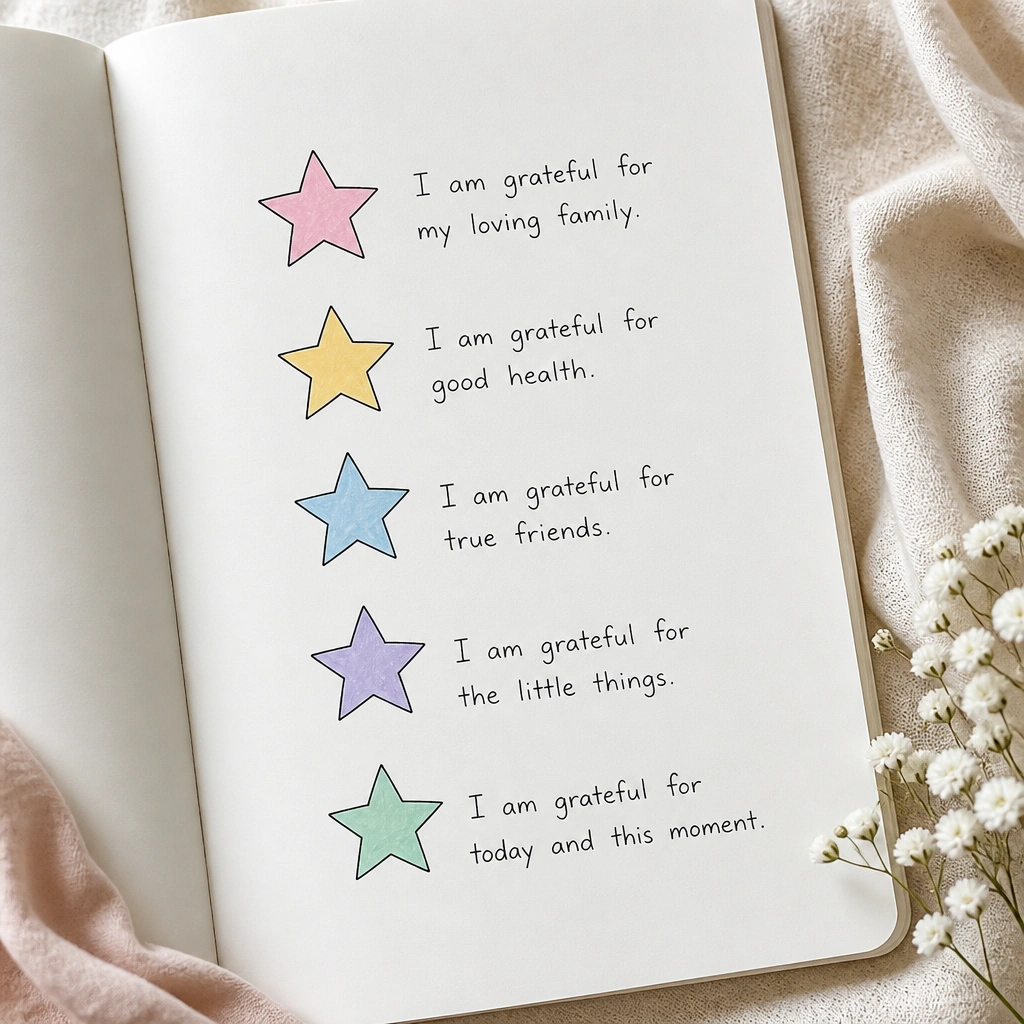
Draw five stars and fill each with a different pastel shade using colored pencil or marker (light pressure looks best). Write one gratitude phrase per star: a person, a moment, a small win, etc. The star shapes make entries feel celebratory even when you’re writing short.
Good to knowKeep the gratitude phrases under 6 words. If you mess up a color, trace over it lightly with a colored pencil instead of scrubbing.
8. Seamless Ribbon Bookmark Pocket
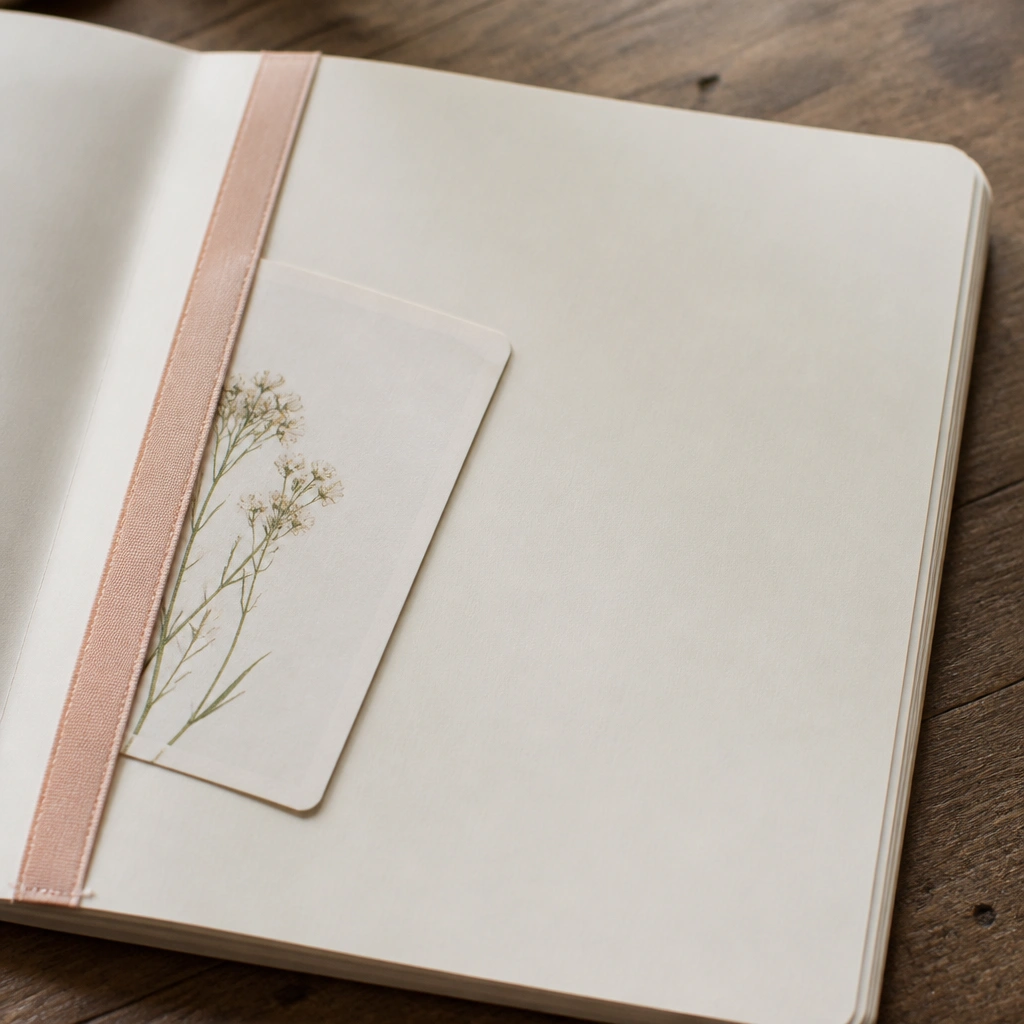
Glue or tape a ribbon strip along one side margin, then fold a small tab so you can tuck a mini card (receipt, note, or a “today’s highlight” slip). Write your entry around the pocket so it feels like the page has a function, not just decoration. Ribbon adds softness and movement to photos too.
Good to knowUse double-sided tape for a clean edge. Fold the tab before gluing so it sits flat and doesn’t wrinkle.
9. Lined Paper Background + Freehand Header
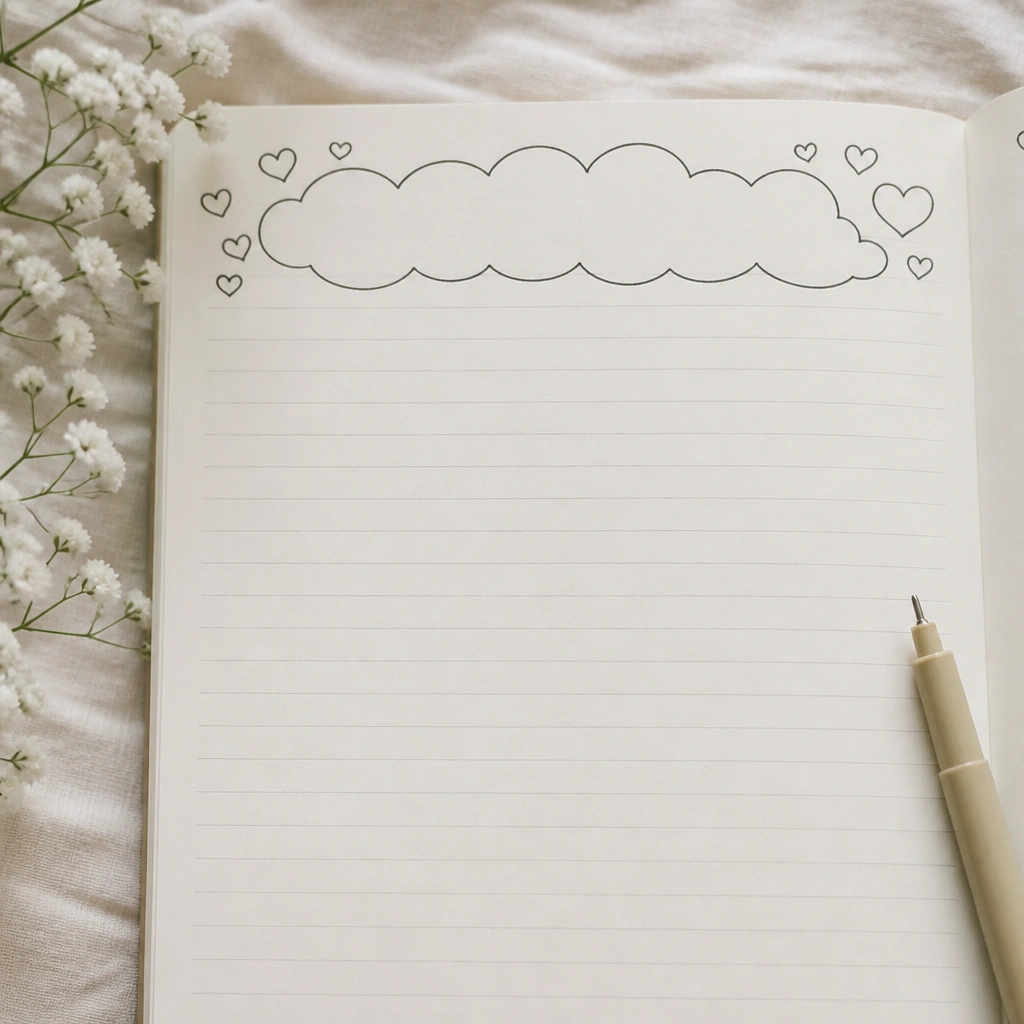
Create faint lines using a pencil and ruler (light pressure) to guide your handwriting, then erase lightly if needed when you’re done. Add one big header in bubble handwriting and a small heart cluster under it. This makes your diary look “designed” even if the entry is just a few sentences.
Good to knowWrite your header first, then fill the lines. If you’re worried about mistakes, outline bubble letters lightly in pencil.
10. Torn Paper Layer + Title Strip
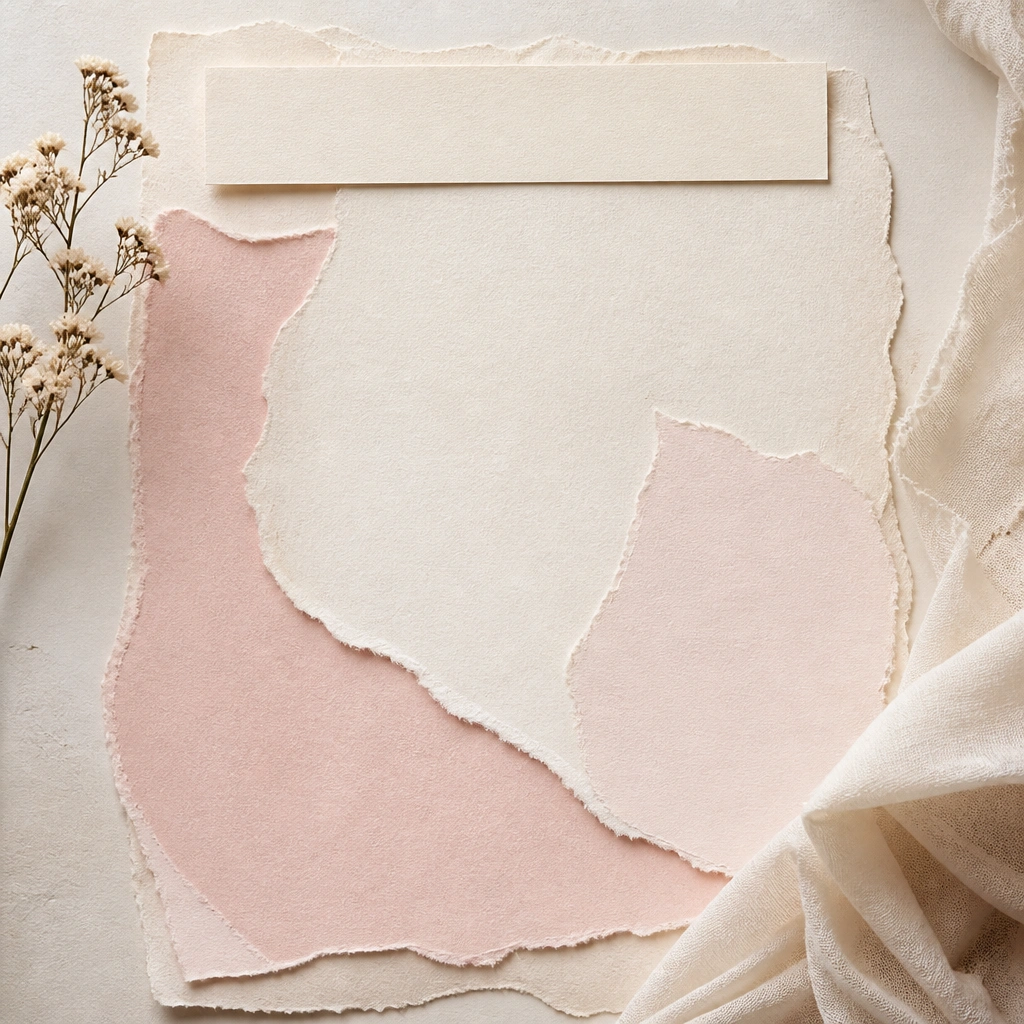
Tear two strips of patterned or solid paper and layer them like a backdrop for your heading. Add a straight title strip (cut paper or washi tape) across the top and write the date or theme inside it. The torn edges create texture without needing elaborate drawings.
Good to knowUse matte glue stick for cleaner edges. Press the paper down with a ruler so the layers don’t lift when you write over them.
11. Monthly Habit Tracker Mini Squares
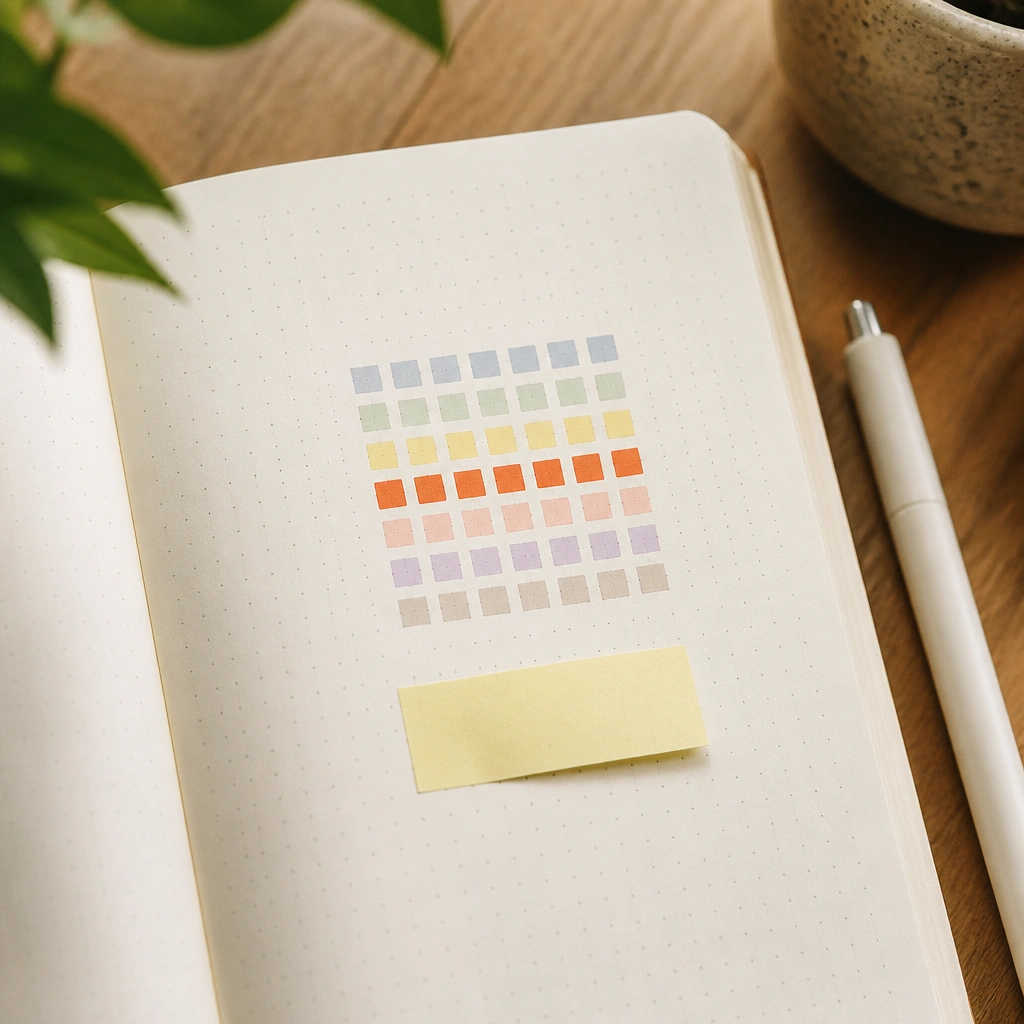
Make a small habit tracker grid on one page: 7 columns for days and 4-6 rows for habits (like water, reading, stretching). In daily entries, shade only the squares you completed. Add a short “why it mattered” sentence at the bottom so the tracker becomes meaningful, not just numbers.
Good to knowUse a bright accent color for the “highlight row” so it stands out in photos. Keep the grid small enough to finish in one sitting.