








1. Weekly Priority Grid on Cork With Color Tabs
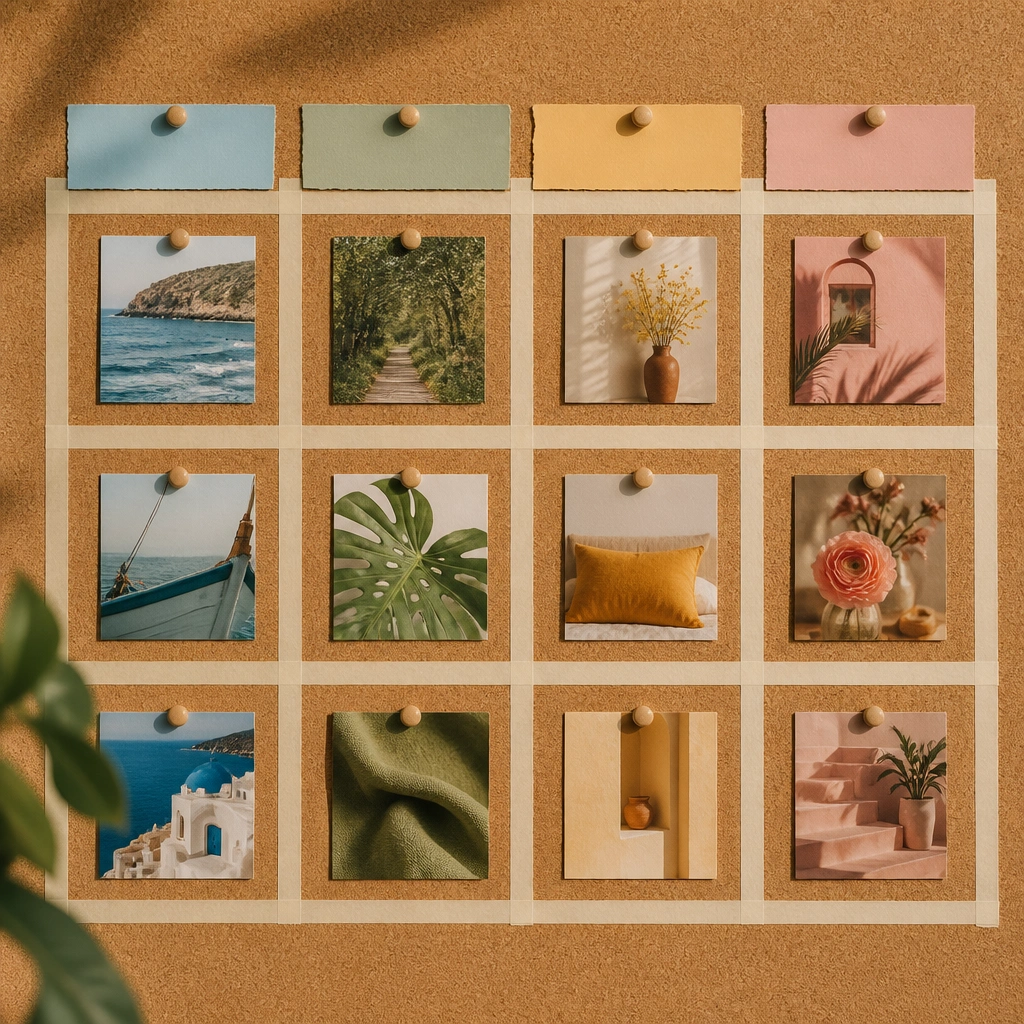
This layout is all about fast scanning. Use cork or a cork panel, then draw a 3x4 grid with label tape so every week has the same structure. Add three priorities as small printed cards, then pin one deadline card underneath using silver pushpins for a crisp, work-ready look.
Good to knowPrint your priority cards on cardstock and slide them into clear page protectors so you can swap weeks without messy tape.
2. Minimalist “One Big Goal” Centerpiece With Surrounding Actions
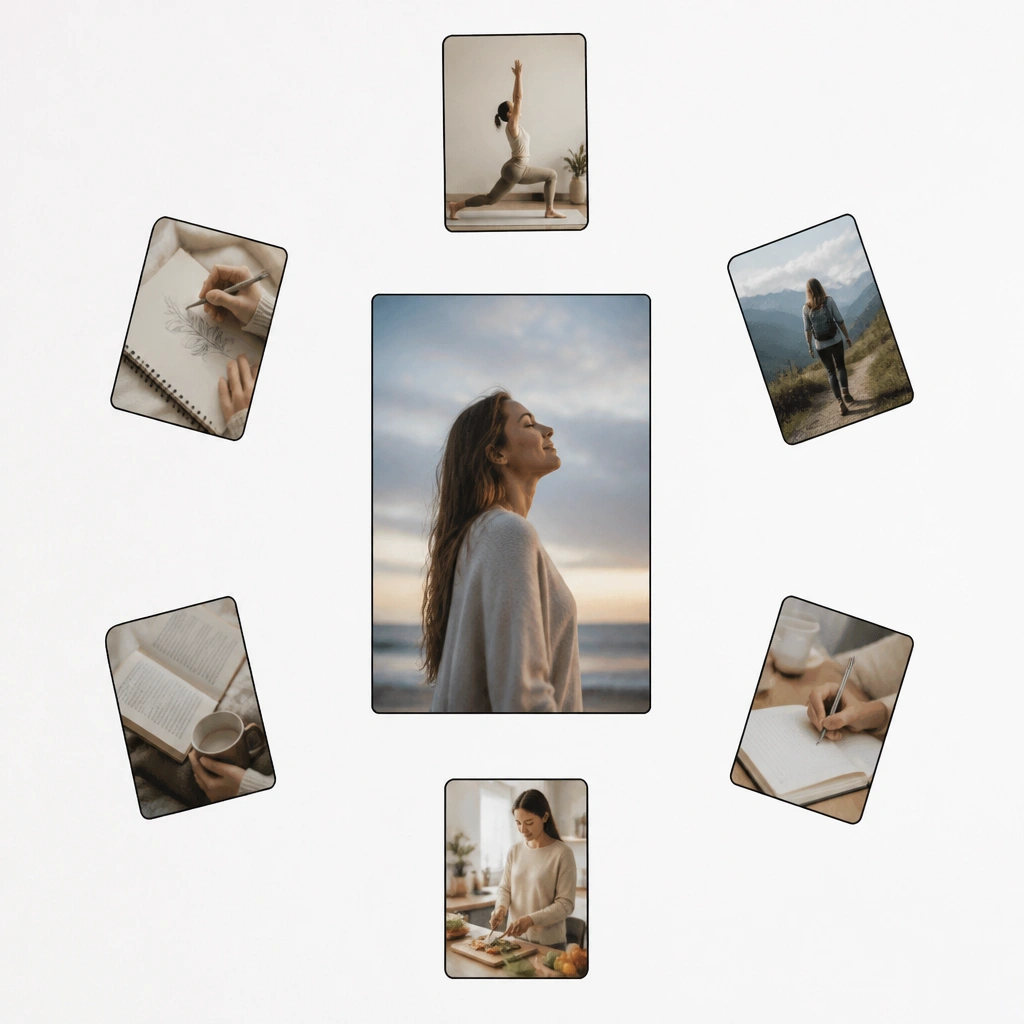
Put your main goal in the center so your brain gets one clear target. Surround it with action cards (like “send proposal,” “update portfolio,” “block 60 minutes”) placed in a gentle circle so you naturally read around it. Keep the palette neutral (cream, black, soft gray) for an aesthetic that looks calm but still productive.
Good to knowUse a thin black marker to add tiny arrows from the center photo to each action card to reinforce the “goal -> next step” connection.
3. Project Map Board With Sticky-Note Layers and Labels
This is perfect if your work goals change often. Draw a simple map path with washable marker, then place sticky notes along it: one for “Now,” one for “Next,” and one for “Later.” Add labeled tags so the board doubles as a planning tool, not just decoration. The layered sticky notes create texture while keeping the system readable.
Good to knowChoose sticky note colors that match your labels (ex: blue for Now, yellow for Next, green for Later) so updates take seconds.
4. Calendar-Style Vision Board With Month Tabs
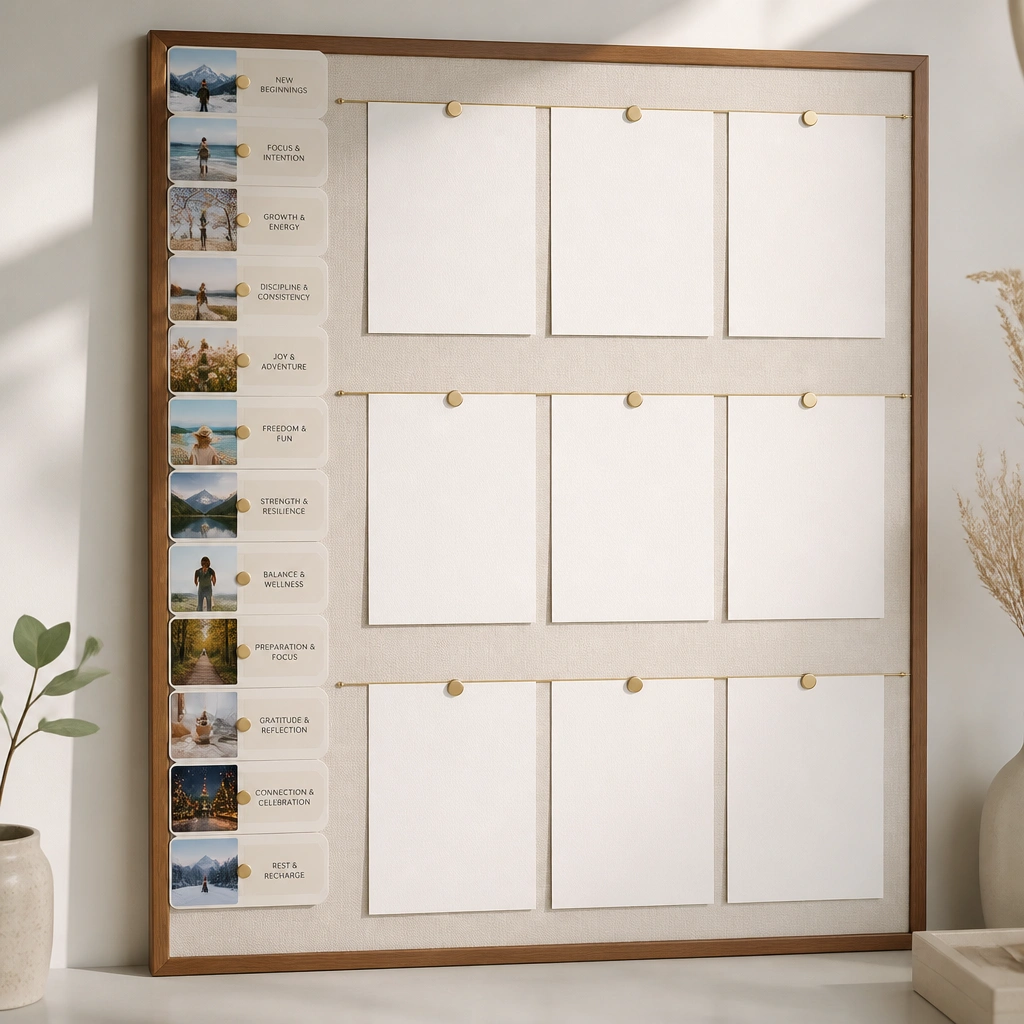
Turn your board into a real time tracker. Create 12 month tabs using colored cardstock strips and glue them along the left edge. In the main area, add three rows for “Career,” “Money,” and “Learning,” then place small printed images and captions in each month’s section. It looks structured while still letting you add new ideas.
Use a label maker for consistent typography on the month tabs so the whole board looks polished.
5. Photo Strip + Micro-Checklist Board for Daily Focus
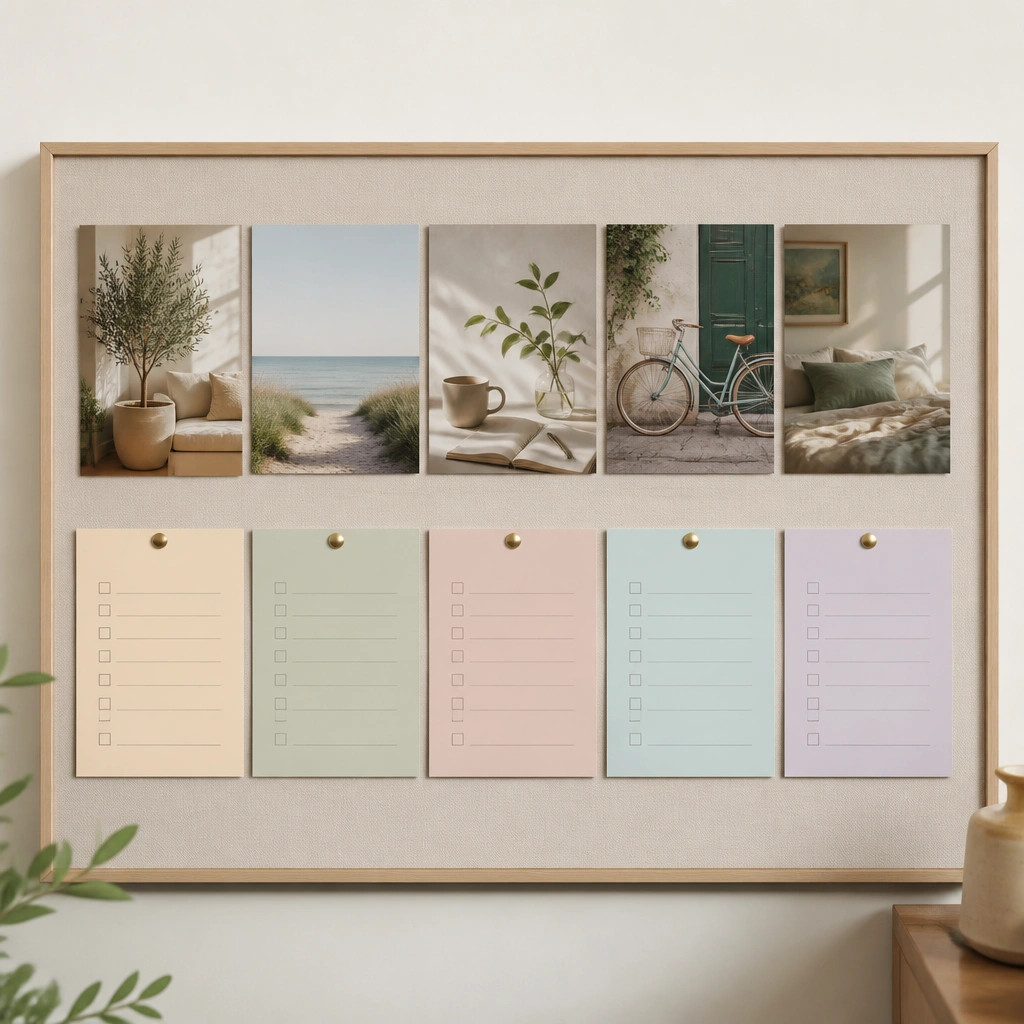
If you’re tired of boards that don’t guide your day, do this. Put a strip of small work-related photos across the top (desk, laptop, meeting notes, coffee, calendar). Under that, add 5 micro-checklist cards like “Open task list,” “Draft 1 paragraph,” “Email 1 person,” “Review calendar,” “Plan tomorrow.” The checkboxes make it feel actionable and aesthetic at the same time.
Good to knowLaminate the checklist cards or cover them with clear contact paper, then mark with a dry-erase marker.
6. Goal Collage With “Proof” Photos and Evidence Cards
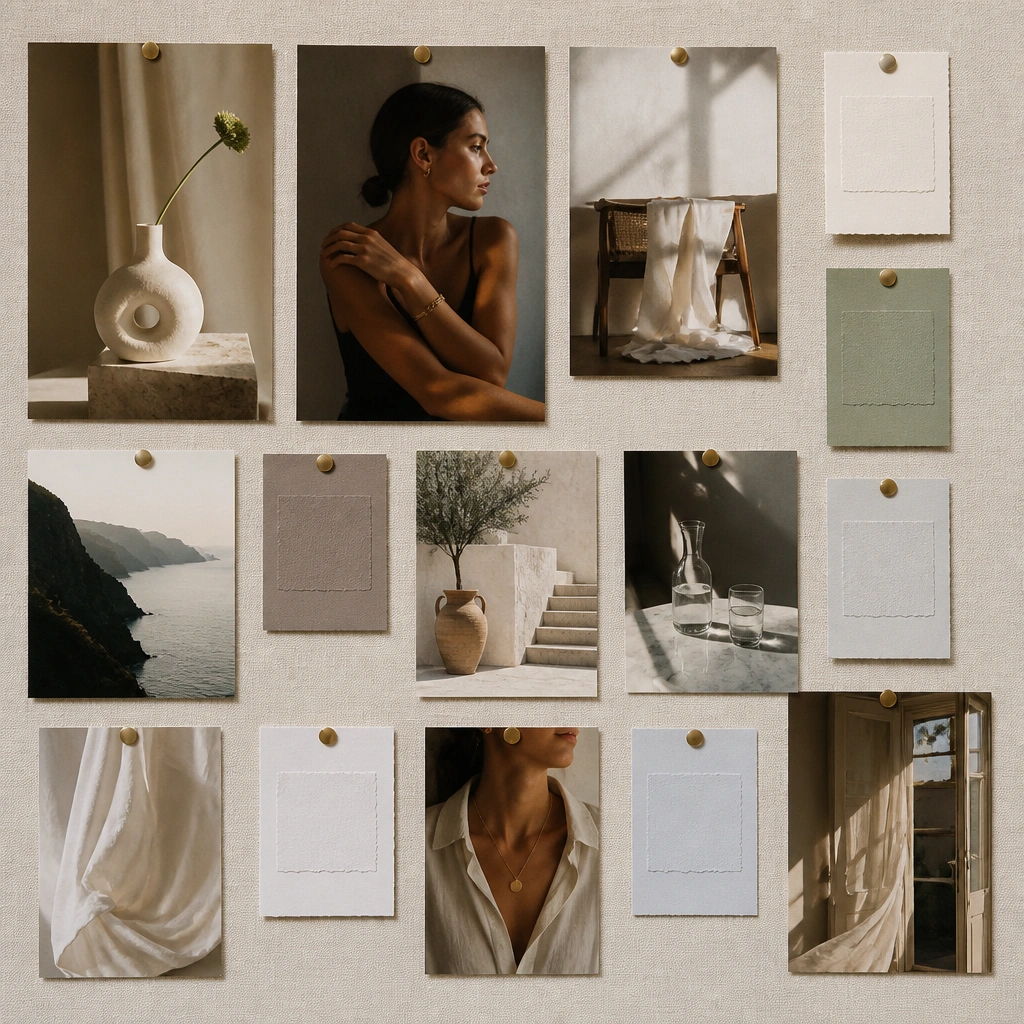
This one is a motivational cheat code. Build your collage around images that represent outcomes (a portfolio screen, a shipped project screenshot, a conference badge), but add “evidence cards” for proof you’re making progress. Evidence can be tiny: a screenshot print, a saved email draft, or a before/after note. It keeps your vision board grounded in real work.
Good to knowUse a corner punch to create consistent “photo corner” attachments so your collage stays clean.
7. Desk-Direction Board With “Before Work” and “After Work” Zones
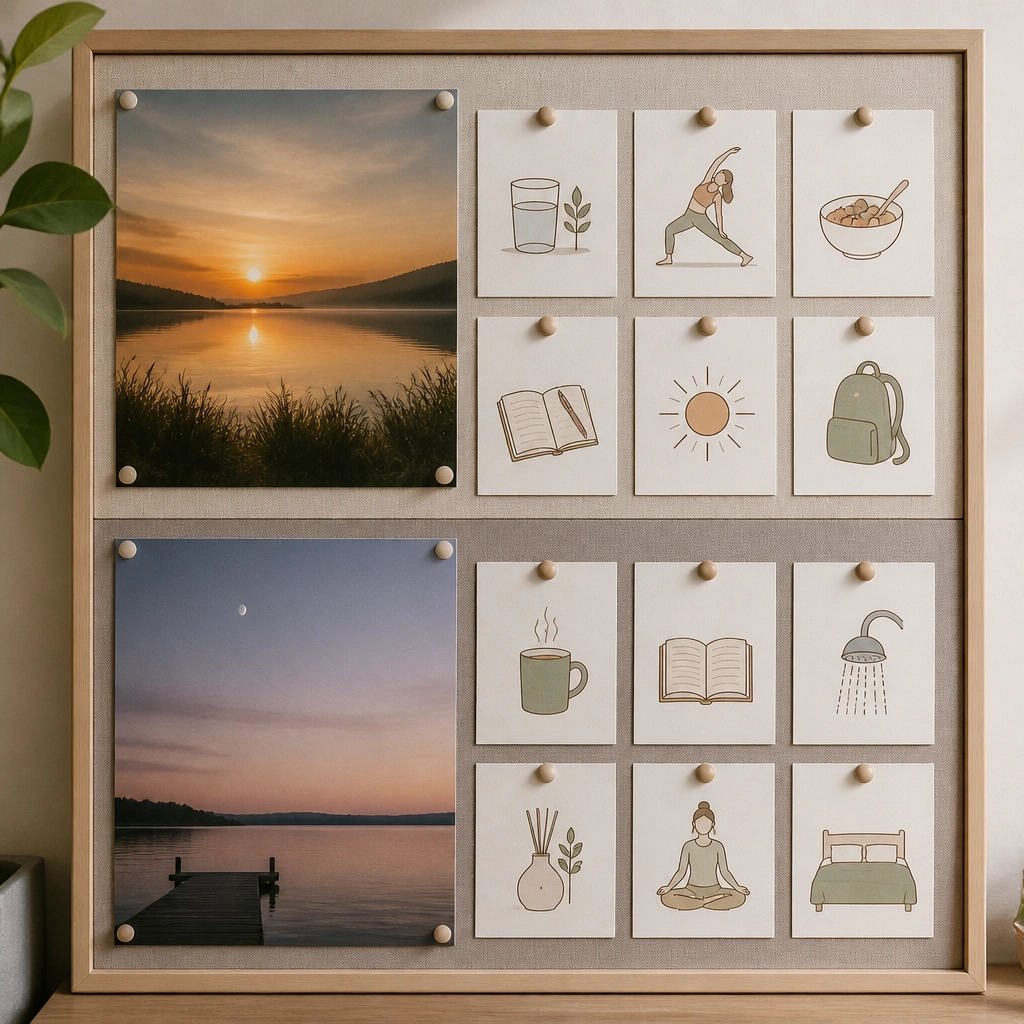
Productivity improves when your board supports your routine. Split the board into two zones with a clear horizontal divider. The “Before Work” side includes focus steps (review top 3 tasks, choose one deep-work block, open calendar). The “After Work” side includes wrap-up steps (write tomorrow’s first task, clean your desk, note wins). It’s aesthetic because the photos and cards match the mood of each time block.
Good to knowPick two photo tones (warm morning, cool evening) and use them consistently so the board feels cohesive.
8. Color-Coded Skill Ladder With Icons and Progress Levels
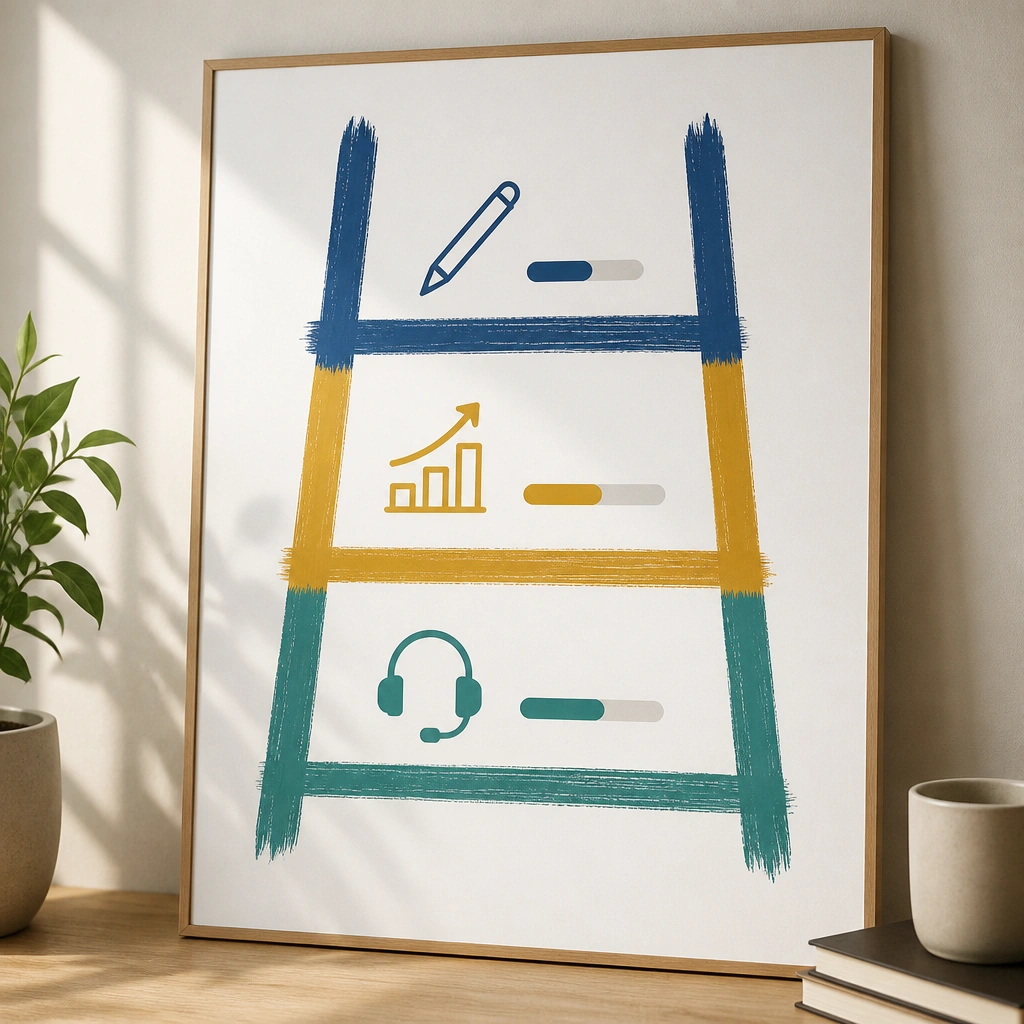
If your goals are skill-based, use a ladder instead of a vague collage. Draw a 5-rung ladder and assign each rung a level (Start, Build, Practice, Apply, Master). Add icons that match your skill (for example, a microphone for presenting, a spreadsheet icon for analytics, a book icon for learning). Progress bars can be simple pencil marks you update monthly.
Good to knowPrint icon sets in one style (all line icons or all filled icons) so the ladder looks designed, not random.
9. Framed “Top 3” Poster Look With Removable Inserts
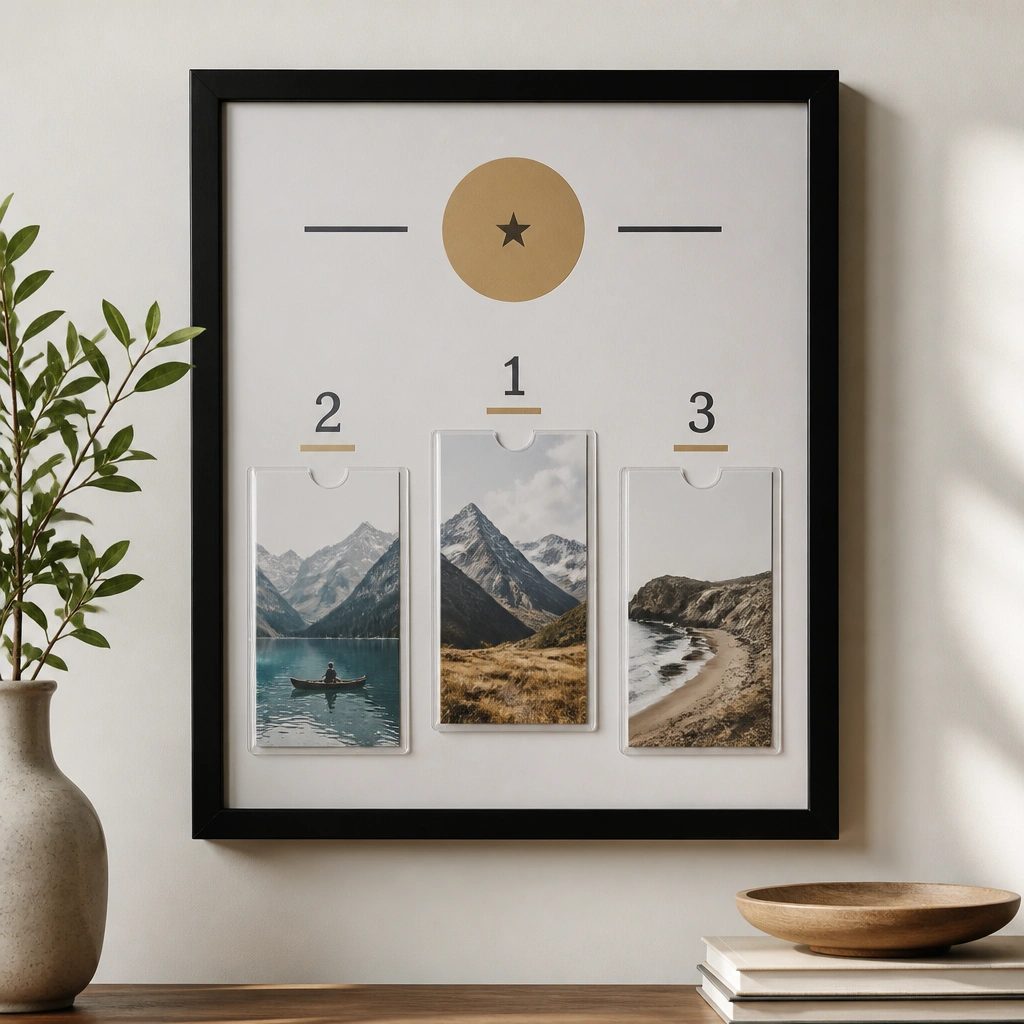
This looks like office decor but works like a planner. Put a printed “Top 3 Priorities” poster in a frame with clear plastic sleeves or a document holder behind the glass. Insert three cards for your current priorities and swap them as the week changes. The framed look keeps your work vision board looking intentional and clean.
Choose a frame with glass and use archival tape on the back so your inserts don’t curl over time.
10. Vision Board With Action Arrows and “If-Then” Triggers
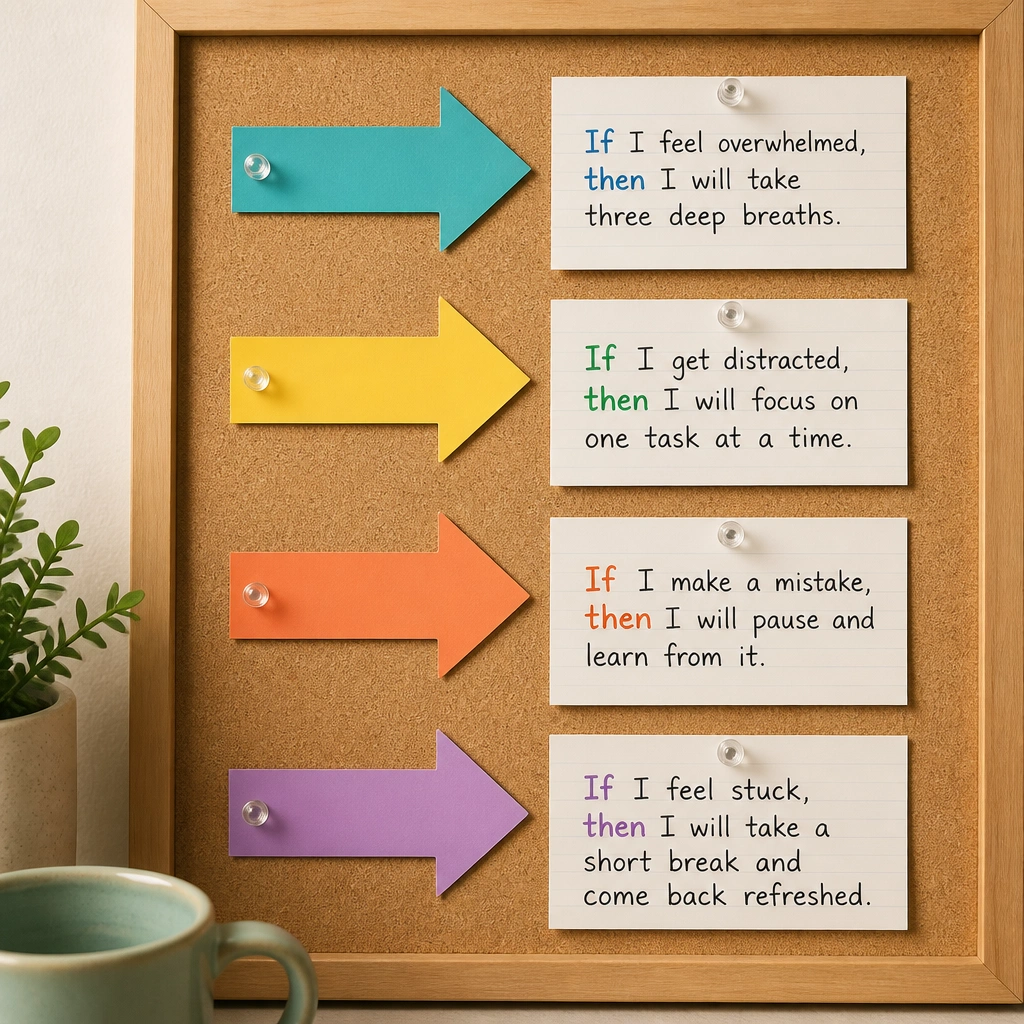
Make your board handle real-life distractions. Place your goal images where you’ll see them, then connect them with thick arrows to “If-then” trigger cards. Examples: “If I feel stuck, then outline for 10 minutes,” or “If I miss a day, then do a 15-minute catch-up.” It’s productive and aesthetic because the arrows create a design flow, not scattered notes.
Good to knowWrite your if-then cards on small index cards and keep them in a mini pocket envelope for easy swapping.

