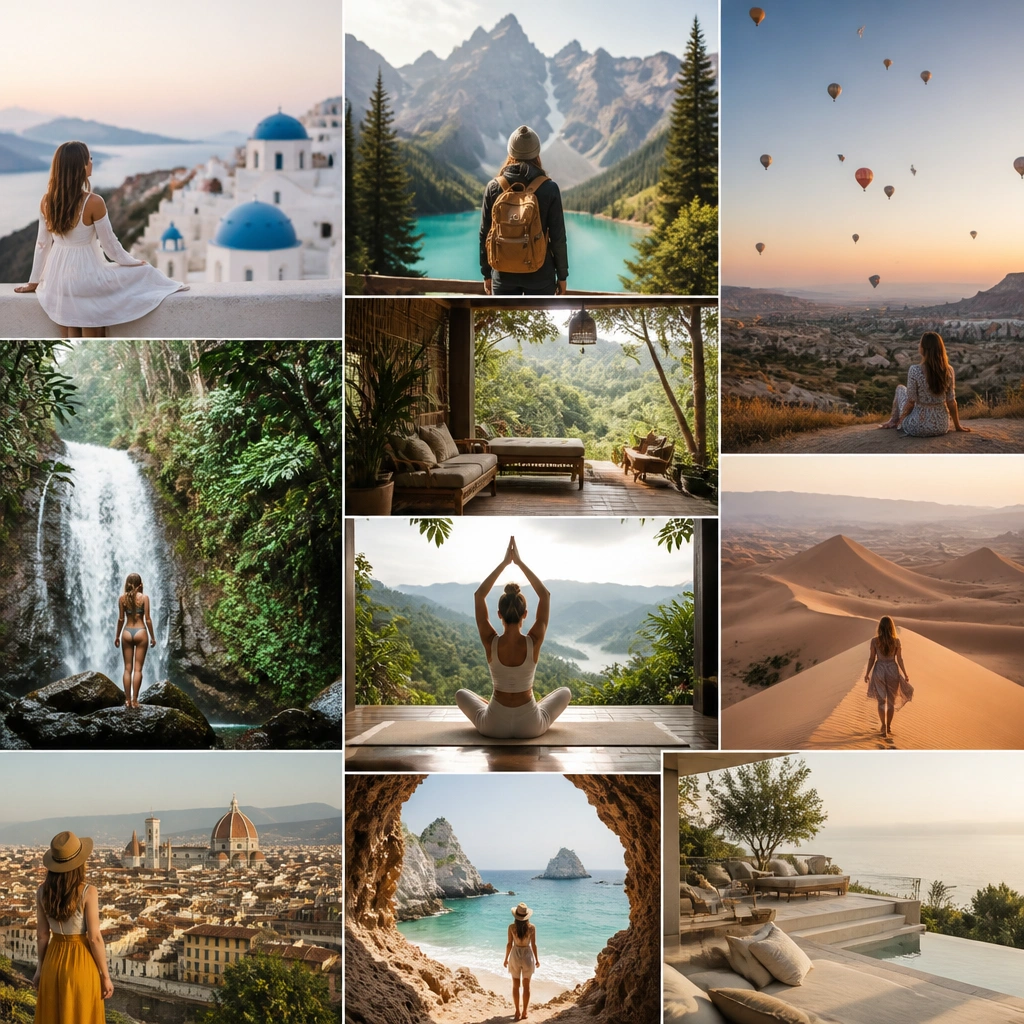
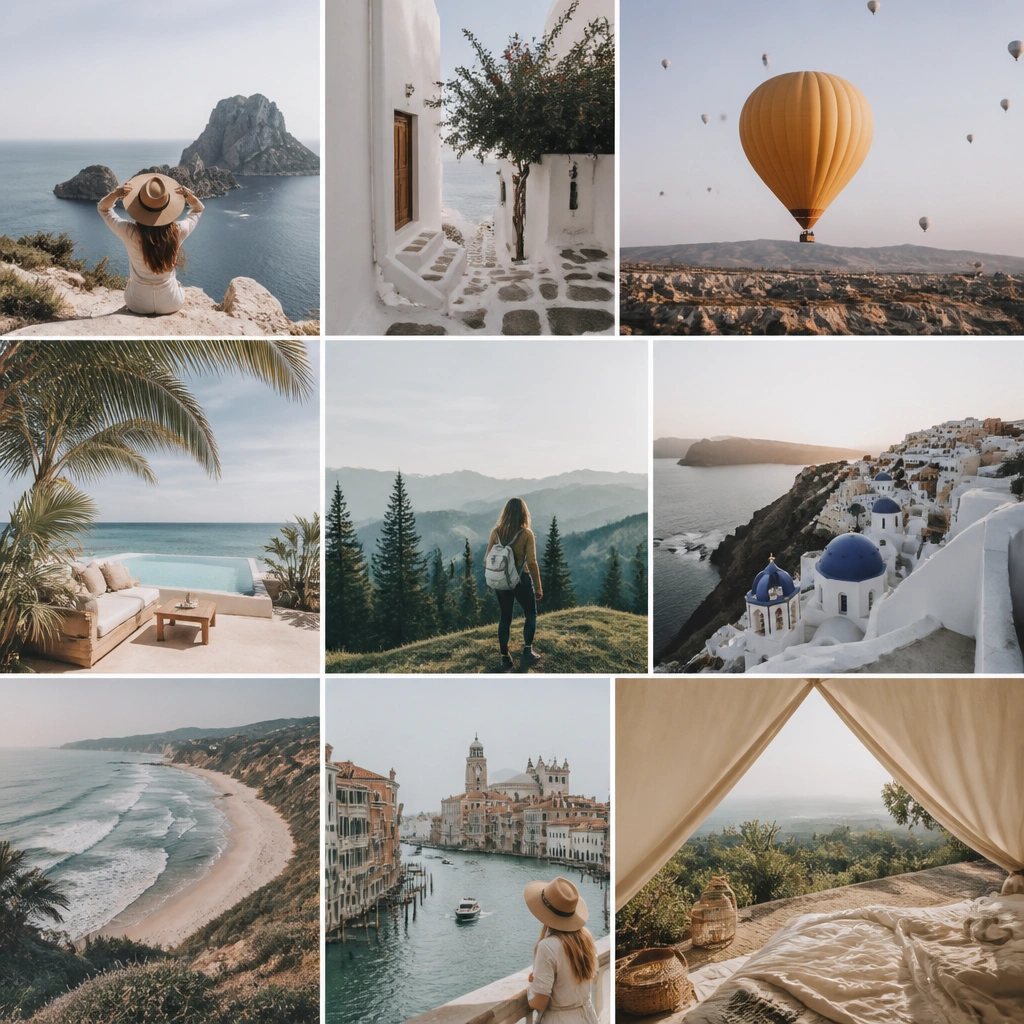
1. Passport-Stamp Collage Board with Distress Borders
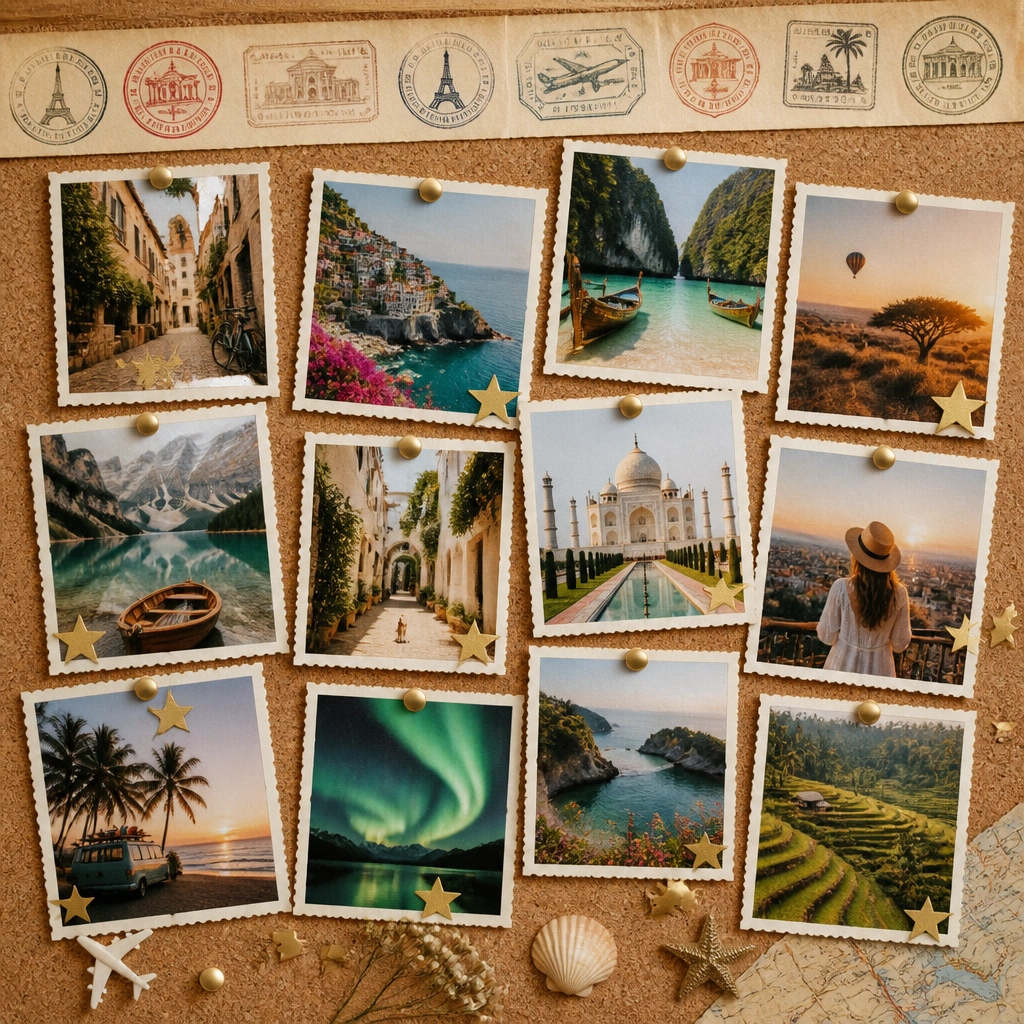
Use a cork sheet or felt board as the base, then print Travel vision board pictures as small squares (2x2 or 3x3). Distress the edges using a brown ink pad or watered-down acrylic paint for a passport-worn look, then secure with mini brads or photo corners. Add a top strip made from patterned paper that resembles a boarding pass or stamp log to unify everything.
Good to knowPrint a few “destination detail” photos (street signs, café windows, train stations) — they make the stamp collage feel real instead of generic.
2. Sunset Gradient Travel Board with Ombre Map Lines
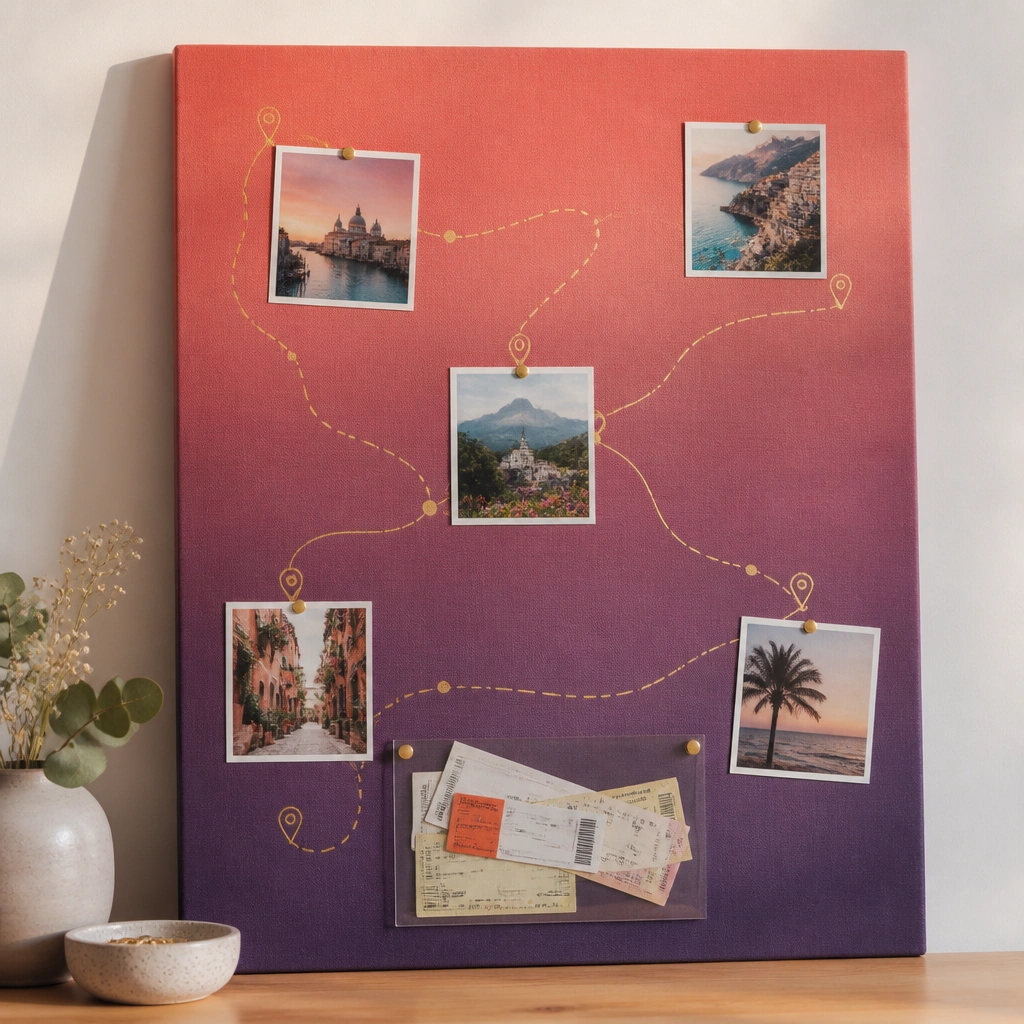
Paint cardstock or foam board with an ombre sunset gradient (peach to magenta to navy). Over it, draw thin route lines using a fine gold paint pen or metallic gel pen, then place Travel vision board pictures along the path. Finish with an acetate pocket (clear packaging film trimmed to size) to hold real keepsakes like a bus ticket or museum entry card.
Good to knowKeep your route lines consistent — use one pen thickness and one gold tone so the photos read as a single story.
3. Minimal Monochrome City Grid (Black, Cream, and One Accent Color)
For a sleek aesthetic, choose Travel vision board pictures in black-and-white or muted tones and arrange them in a strict grid (3x3). Mount photos on cream cardstock with 1/4 inch margins so they don’t look cramped. Add tiny typed labels with a simple font (or handwritten in neat block letters) and one accent color — like teal or mustard — for a “memory note” clipped on top.
Pick one accent color and use it in exactly 3 places: one label highlight, one tape strip, and one clip.
4. Botanical Island Board with Pressed Leaf Texture
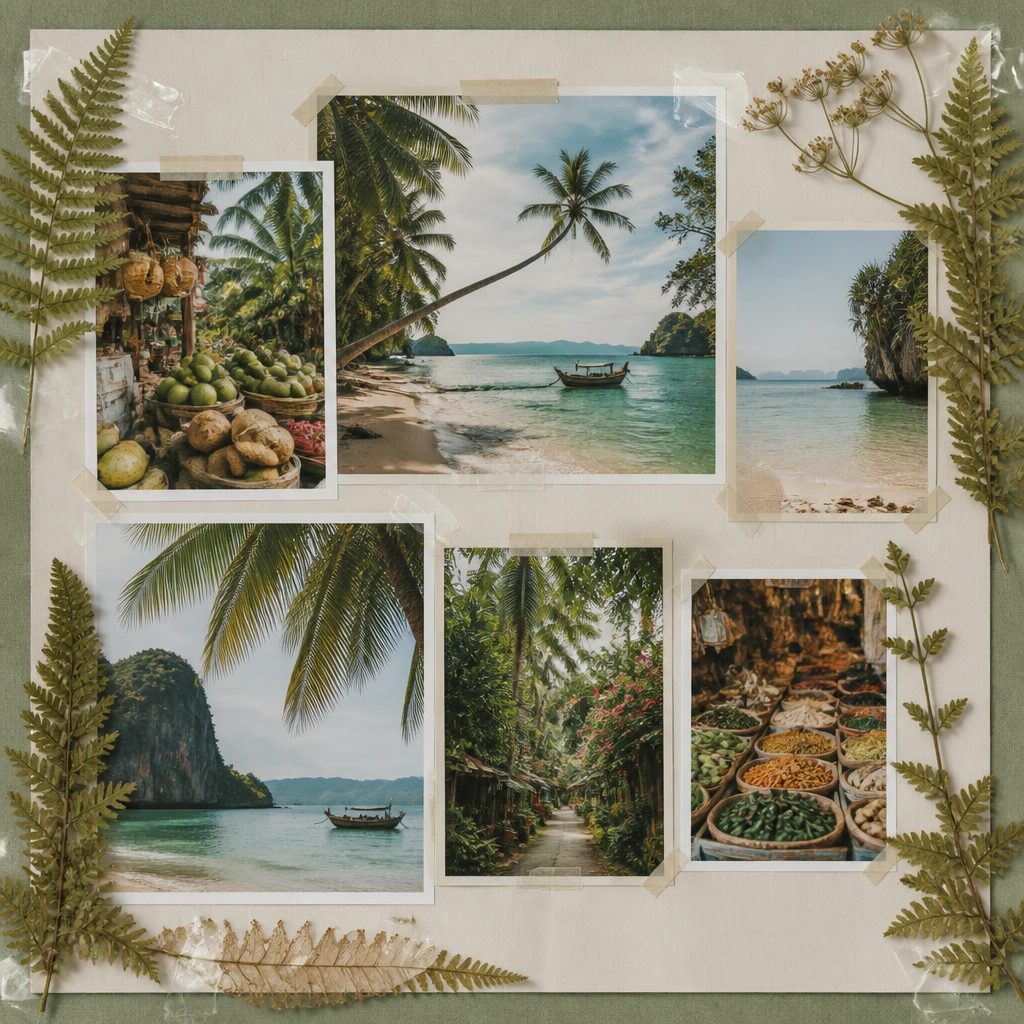
Start with a light green textured paper border (kraft paper + light green paint dabbed on). Press leaves by placing them between two book pages for 1-2 weeks, then position them around your Travel vision board pictures. Seal with small pieces of clear packing tape or a thin layer of clear craft glue so they stay flat and don’t curl.
Good to knowPlace pressed leaves only in the margins — it keeps your photos readable and prevents messy overlap.
5. Washi Tape Travel Route Timeline (From Month to Month)
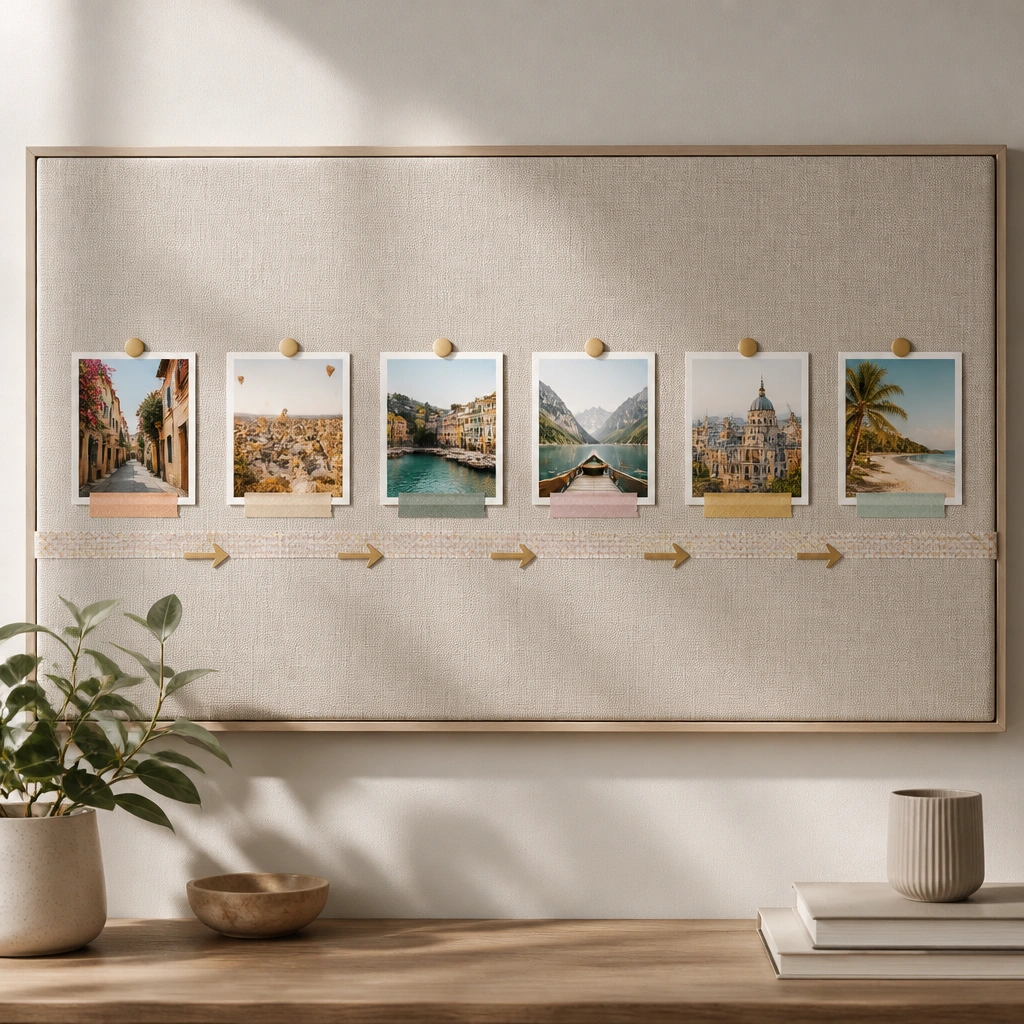
Cut a strip of cardstock the width of your board and create a timeline using washi tape — one color per month. Print Travel vision board pictures as small cards and add them above each month marker. Use arrow stickers or hand-drawn arrows in matching washi colors to show the travel flow (arrival, day trip, final stop). This looks pretty and doubles as a planning cheat sheet.
Good to knowWrite the month in a tiny label on the tape itself — it’s faster than adding separate tags later.
6. Floating Photo Layer Board with Foam Tape Frames
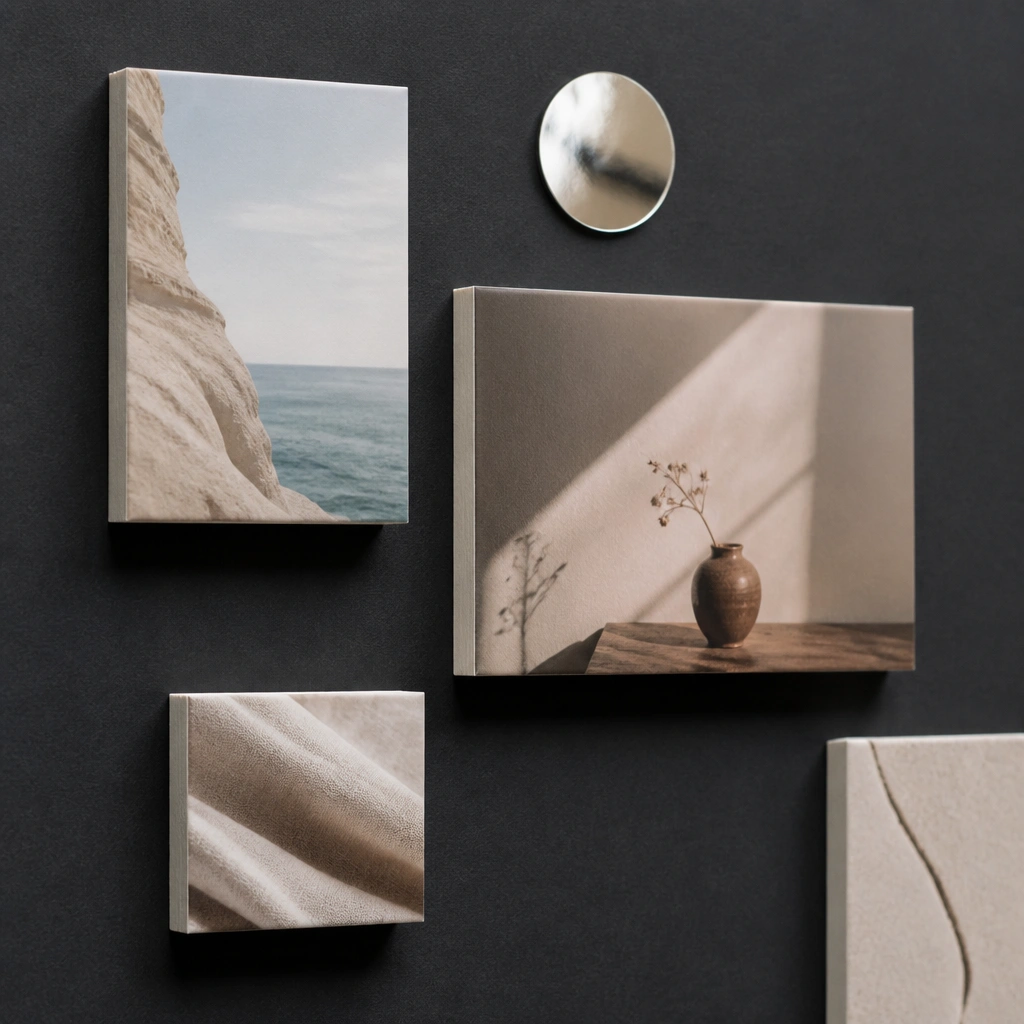
Use a dark base (charcoal poster board) so your Travel vision board pictures pop. Mount each photo with foam tape — not glue — to create a floating effect. Frame photos with thin strips of coordinating patterned paper for subtle texture. Add one reflective element (foil washi or a small holographic sticker) near the “main destination” to mimic sunlight and make the board feel lively.
Good to knowKeep foam tape thickness consistent across all photos so the depth looks intentional, not lumpy.
7. Ticket Stub + Photo Pocket Organizer Board
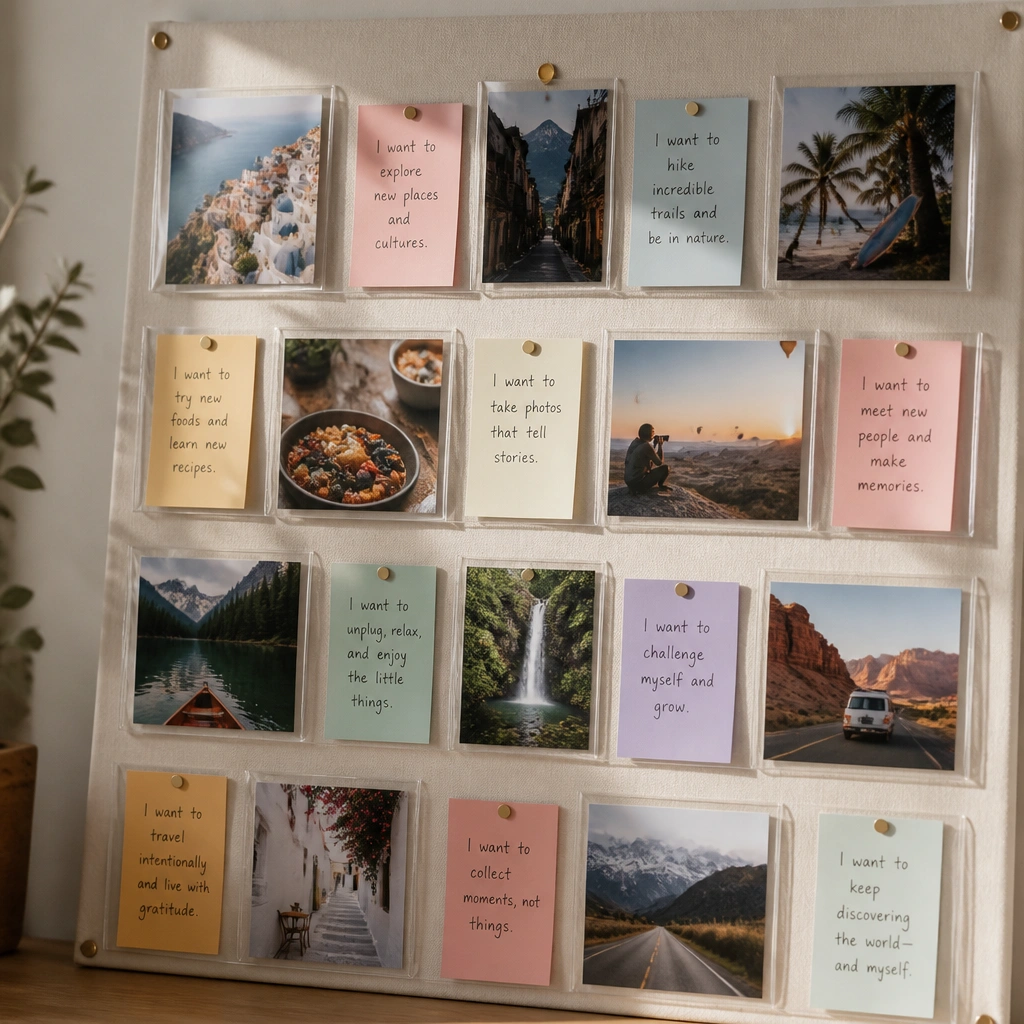
Buy or DIY clear pockets using document sleeves trimmed to size, then attach them vertically to a sturdy board. Slide Travel vision board pictures into the pockets so they’re easy to swap when your plans change. Add colored tabs (small triangles cut from cardstock) next to each pocket with “Must-do,” “Budget,” or “Food list.” This is highly aesthetic and practical for ongoing updates.
Good to knowUse 2 pocket sizes only — one for photos and one for notes — so the board stays visually tidy.
8. Vintage Travel Magazine Cutout Board with Collage Corners
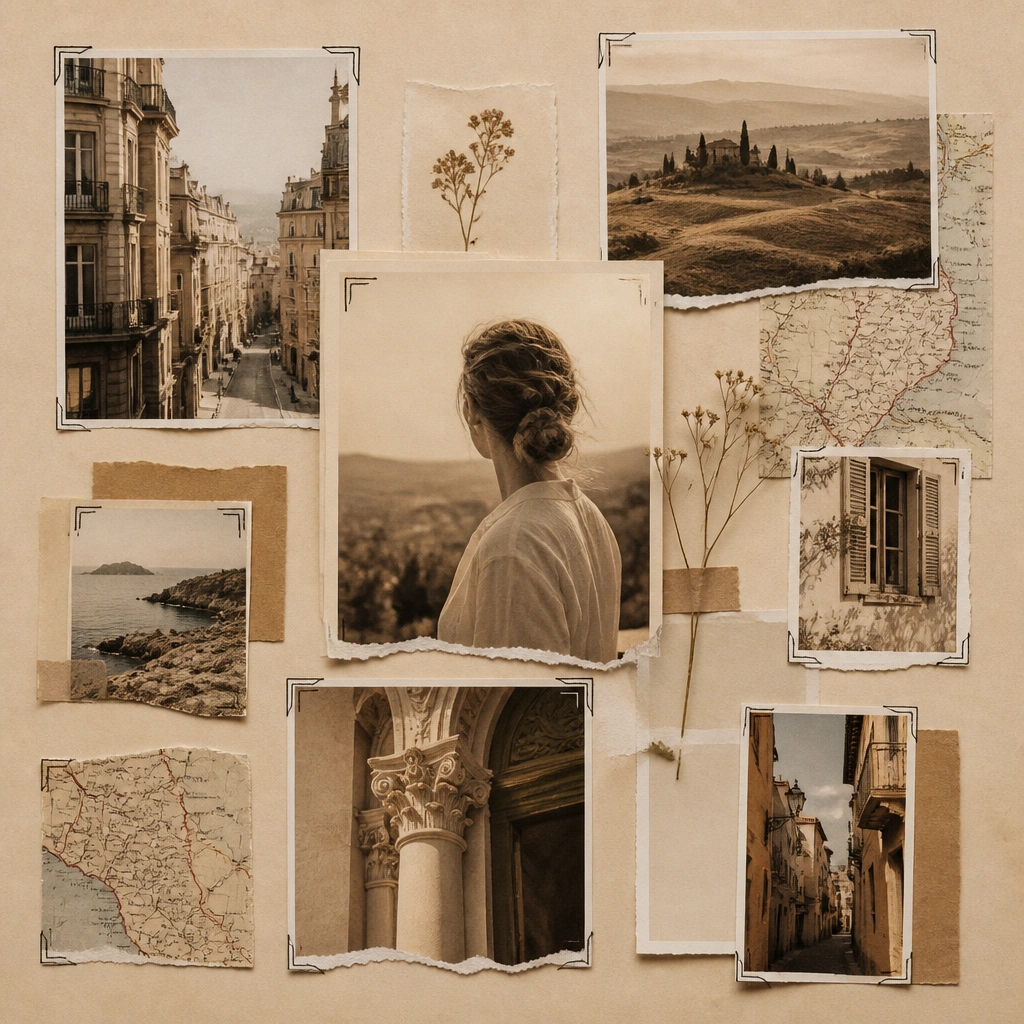
Cut Travel vision board pictures from your own printed set or use magazine-style imagery you’ve printed at home. Tear edges slightly for a vintage feel, then ink the torn parts with a dark brown marker. Add small map snippets as “background texture” behind the photos, secured with a light layer of glue stick. Finish with collage corner accents made from thin strips of cardstock folded into small L-shapes.
Good to knowBefore gluing, dry-lay everything for 5 minutes — collage boards look best when spacing is consistent.
9. Beach-to-Mountain Color Story Board (One Palette, Many Stops)
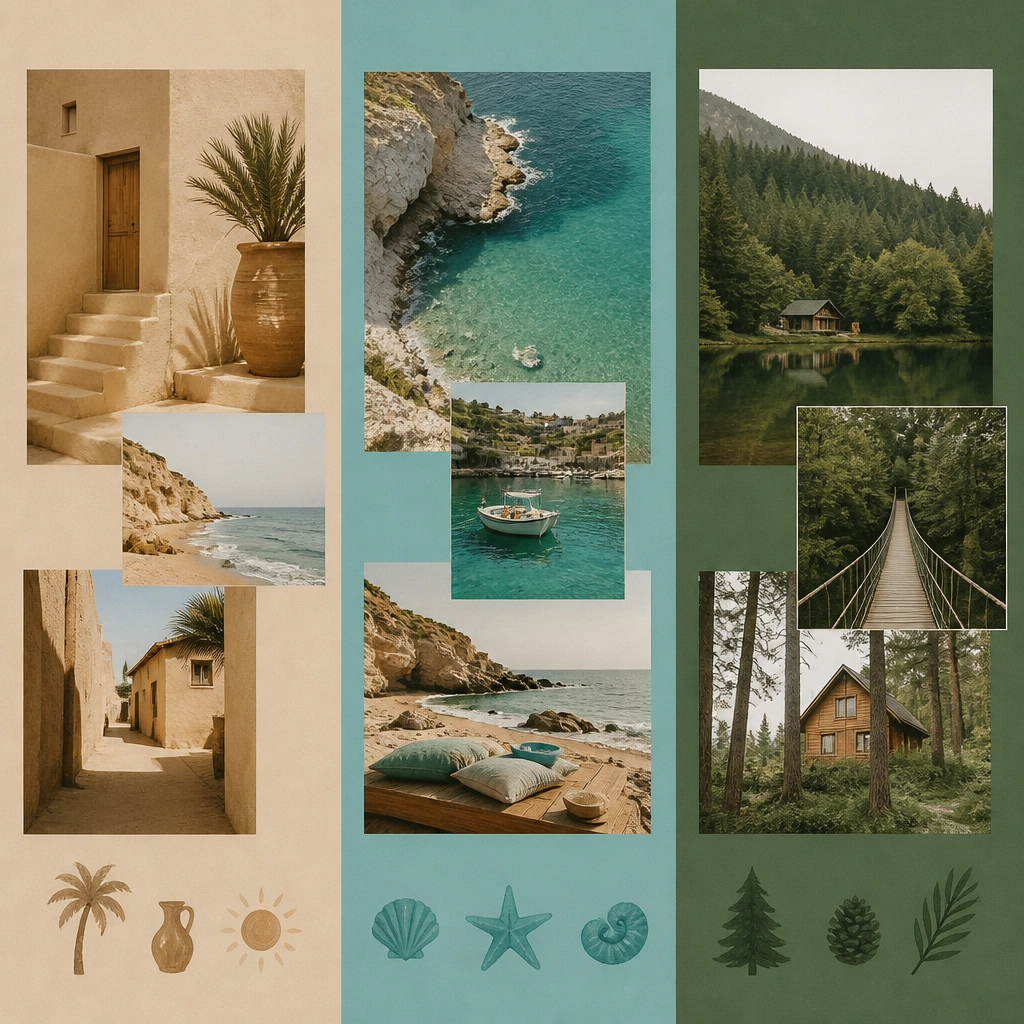
Pick a single palette with 3 anchors: sandy beige, ocean teal, and pine green. Divide your board into three color blocks using painted cardstock or colored paper taped down cleanly. Place Travel vision board pictures inside each block that match the tones — beaches in beige/teal, mountain hikes in pine/neutral. Add small painted icons (a sun, a wave, a mountain peak) to connect the story.
Good to knowChoose photos by color first, destination second — it makes the board look curated even if the places vary.
10. Polaroid Frame Board with Handwritten “Why” Captions
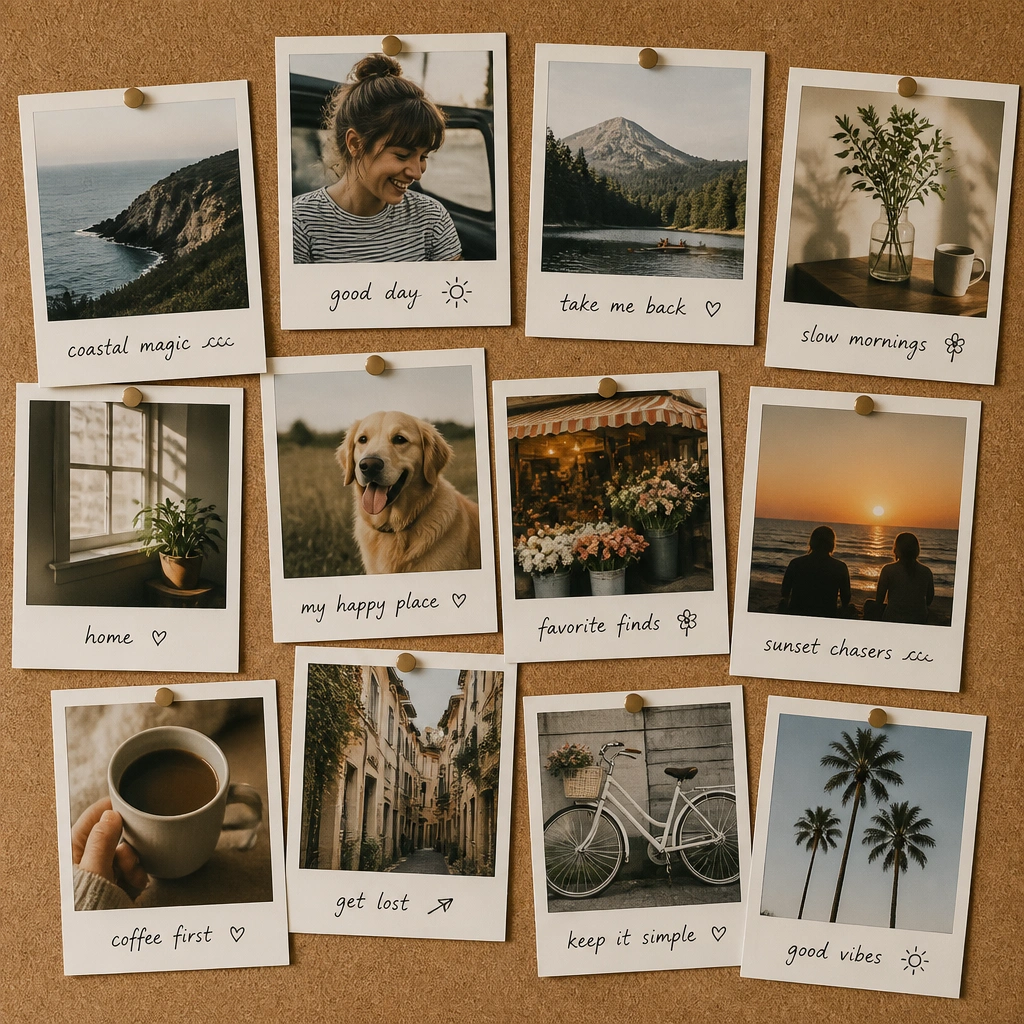
Create Polaroid-style Travel vision board pictures by printing photos with a white border and mounting them onto thicker white cardstock. Use a corkboard or felt board so you can pin quickly without damaging the paper. Under each photo, write a short “why” caption like “morning coffee by the harbor” or “learn one local word.” Tiny doodles (stars, arrows, hearts) keep it playful while still organized.
Good to knowLimit captions to 3-5 words — short lines look cleaner and won’t clutter the photos.