










1. Bills that droop because you didn’t pre-tension them

Paper money is stiff at first, then relaxes after handling and heat from glue. If you fold without tension, the bill edges curve and your bouquet looks lopsided. Pre-tensioning keeps the “petal” shape crisp so the whole money cluster stays upright.
Before attaching, lightly mist the fold line with water, then press it flat with a ruler for 10 seconds. Let it fully dry before gluing.
2. Hot glue blobs showing through your petals

Hot glue can look shiny and chunky, especially on light-colored bills. When glue touches the front of the bill, the bouquet looks messy even if the rest is perfect. The fix is to glue the bill edges only where the petal will be covered by the next layer.
Good to knowUse a toothpick to apply tiny dots to the back fold area, not the front. Hold the bill in place for 5-8 seconds so it sets without extra glue.
3. Wrong wire thickness - stems bend instead of staying straight
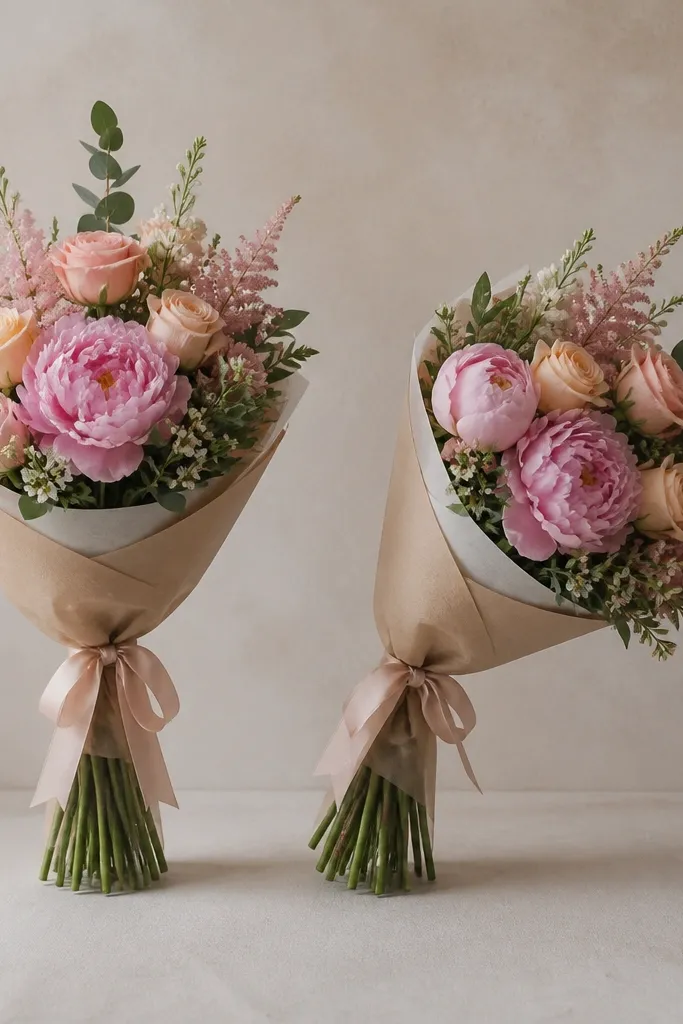
If your wire is too thin, the weight of multiple wired bills pulls the stem down over time. If it’s too thick, it won’t shape cleanly and can poke through ribbon wrap. Matching wire thickness to bouquet size prevents “droop fatigue.”
For a 12-18 inch bouquet, use 20-22 gauge craft wire for individual stems and a thicker 16-18 gauge core for the handle support.
4. Uneven bill angles - the bouquet looks lopsided from one side
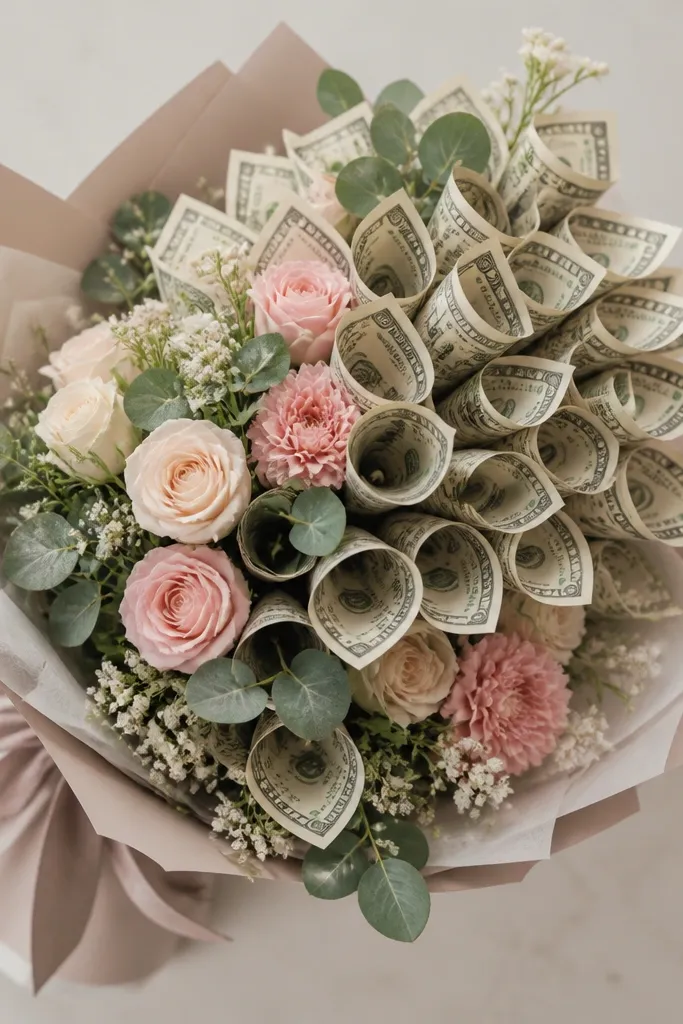
Even if every bill is “pretty,” different tilt angles create visual imbalance. Photos catch this fast because the bouquet becomes a teardrop instead of a full circle. Keeping a consistent angle makes the bouquet look round and intentional.
Good to knowUse a small paper template: cut a circle guide (like 4 inches wide) and place bills around it before gluing to keep angles consistent.
5. Too many bills on one side - instant weight imbalance

A common mistake is adding “just a few more” bills to the most visible side. That extra weight shifts the center, so the handle wrap can’t hold the shape. Weight distribution matters more than total bill count.
Good to knowBefore attaching, lay your wired petals on a flat surface in a circle and count them per quadrant. Aim for equal clusters left/right.
6. Wrapping the handle too early - you can’t adjust the base
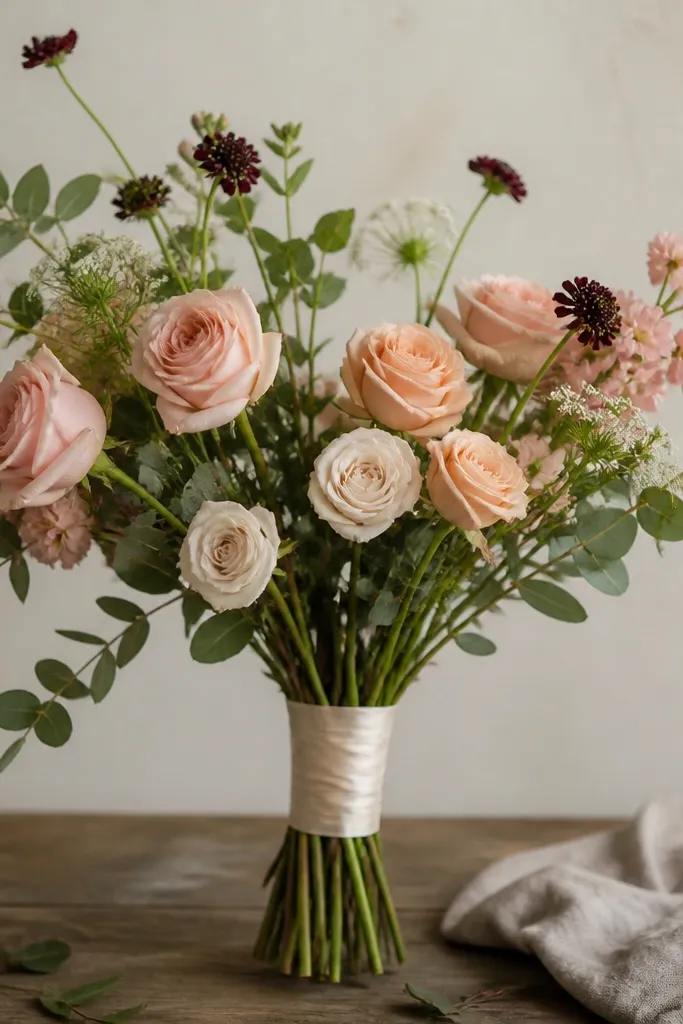
Once you wrap the handle, it’s hard to reposition stems or fix gaps between layers. You end up tearing ribbon or re-gluing petals awkwardly. Assembling the “mechanics” first gives you room to test balance and spacing.
Good to knowDo a dry-fit: hold the stems together, tape temporarily, then step back and rotate the bouquet before permanent wrapping.
7. Skipping a foam/holder core - everything slips
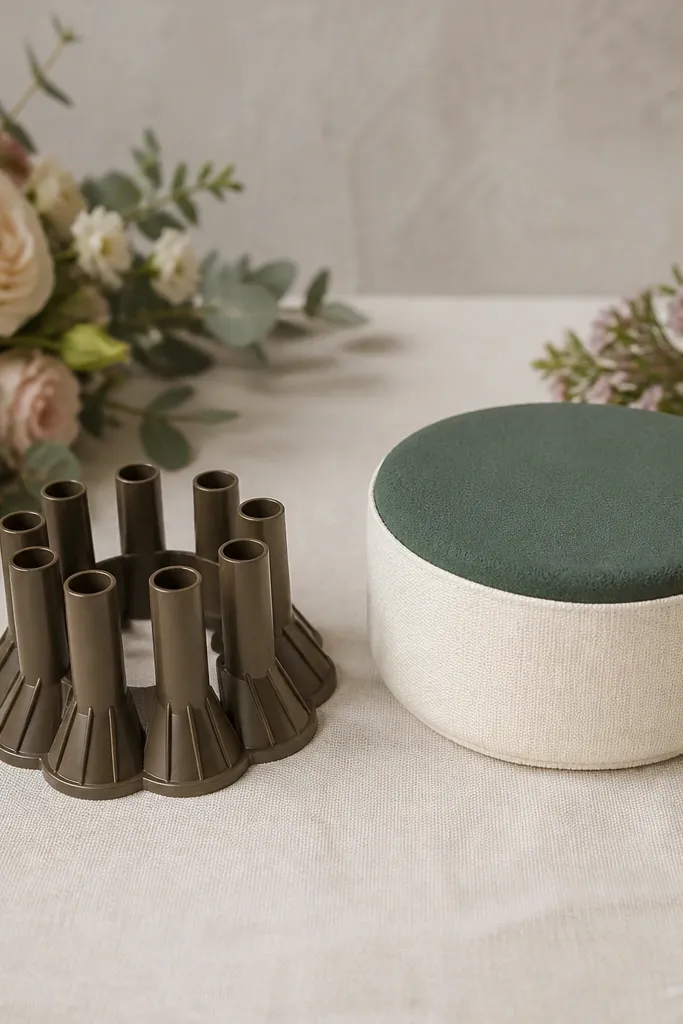
Money petals are light individually, but together they shift constantly when the bouquet is moved. Without a stable core (or at least a tight bundle + secure wrap), stems slip and the arrangement loosens. A core also helps you anchor ribbon and bow tails cleanly.
Good to knowUse a small floral foam block or a tightly wrapped cardboard cone and secure it with tape before inserting stems.
8. Ribbon wrap that bunches - wrong tension or width
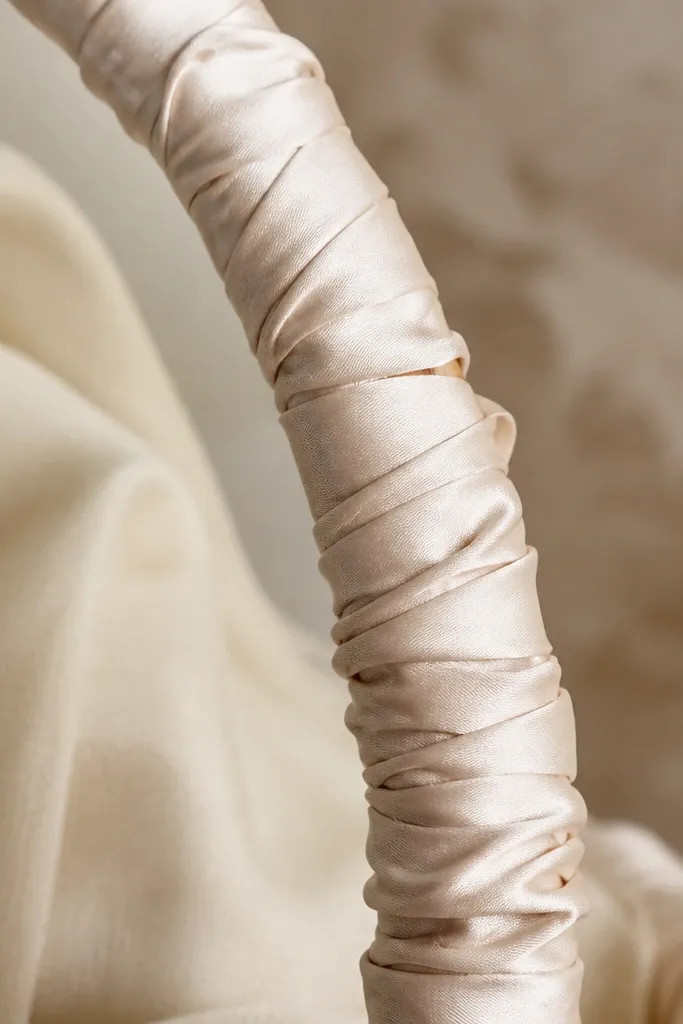
Ribbon bunching happens when you pull too tight in small sections or use a width that doesn’t cover your stem bundle evenly. It can also come from wrapping over glue ridges. Smooth, even tension makes the handle look like a finished store item.
Good to knowUse 3/8 to 1/2 inch ribbon for most money bouquet handles. Wrap in short passes, keeping the ribbon flat and overlapping by about 1/4 inch.
9. Bow tails too long - they tangle with stems and petals
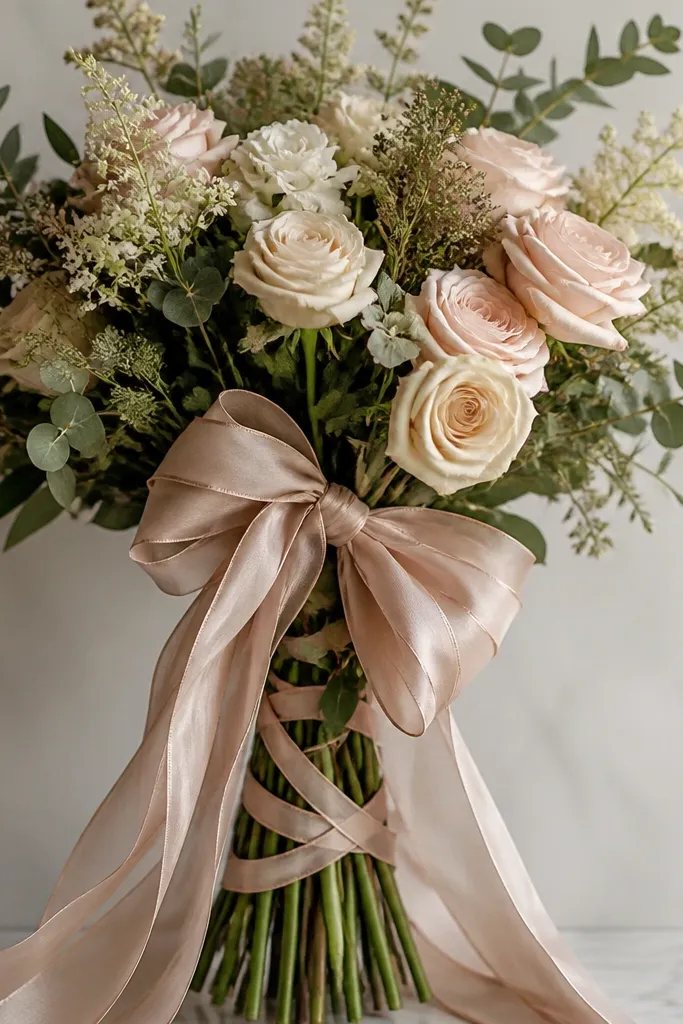
Big bows are cute, but long tails can catch on wire and pull petals out of position. The bouquet looks messy when the bow interferes with the flower layer. Keeping tails controlled protects the shape and makes the bow look intentional, not accidental.
Good to knowCut bow tails to 6-8 inches for a typical 12-16 inch bouquet. After tying, tuck tails behind the handle wrap so they don’t reach the petal area.
10. Using regular paper instead of bill-friendly materials
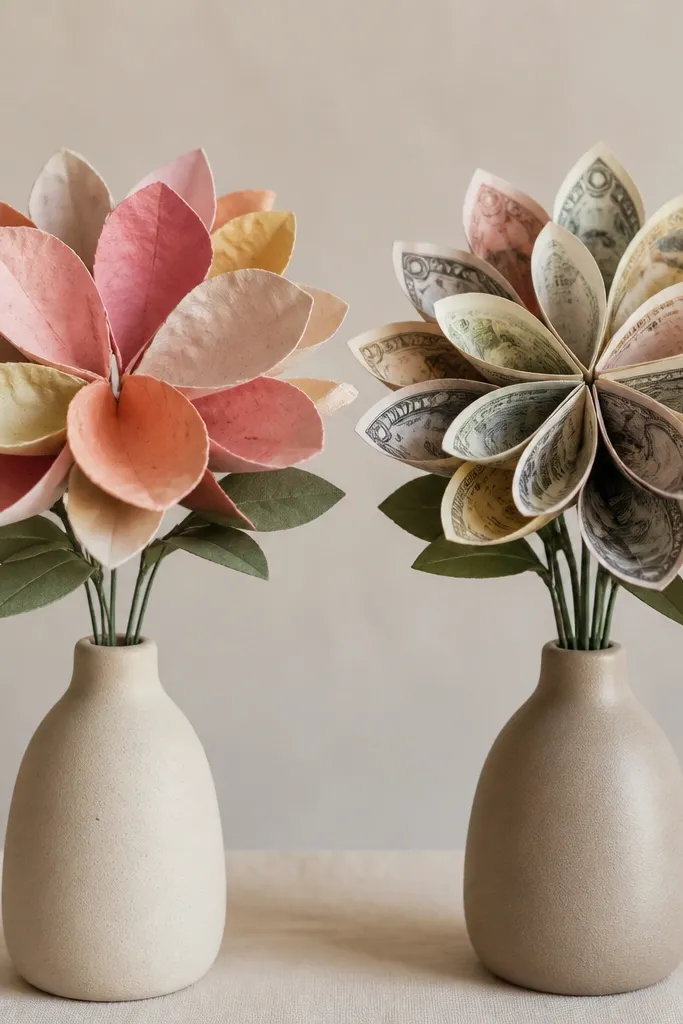
Some tutorials use paper “pretend money” or regular cardstock petals. Real bills behave differently — they wrinkle along folds and respond to moisture and heat. If you’re using actual currency, treat it gently and avoid heavy steaming or soaking.
Good to knowIf you want sturdier-looking petals, wrap each bill with a thin strip of clear tape on the back fold only. It prevents fraying and adds stability.
11. Accidentally hiding the best part - the bill faces
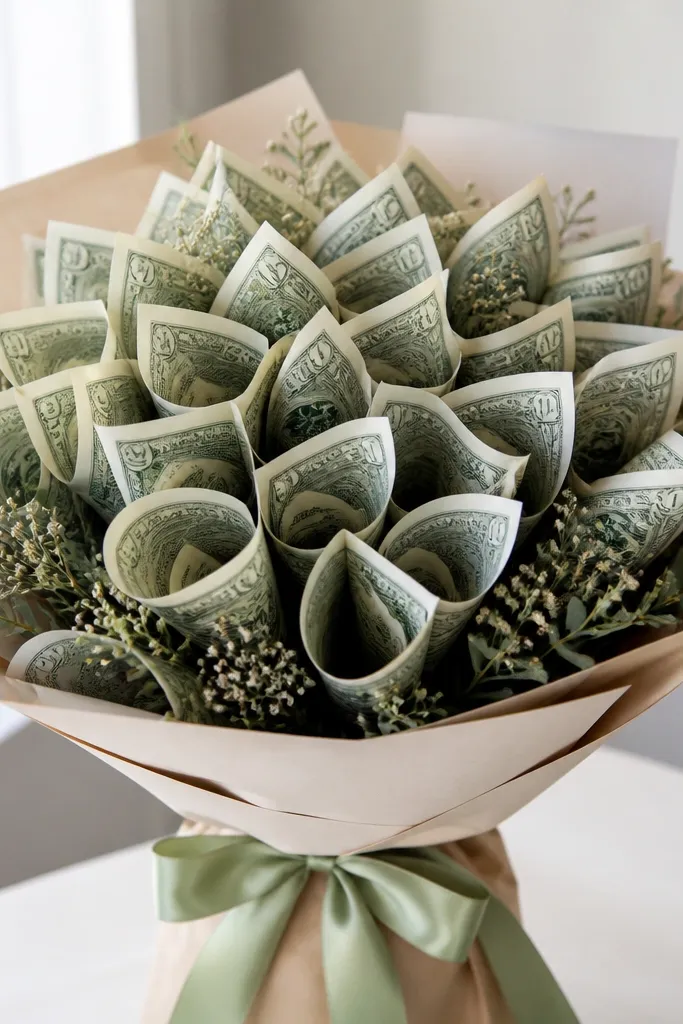
If you fold too far inward or glue too close to the front, the faces point away from the viewer. Then your bouquet looks like a bunch of folded slips instead of “money flowers.” Turning the faces outward is what makes the bouquet instantly recognizable.
Good to knowWhen shaping each petal, angle the bill so the portrait faces the outside. Glue the back fold first, then adjust before it sets.
12. Clashing colors - ribbon that fights the bill tone
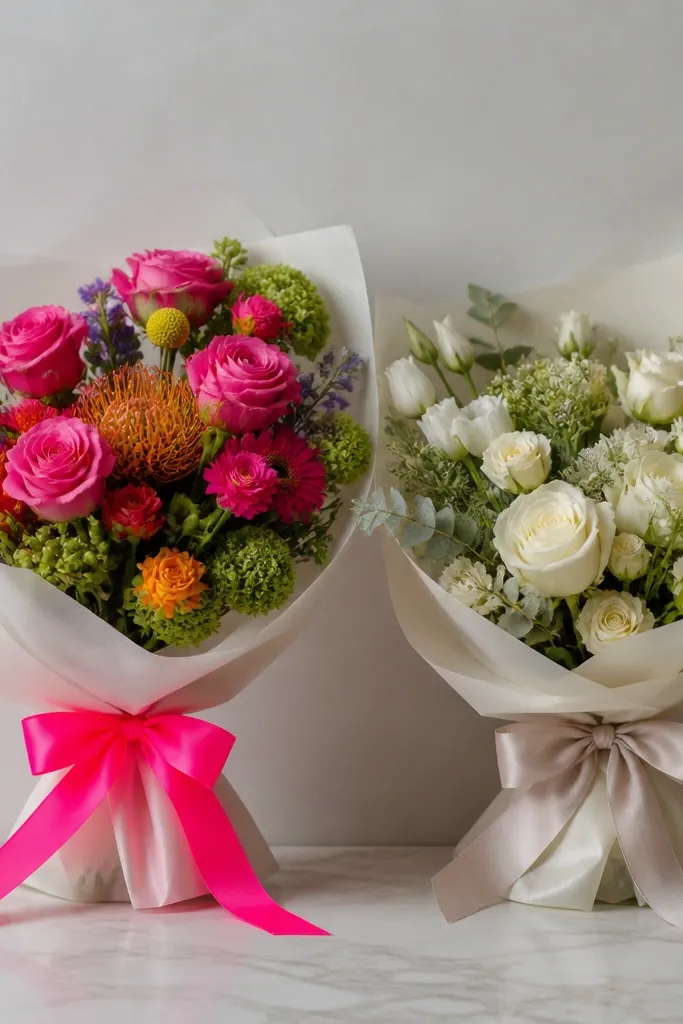
Bills have warm tones, and the wrong ribbon shade can overpower them in photos. Bright neon or cool gray ribbons can make the bouquet look cheap fast. Choosing a complementary ribbon color makes the money look richer and more cohesive.
Pair bills with warm neutrals (cream, champagne, tan) or classic colors (burgundy, navy). Hold the ribbon next to the bill under daylight to check tone.

