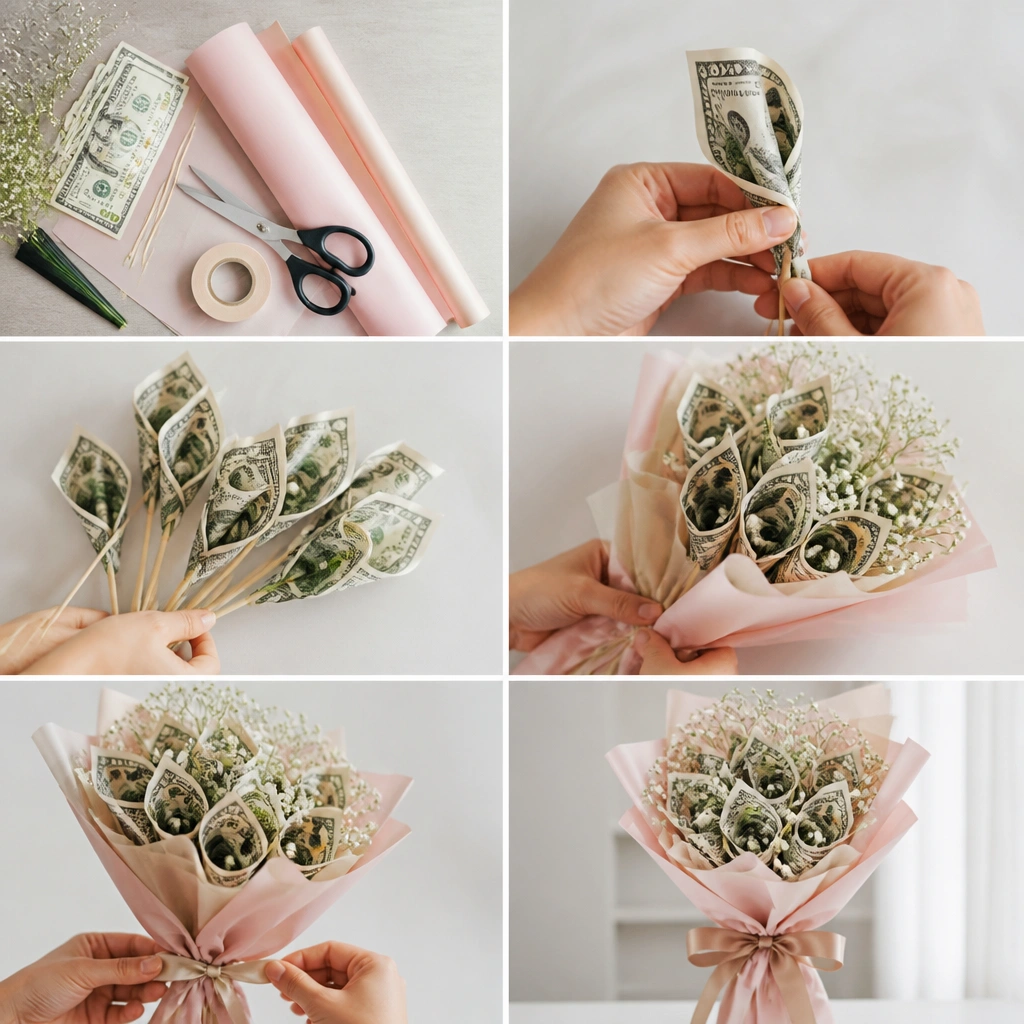
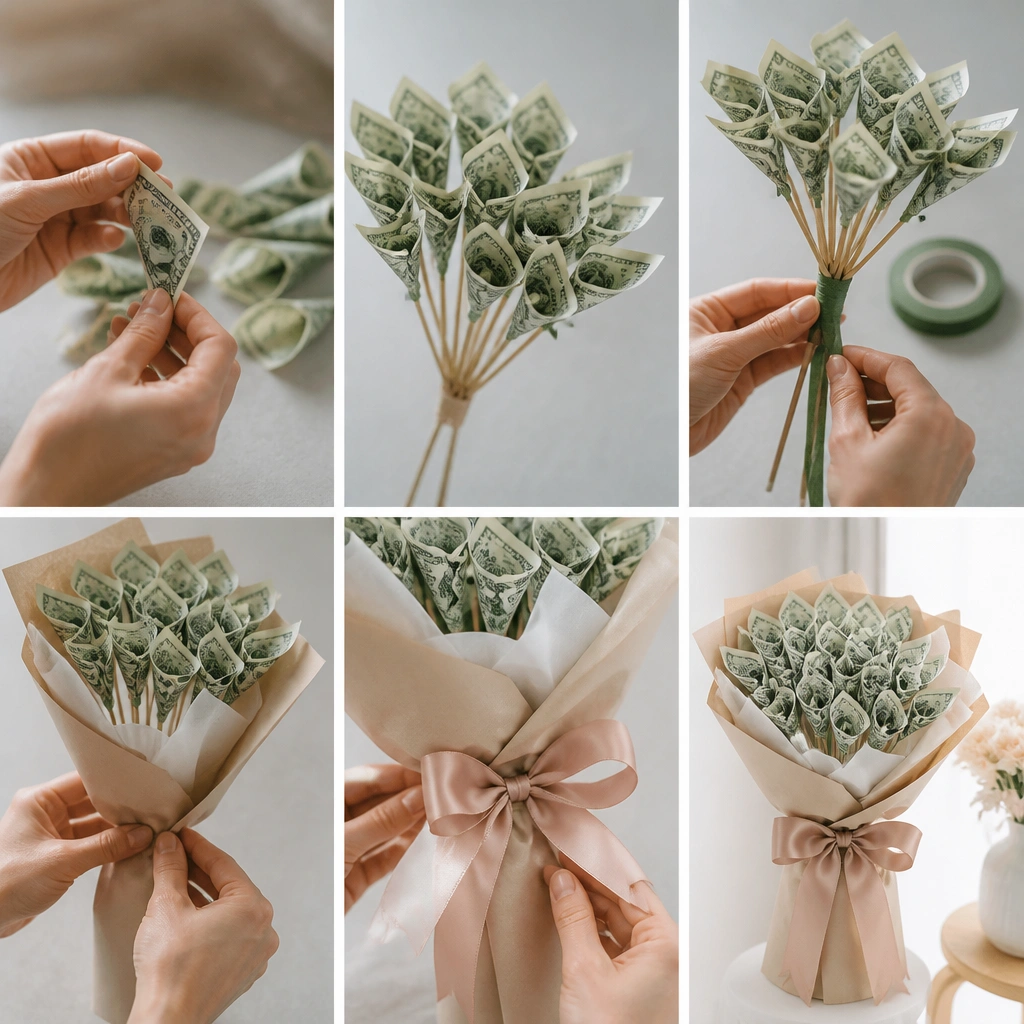
How to Make Money Bouquet is way easier than you think — you can make a cute mini bouquet in about 45 minutes using just 20-30 folded bills and basic craft supplies. This tutorial shows you a simple, sturdy build so your cash flowers don’t droop, plus a quick way to wrap the stems for a clean, gift-ready finish.
Step by step
Prep your bouquet base. Cut a small foam block or cardboard square that fits in your chosen wrapping style. If using cardboard, cover it with tissue paper so it looks neat when wrapped.
Make 1 cash rosette flower pattern. Fold a bill into a long strip, then accordion-fold it so it holds shape. Twist the folded strip around the tip of a wire to form a rosette, and secure with a small piece of floral tape.
Attach rosettes to stems. Push the wire end into a dowel stick or skewer, then wrap the joint tightly with floral tape. Repeat for each bill so your bouquet has even “flower heads” at the same height.
Build in the base for stability. Poke the stem ends into the foam block (or glue into the cardboard base using hot glue). Arrange them in a gentle fan shape so the bouquet looks fuller without crowding.
Wrap stems and hide tape lines. Bundle the stems together, then wrap with floral tape from top to bottom to smooth out any visible seams. Add tissue paper or faux greenery around the base to cover the holder.
Finish with wrap and ribbon. Wrap the foam/cardboard base with tissue or cellophane, then tie a ribbon bow at the front. Trim any ends so the bouquet looks clean from every angle.
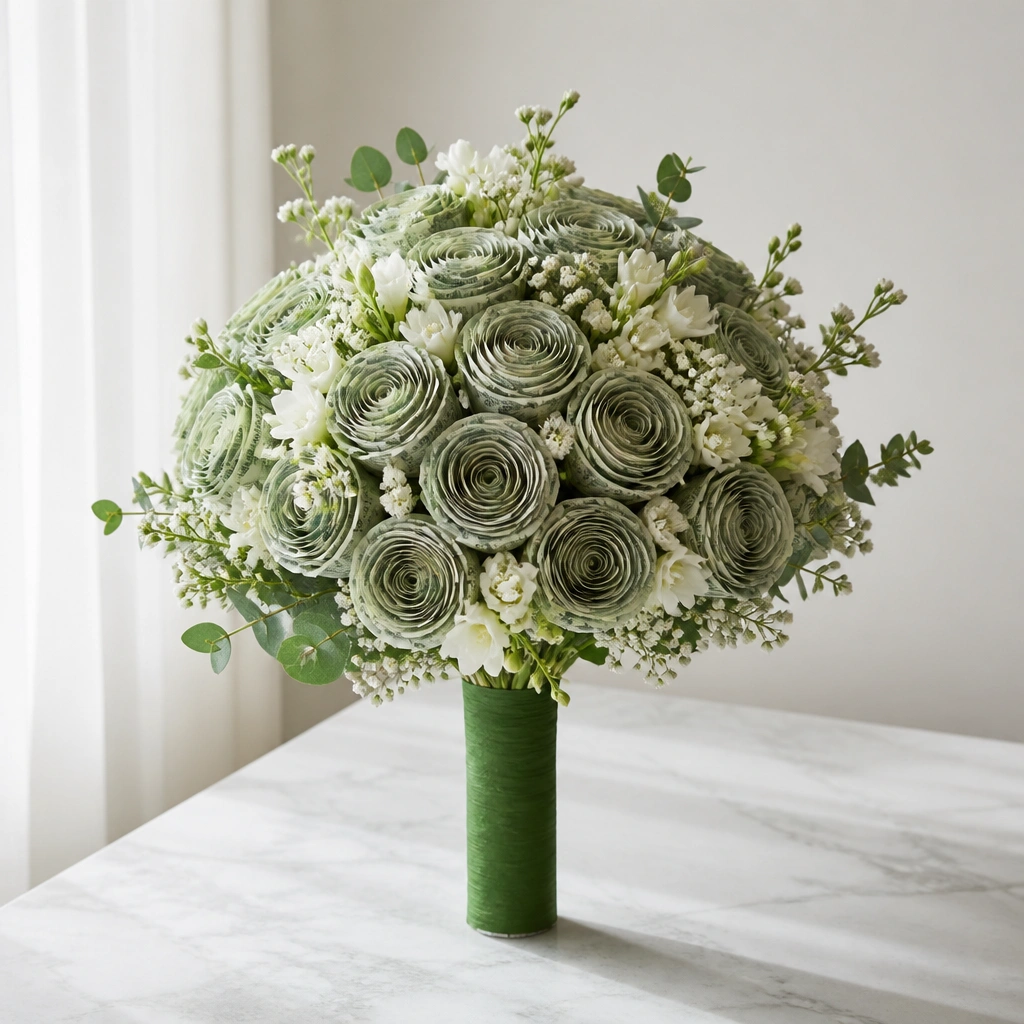
This look uses consistent rosette folds so each “petal” matches across the bouquet. The fan shape makes it feel fuller even with fewer bills because the heads spread outward instead of stacking.
Good to knowKeep all rosette heights the same by trimming each stem to length before you glue or push into the base.
Using two bill colors (for example, mixed denominations) creates visual depth without extra decorations. Faux greenery hides the base and makes the bouquet look like real flowers.
Alternate rosettes in a pattern (like light, dark, light, dark) so it looks intentional, not random.
Kraft paper texture makes cash bouquets look styled instead of “last-minute craft.” Twine and a tag create a handmade feel that photographs beautifully.
Add a small mini tag near the ribbon knot so the twine knot doesn’t look empty.
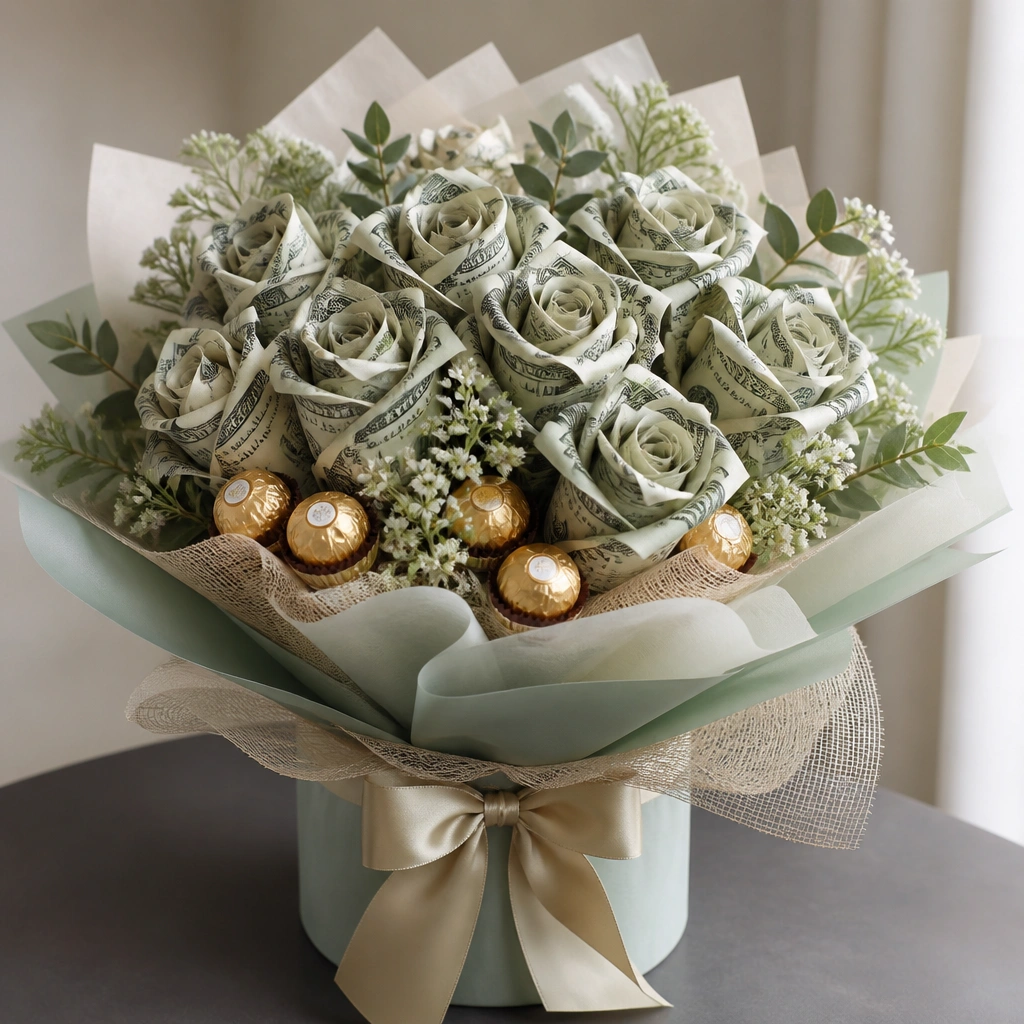
6. Chocolate-Gift Style: Money Bouquet with Faux “Candy” Fill
Filler items around the base make the bouquet look fuller without adding more bills. Faux candy pieces add a playful, gift-bag vibe that’s great for teens or birthdays.
Good to knowKeep filler low around the base so it doesn’t compete with the cash flower heads.
You don’t need a huge stack of bills to make it look sweet. A mini bouquet works especially well for thank-you gifts, classroom rewards, or small birthdays.
Use fewer, thicker stems (or shorter dowels) so the bouquet stays sturdy even with fewer flowers.
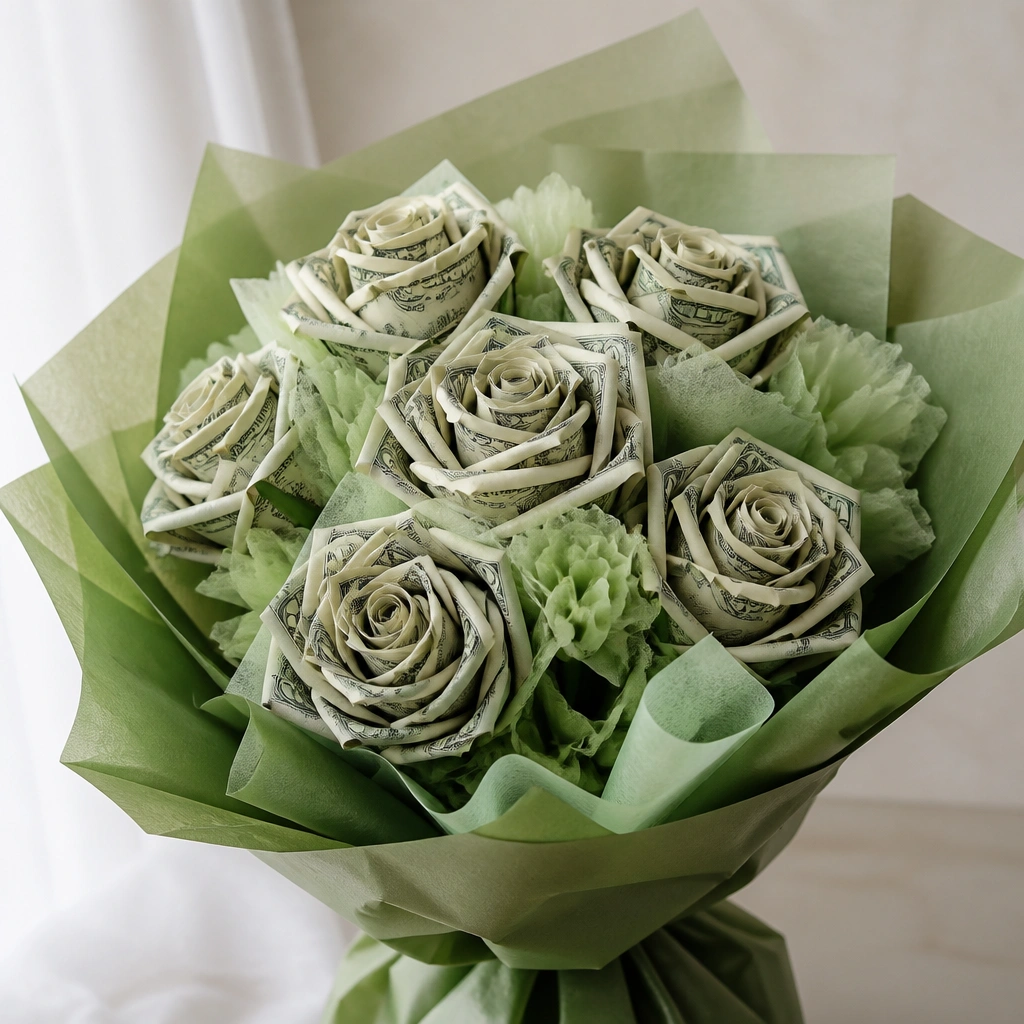
8. Monochrome Green Stems with Tissue “Petal” Accents
Tissue accents act like subtle petals and help the bouquet look lush. Matching green tones keep everything cohesive and make the cash stand out as the centerpiece.
Tuck tissue accents only between flowers where you see gaps — don’t overstuff.
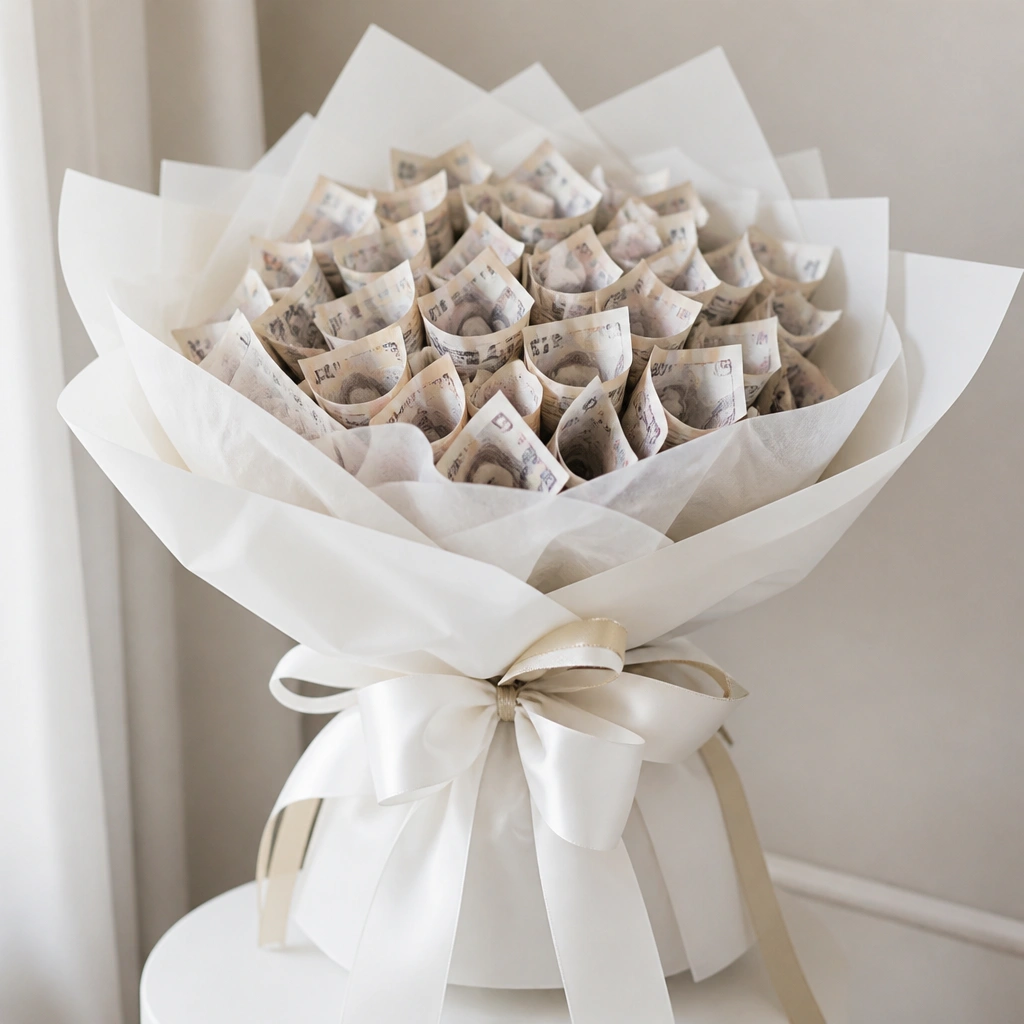
Clear wrap gives a “store-bought” finish while letting the bouquet shape show. Long ribbon tails make it feel dramatic for weddings, graduations, or big birthdays.
Cut ribbon tails longer than you think — about 18-24 inches each side looks most like a pro finish.
10. Compact Base Covered in Decorative Tissue Fringe
Clean stem wrapping makes the bouquet look expensive. Floral tape bonds tightly and helps you smooth out uneven stem angles.
Wrap floral tape in overlapping spirals, then press with your thumb to seal edges.
Your questions, answered
How long does a money bouquet last?
A cash bouquet can look great for weeks because the bills are secured to stems and protected under wrap. The main thing that fades is the ribbon — store it flat or in a gift bag to keep it looking crisp.
What does it cost to make a money bouquet?
If you already have ribbon, tape, and stems, the extra cost is usually low. Your biggest variable is the number and type of bills you include, plus whether you buy faux greenery or tissue wrap.
Where can I get the materials for a money bouquet?
Floral tape, dowels/skewers, craft wire, and faux greenery are easy to find at craft stores and many dollar stores. Cellophane wrap and ribbon are usually in the gift wrap aisle.
Is this beginner-friendly if I’ve never done cash crafts?
Yes. The tutorial focuses on making one repeated cash rosette pattern, then attaching identical stems. If you mess up a flower head, you can re-fold a single bill without restarting the whole bouquet.
Can I reuse the bouquet base for future bouquets?
You can reuse a foam block or cardboard base if you don’t glue it permanently. Use removable tape for experimenting, and keep the base covered with tissue so it doesn’t get scuffed.
How do I care for the bouquet so the bills don’t wrinkle?
Handle it by the stems, not by the rosette heads, and avoid heavy bending of the bill folds. Transport it in a gift bag or box so cellophane wrap prevents dust and creasing.