DIY Money Bouquet Ideas Last-Minute can save you when you’re staring at an empty card and a deadline in 30 minutes. In this guide, you’ll make a full-looking bouquet using simple materials and a no-stress assembly method that takes about 20-40 minutes. You’ll learn how to turn bills into “flowers,” wrap them so they stand up, and finish with a bow that looks expensive without being fussy.
Step by step
Pick your bouquet base. Cut a foam block to fit a small vase or keep it as a handheld base. If you’re using a jar, fill it with crumpled tissue or shredded paper so the picks stay snug.
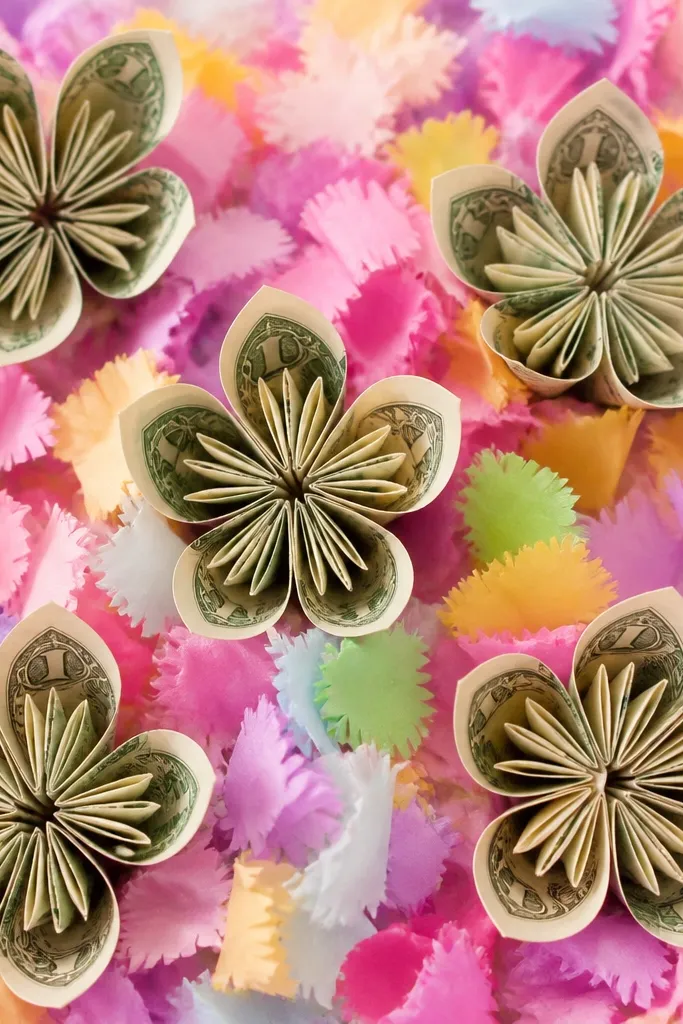
Make quick money blooms. Fold each bill in half lengthwise, then accordion-fold the edges slightly so it has “petal” shape. Wrap the folded bill around the top of a skewer, securing with a strip of floral tape.
Add tissue “leaves” fast. Cut tissue paper into 2-3 inch strips, then pinch and twist one end to mimic leaves. Glue or tape 2-3 tissue leaves around each money bloom so the bouquet looks lush.
Build the bouquet cluster. Arrange 6-10 money blooms in a tight circle, keeping taller stems in the back. Wrap stems together with floral tape, starting at the top and moving downward.
Wrap for a clean, gift-ready look. Cover the taped stems with ribbon by spiraling it down. Secure with a small dab of hot glue at the top and a hidden spot near the bottom.
Finish with a statement bow. Tie a bow from ribbon and glue it at the bouquet wrap point. Add a small tissue puff behind the bow for extra volume and a “bouquet” silhouette.
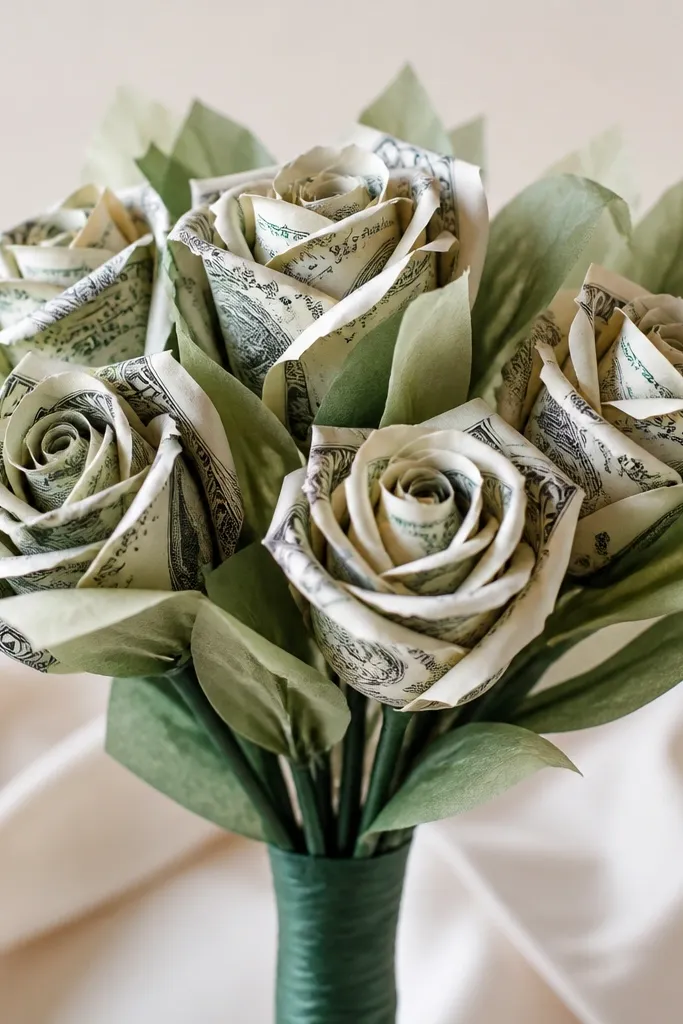
These look the most flower-like because the bill is rolled into a tight spiral, then fluffed slightly at the top. Use crisp bills for clean edges, and keep the roll small so the bouquet doesn’t look bulky.
Roll from the long edge and stop before the bill fully creases-then secure with floral tape to hold the rose shape.
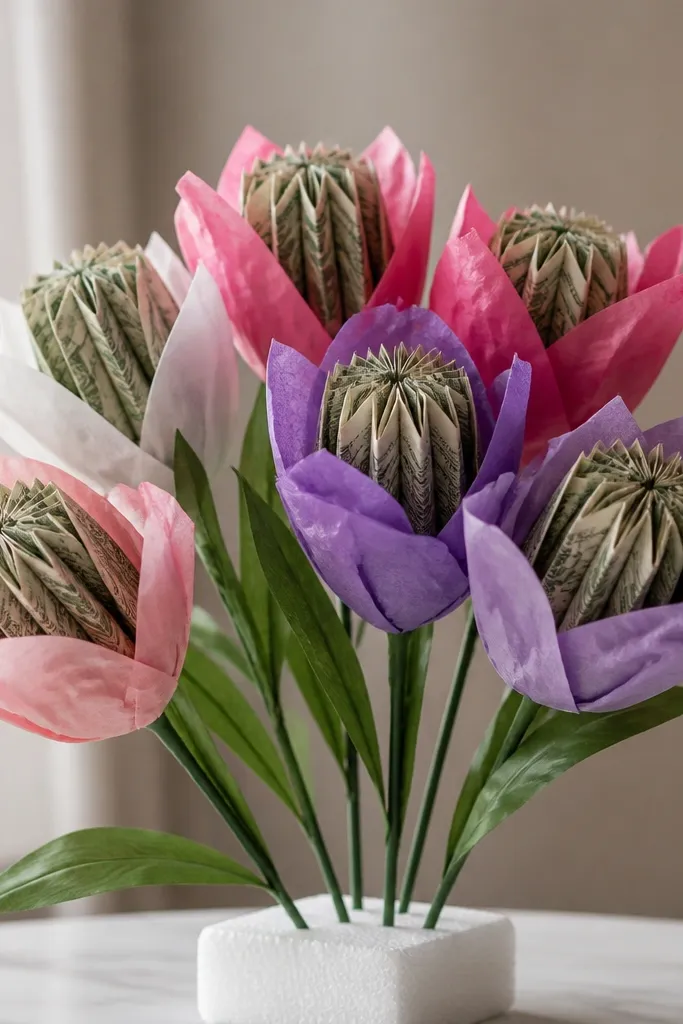
Accordion folds create natural petal ridges, so even a quick assembly looks intentional. Choose a single tissue color (like blush pink) and use it to frame each bill for a cohesive tulip look.
Accordion-fold in 1/2 inch sections for a neat tulip shape that holds up during wrapping.
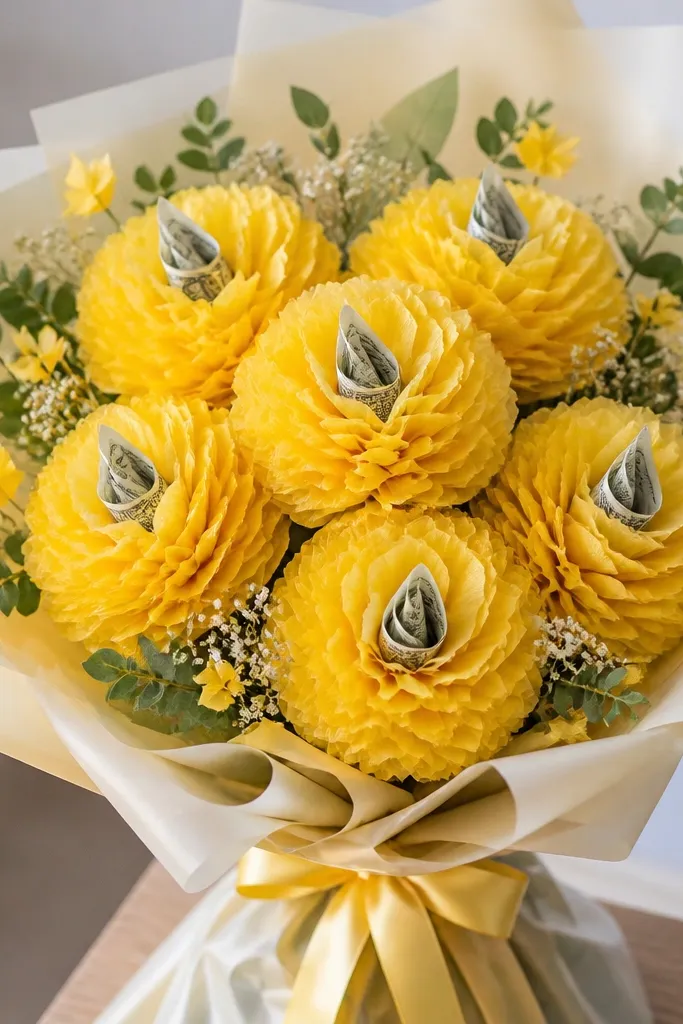
This is a great last-minute option because you can make the “center” fast and keep the outer petals simple. Use yellow tissue paper for the puff and a contrasting tissue strip for petals to make the bill center pop.
Good to knowMake the center first, then wrap tissue petals around it like a loose crown so you can adjust volume quickly.
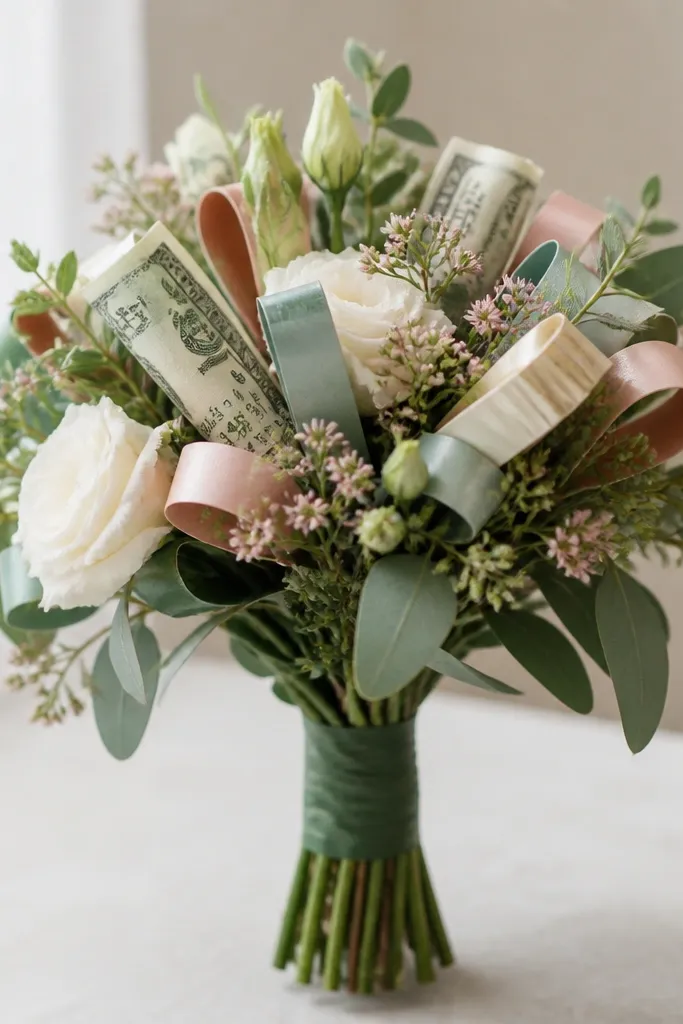
If you’re short on cash, gift cards work like “flower centers.” Cut gift cards into 1 inch strips, fold into loops, and secure to picks with tape. Mix 3-5 loops with 5-8 bill flowers for a fuller bouquet.
Good to knowLightly scuff glossy gift card surfaces with a fingernail before taping so tape grips better.
This look hides stem mess and makes the bouquet feel bigger instantly. Wrap tissue around the taped stems like a soft sleeve, then tuck it under the ribbon so it holds shape.
Mist tissue lightly with water on your fingers before wrapping — it helps tissue cling and look fuller.
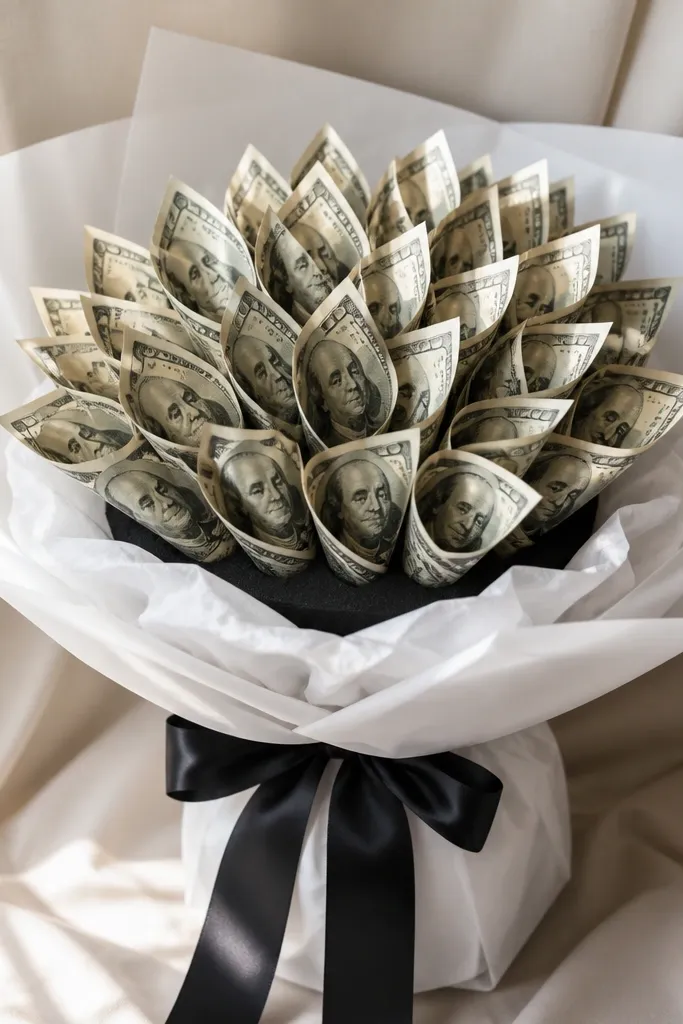
For birthdays or formal events, monochrome looks classy fast. Use white tissue as the background and black ribbon for the wrap and bow. Keep bill folds uniform so the bouquet reads as intentional, not random.
Align the bill folds in the same direction on every bloom for a clean, matching look.
Fringing tissue gives movement and makes the bouquet look handmade and celebratory. Cut tiny strips, fringe the ends, then twist each petal around the stem to create a layered confetti effect.
Good to knowUse 2 tissue colors max (ex: teal + white) so the confetti stays cheerful, not chaotic.
This is the most “full” look with the fewest bills because leaves add height and texture. Roll 6-8 bill roses, then cluster 2-3 tissue leaves behind each bloom so the bouquet looks layered.
Place leaves slightly lower than the bill blooms to create a natural stagger and depth.
Skip foam by using a jar filled with tissue for grip. Spiral ribbon over the floral tape so the stems look polished even if they’re visible through the jar opening.
Good to knowWrap ribbon in tight spirals and secure with small dots of glue so it doesn’t slip when the jar is moved.
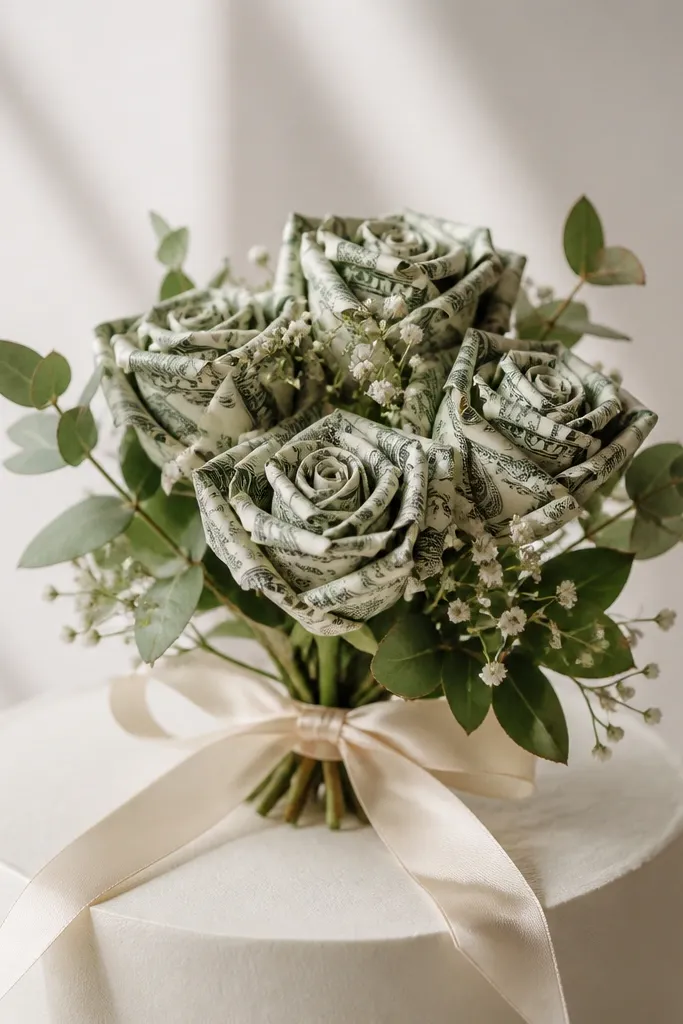
For quick gifting, make a mini bouquet that can sit on a cake, centerpiece, or card. Use shorter picks, fewer blooms, and thicker ribbon for a bold look.
Good to knowUse 4 blooms only, but make the tissue petals larger — it reads as “bigger” despite smaller size.
Your questions, answered
How long does a DIY Money Bouquet Last?
If you keep the tissue dry and avoid crushing the bouquet, it typically looks great for 1-3 days at a party and can last up to a week for storage. Handle gently and keep it away from direct sun and humidity.
What’s the total cost for DIY Money Bouquet Ideas Last-Minute?
Most people spend about $5-$20 beyond the money itself, depending on ribbon and whether you already have floral tape, tissue, and a glue gun. Using a jar instead of foam can lower cost and cleanup time.
Where can I get the supplies quickly?
Craft stores usually have floral picks, tape, tissue paper, and ribbon in one trip. For a true last-minute run, party sections in grocery or big-box stores often stock tissue and ribbon, and you can use skewers from the kitchen.
Is this beginner-friendly if I’ve never done DIY crafts?
Yes — the steps are forgiving because the ribbon and tissue hide small imperfections. Start with 6 blooms and a jar or foam base so the bouquet holds its shape while you learn.
Will hot glue damage the money?
Use hot glue only on tissue and ribbon, not directly on the bill face. If you need to secure a bill, use floral tape around the bill edge or around the skewer to avoid glue contact.
How do I care for the bouquet while transporting it?
Wrap the bouquet loosely in tissue or a lightweight plastic bag for protection, then place it upright in a box. Carry it flat in your car so the stems don’t bend.