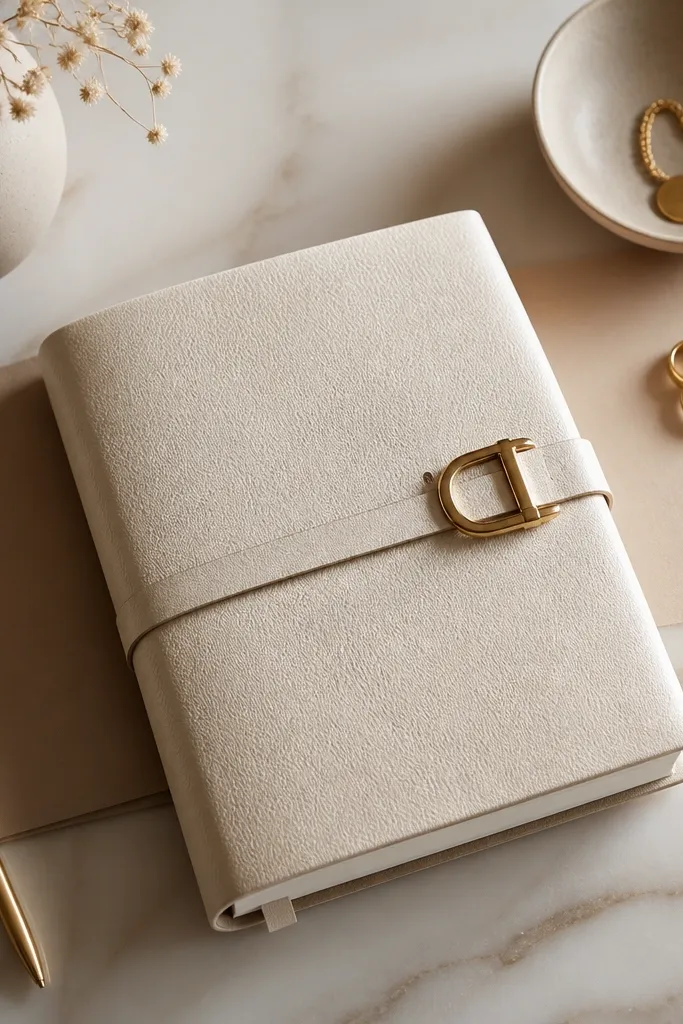
1. Linen + Faux Leather Wrap with Gold Edge Reveal
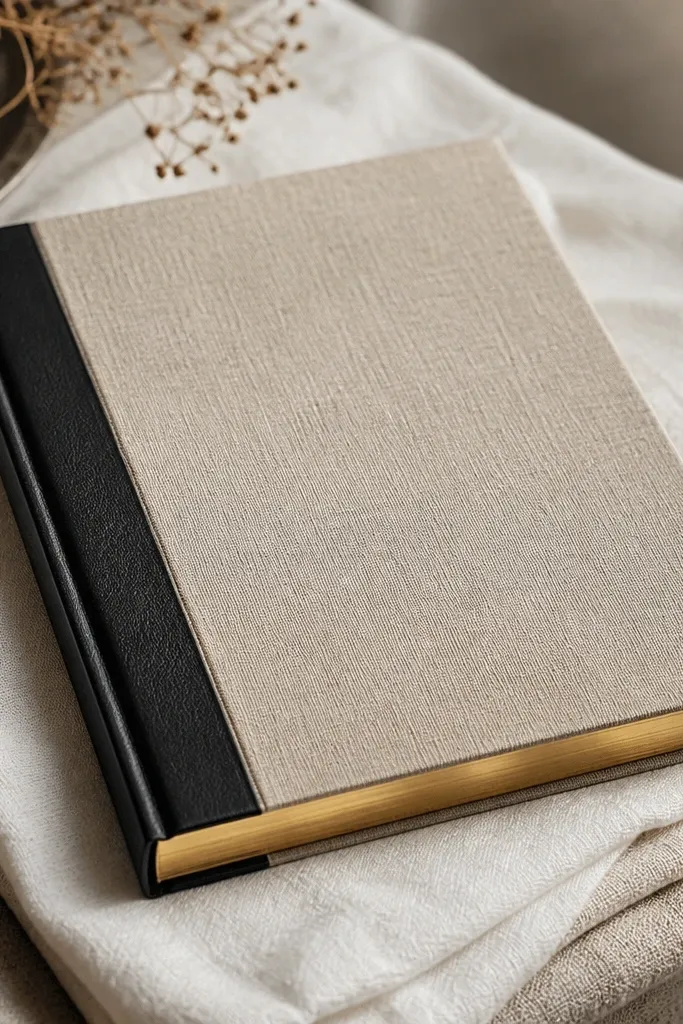
Start with a linen-covered base (bookcloth) and add a slim faux leather spine or side panel for contrast. Finish by dry-brushing metallic gold along the outer page edges — just enough to create a “jewelry box” effect without looking messy. This works because linen reads soft and high-end, while the leather adds structure. The gold edge makes the journal look finished even when the pages are closed.
Use painter’s tape to mask the page edges before gold paint — pull it off while the paint is still slightly tacky for crisp lines.
2. Marble-Inspired Label Tabs with Layered Clear Pockets
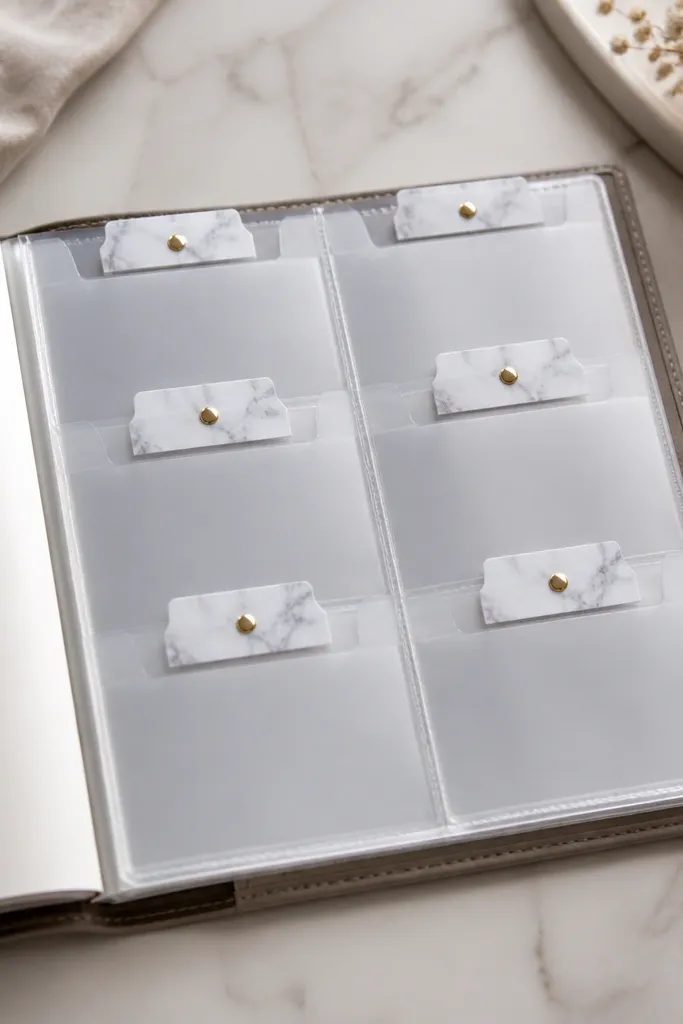
Create tabs by printing marble-pattern labels on thick sticker paper, then adhere them to cardstock strips. Layer each tab over a clear pocket so the label is visible but protected. Add a small gold dot (or gold foil sticker) to each tab corner to keep the whole system luxe and consistent. This makes your diary feel curated, like a planner boutique display.
Good to knowFor clean edges, trim pockets with a craft knife on a cutting mat and seal the cut edge with a thin line of clear tape.
3. Velvet Ribbon Bookmark + Micro-Charms at the Spine
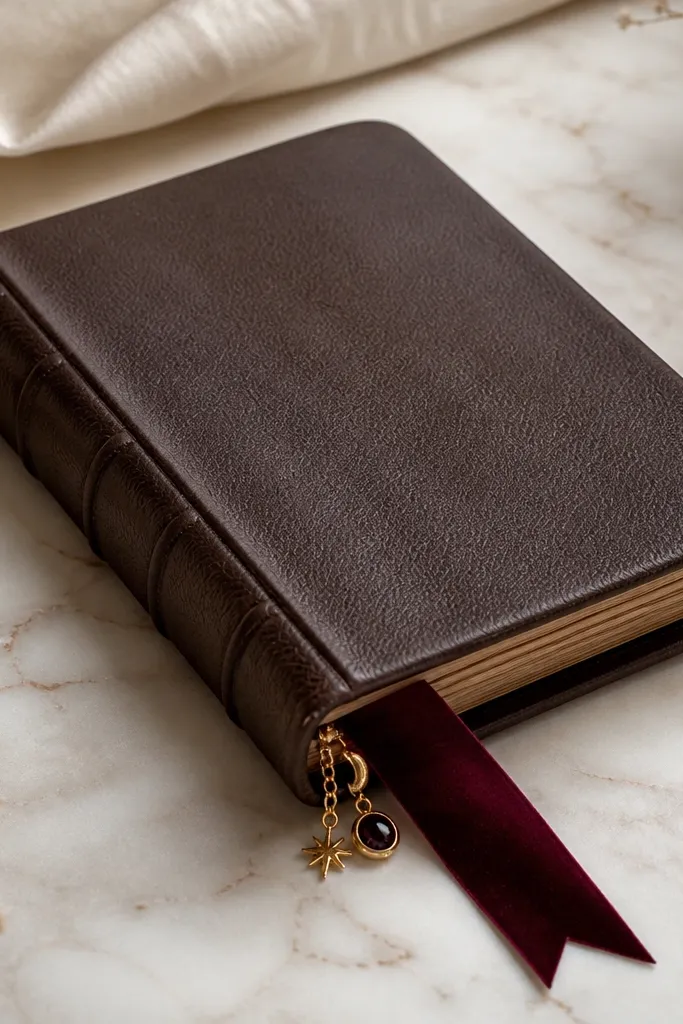
Glue a velvet ribbon strip along the inner spine so it lays flat when closed. Then attach 2-3 tiny charms (like a mini key, star, or coin) to a thin jump ring on the spine. Velvet instantly upgrades the tactile feel, and the charms add a “high jewelry” detail without needing a full cover redesign. Keep charm colors consistent (gold or champagne) for a luxe look.
Good to knowUse E6000 or a strong fabric glue for ribbon attachment and let it cure overnight before opening the cover.
4. Gilded Washi Frames for Photo + Memory Inserts
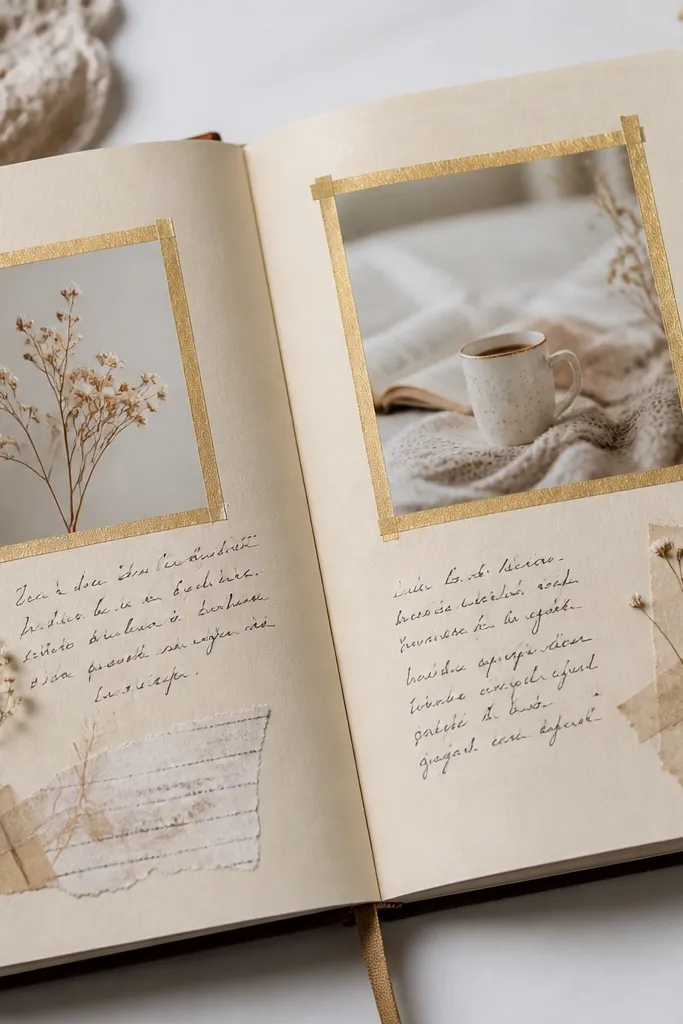
Cut photo mats from cream cardstock and frame them with narrow gold washi tape (or metallic tape). Leave a small margin so the gold looks intentional, like picture molding. Add a tiny handwritten caption on the page beside each insert. The gold framing makes photos look like they belong in a gallery wall, not just a scrapbook.
Stick washi to the cardstock first, then mount the framed photo — this prevents bubbles and keeps corners sharp.
5. Archival Tissue-Backed Collage Pages (No Bulk)
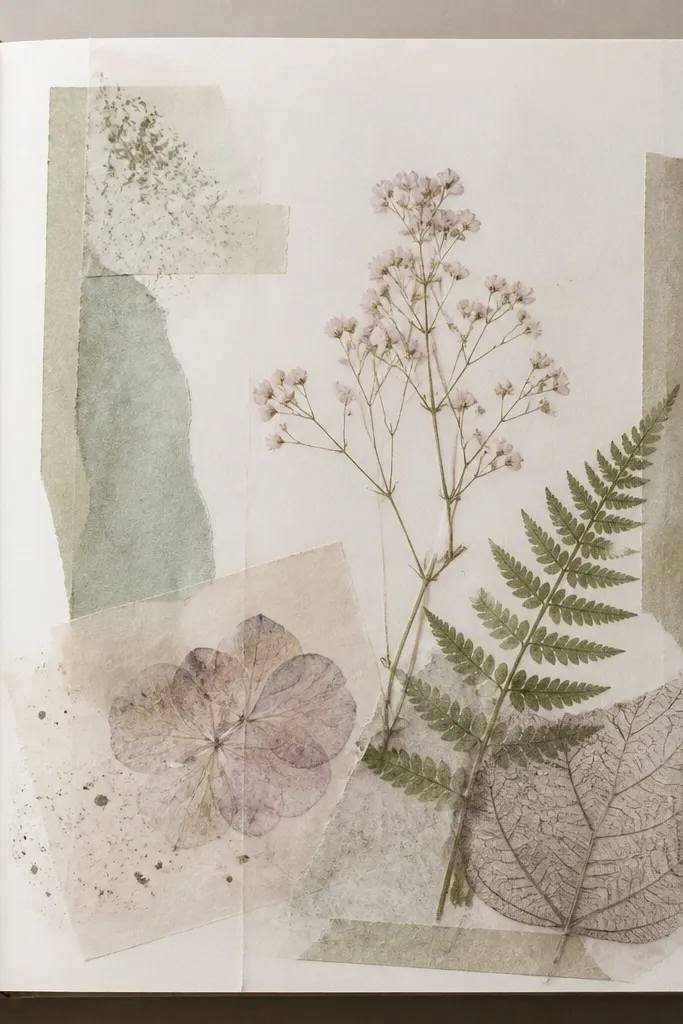
Instead of gluing directly onto paper, back lightweight collage elements with archival tissue paper. Then attach the tissue-backed piece using a thin layer of archival matte medium. This reduces bulk and keeps the page photography-ready. The translucent layering looks expensive and airy, especially with muted florals or neutral ephemera.
Work in thin layers and press under a book overnight to keep the page perfectly flat.
6. Pearl-White Cardstock Dividers with Tiny Embossed Borders
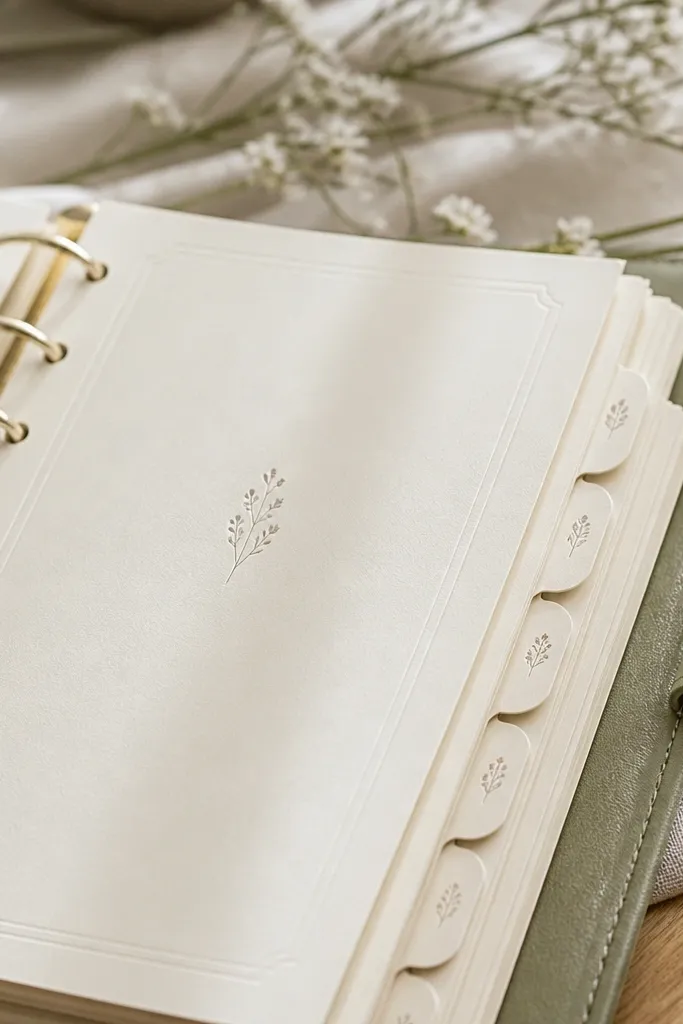
Use pearl-white cardstock for section dividers and add an embossed border using an embossing stylus or a small embossing stencil. Keep borders subtle — a thin line is more luxe than thick patterns. Write section titles in a consistent script with a black or deep espresso pen. The contrast between pearl paper and dark ink looks gallery-clean.
Good to knowIf you don’t have an embossing tool, use a dry-embossing folder and run the divider through a manual die-cut machine.
7. Smoked Glass Effect Cover with Heat-Set Foil Look
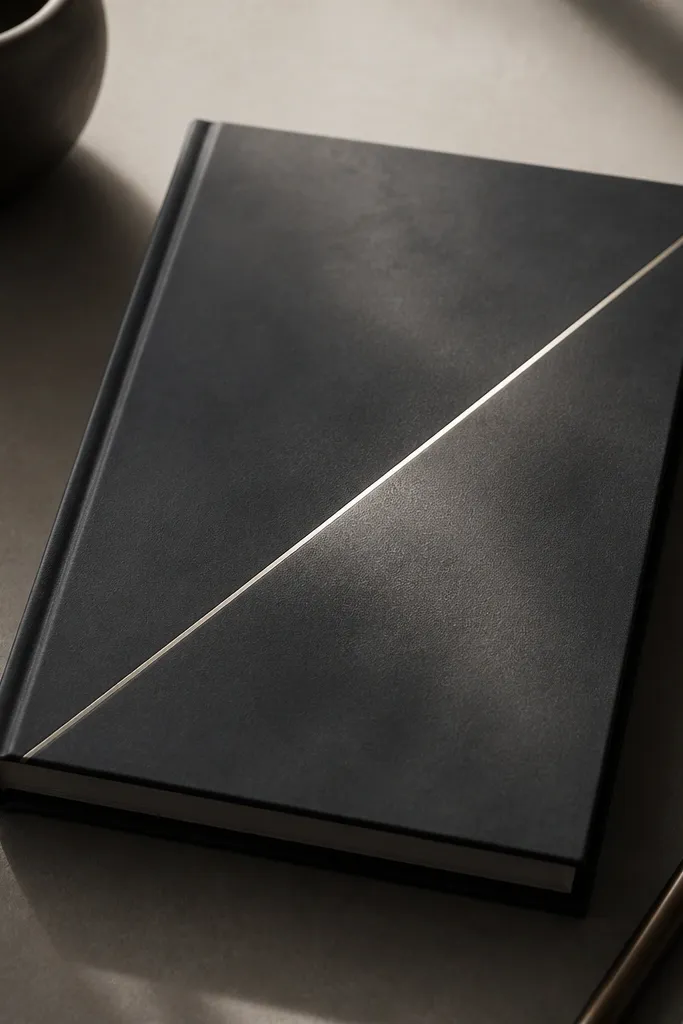
Apply a charcoal acrylic wash over a smooth cover material (like faux leather or laminated cardstock) and seal it. Then add a metallic foil-look stripe using heat-transfer foil or metallic adhesive vinyl. The smoky finish reads luxe because it reflects light softly, not glittery. The diagonal stripe gives a designer feel without clutter.
Good to knowSeal foil/vinyl with a matte archival varnish so it won’t smear when you touch the cover.
8. Satin-Edge Page Protectors with Stitched-Wrap Spine
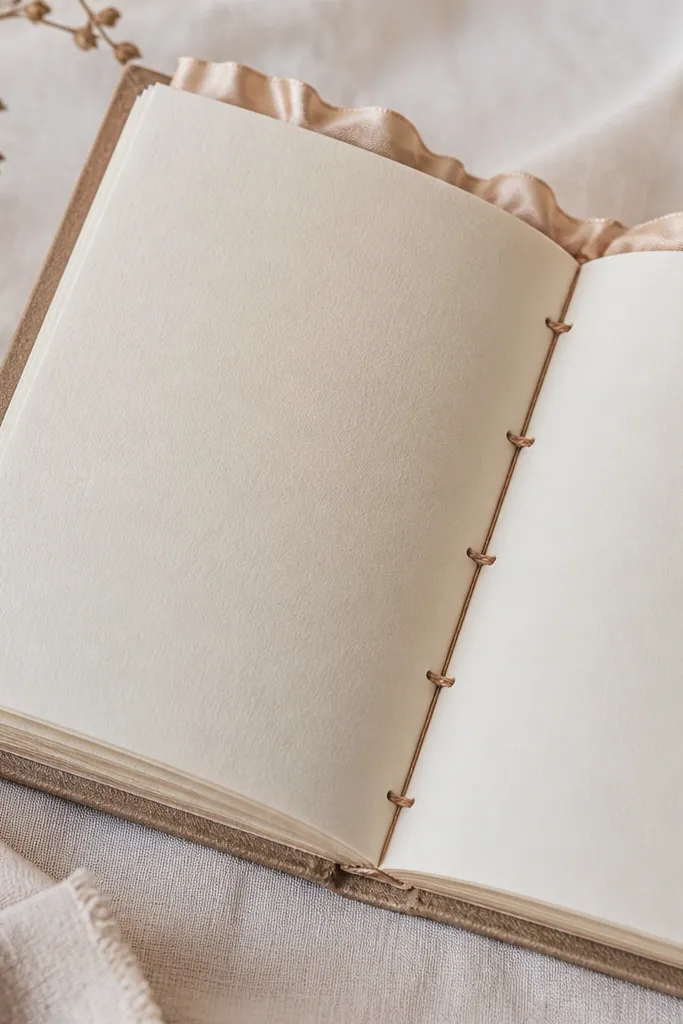
Add satin or silk ribbon trim to the top edge of select pages (like monthly logs) using a narrow strip of archival glue. Then stitch a decorative wrap around the spine with waxed thread. This creates a couture effect: the trim feels soft and the stitching signals craftsmanship. It’s a luxe detail readers notice even in quick photos.
Use waxed thread and a thick tapestry needle; tie off with a tight knot and secure with a dot of glue behind the spine.
9. Botanical Cyanotype-Style Covers (Sun-Printed Look)
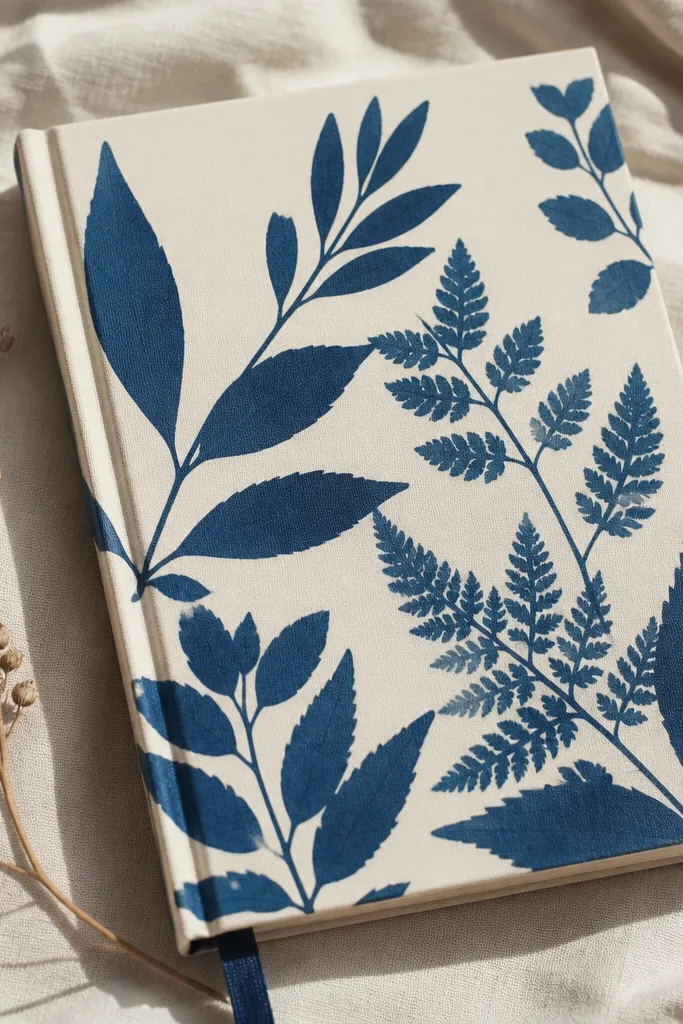
Create a cyanotype-inspired cover by sun-printing botanical leaves on coated paper or fabric using a cyanotype kit. Once dry, mount the printed sheet to a rigid cover base. The high-contrast blue leaf shapes look museum-grade and unique. It’s one of the most “luxe high end diary ideas” because it’s artistic and not mass-produced.
Good to knowPress the printed fabric under parchment paper and a heavy book for 12 hours to prevent curling before mounting.
10. Color-Blocked Signature Pages with Gold Foil Lettering
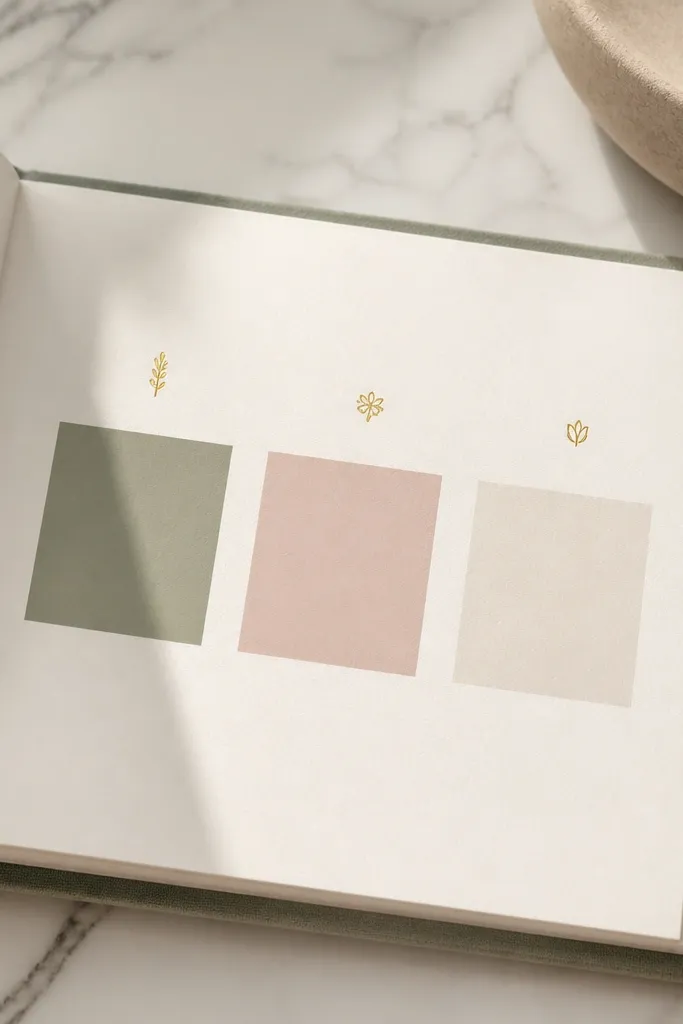
Make a signature spread using three blocks of matte cardstock. Use gold foil stickers or gold foil pen accents for names, dates, or a short mantra. Keep the palette calm and intentional — sage, blush, and ivory read high-end and modern. This style also helps your writing stay organized without turning the diary into a spreadsheet.
Good to knowCut blocks with a paper trimmer for straight edges; use double-sided tape for clean adhesion with no glue marks.