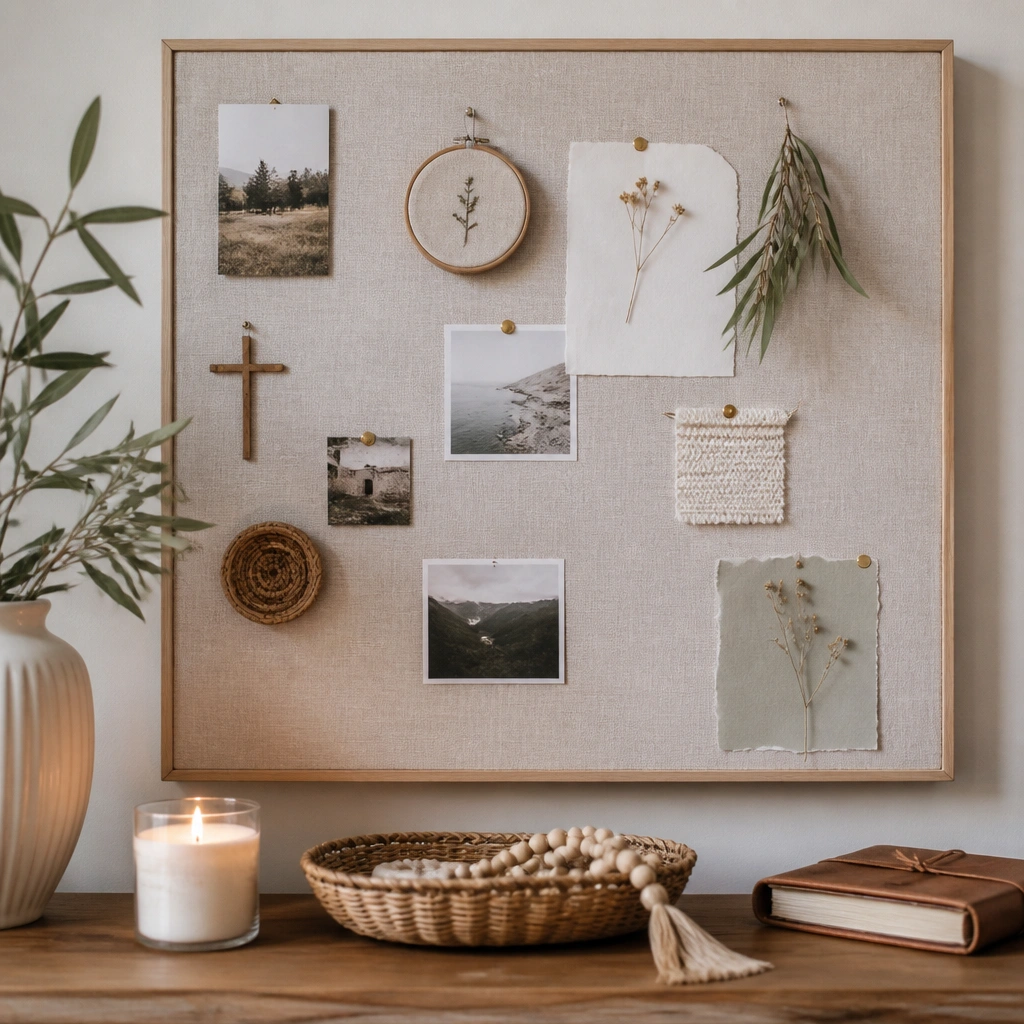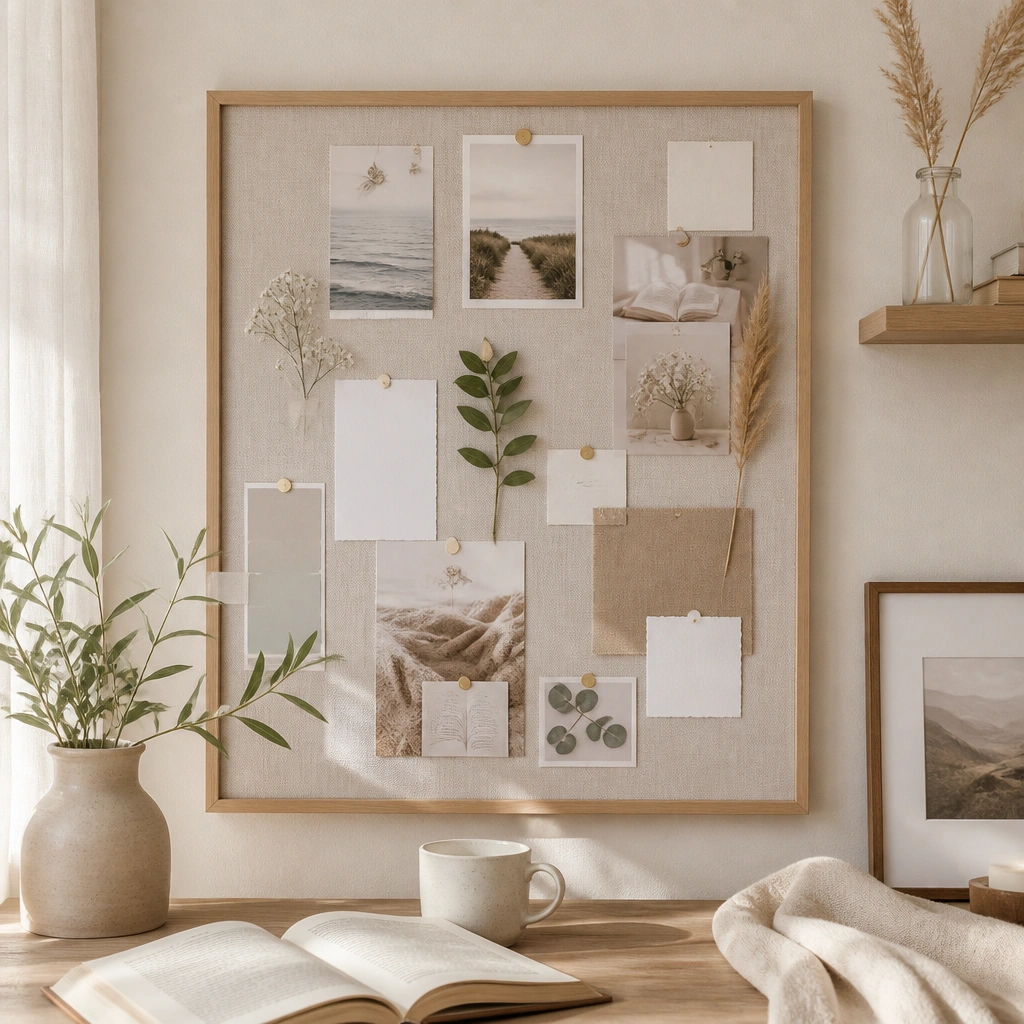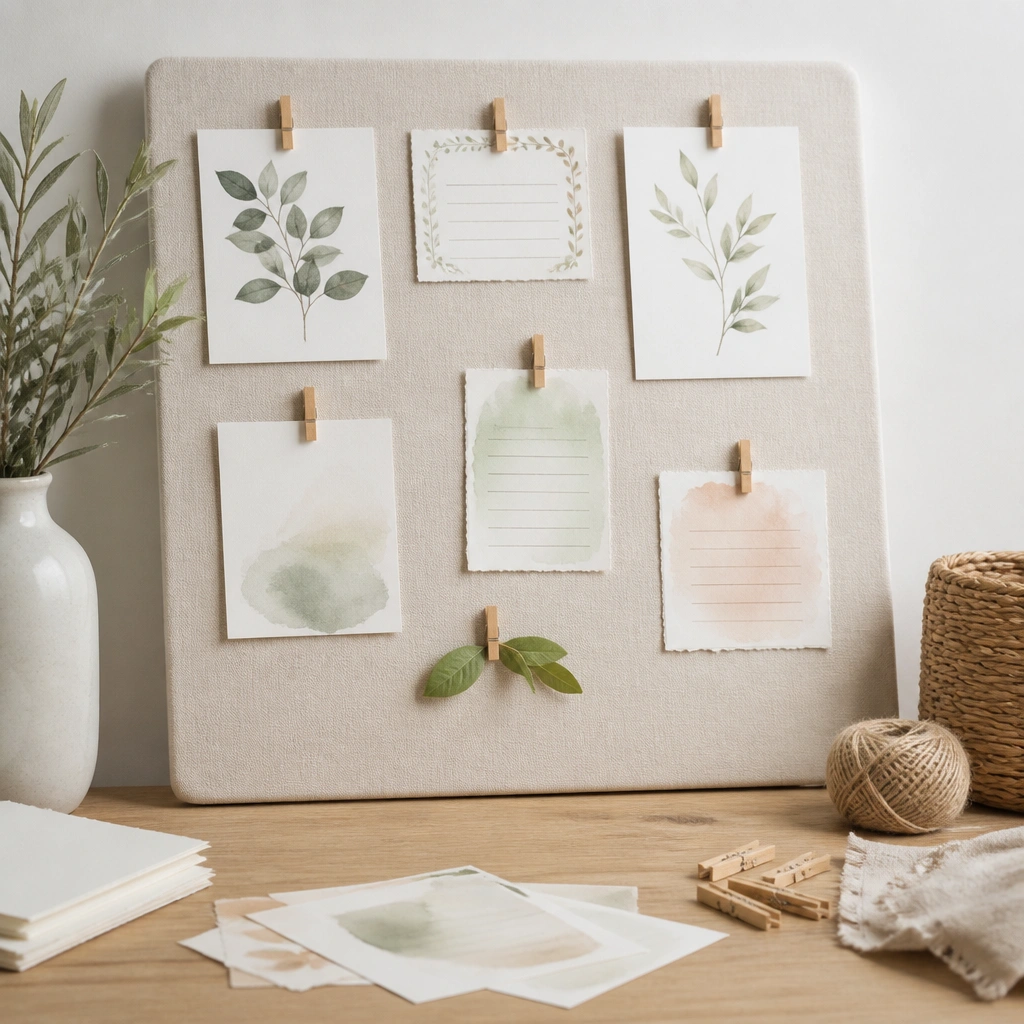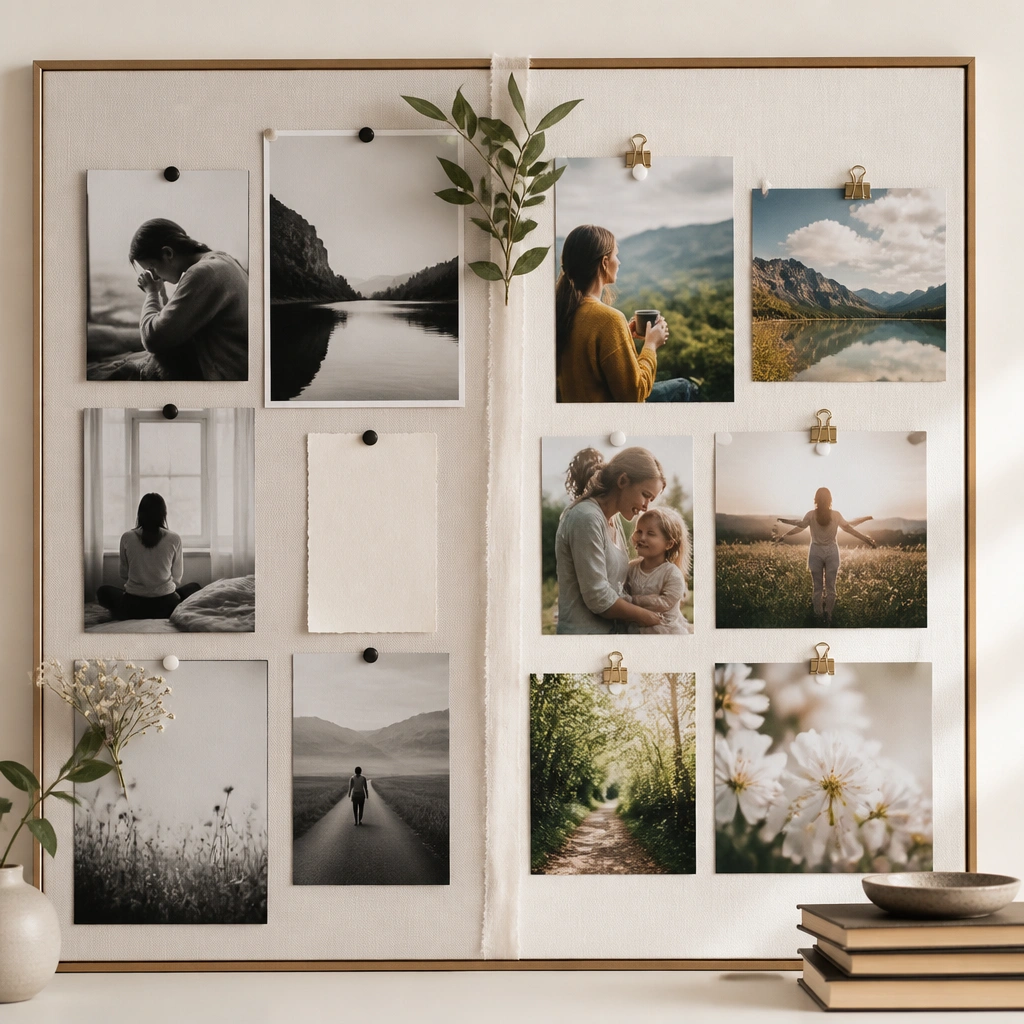
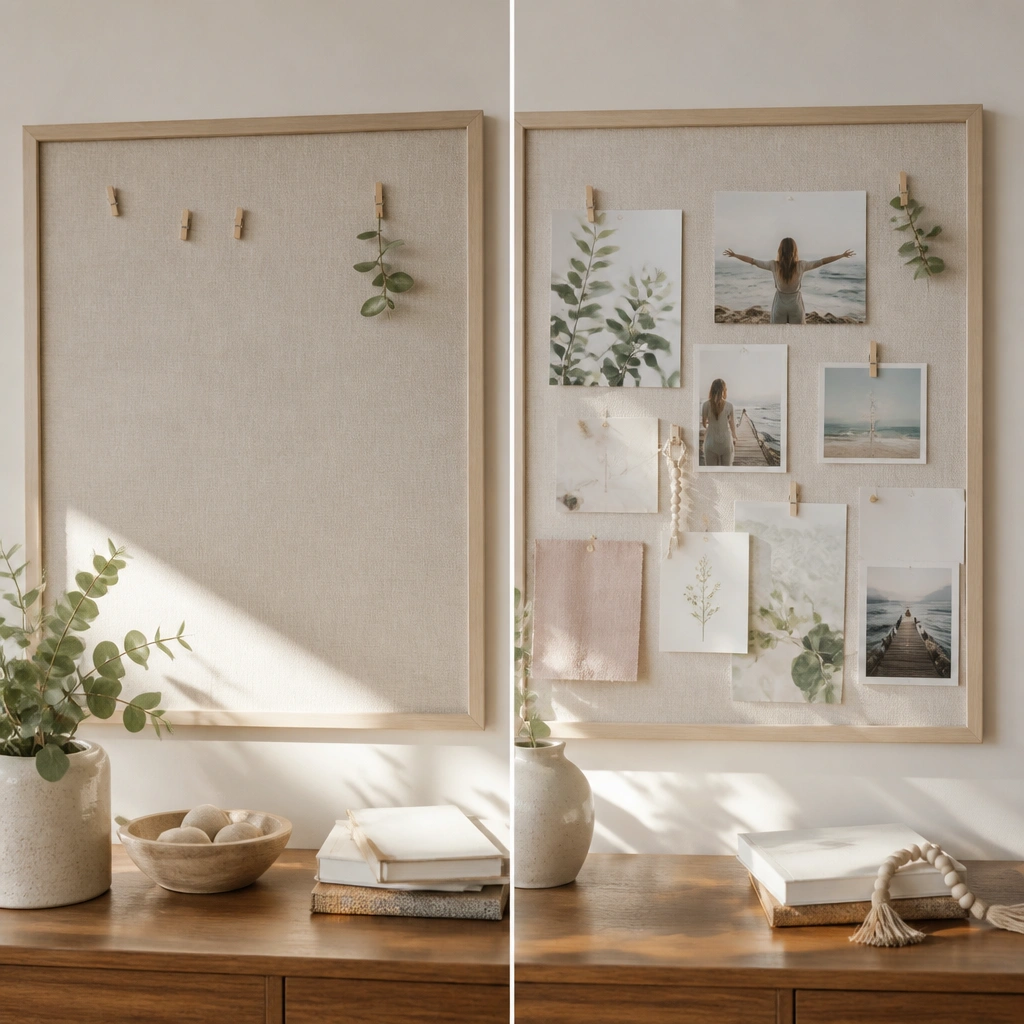
1. Before: Cluttered board, After: The 3-zone prayer layout
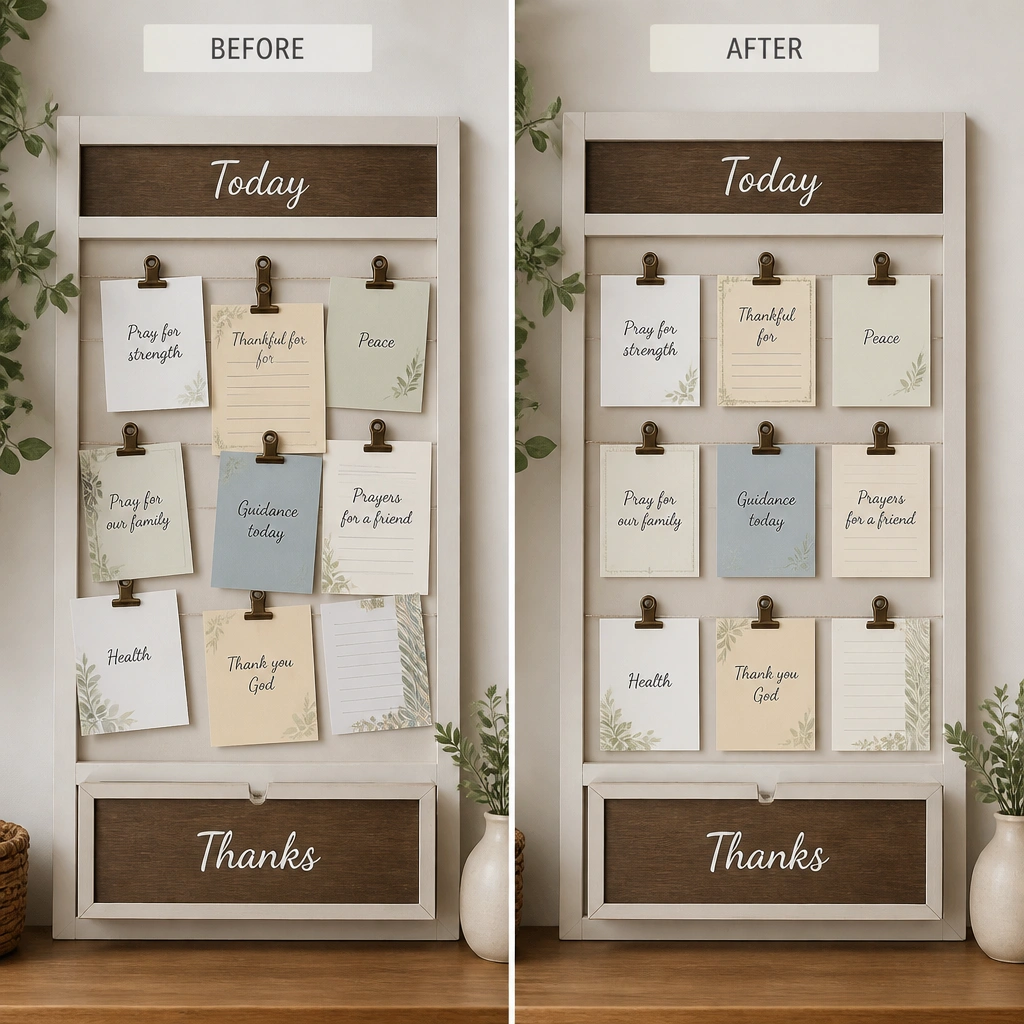
In the before photo, everything was on the board at once — loose notes, uneven sizes, and no clear “where prayers go.” For the after, the board is divided into three zones using painter’s tape lines, then each zone gets a consistent card size. That one change makes the board easy to use during real life moments — kids can find the right place without asking you to reorganize first.
Good to knowMark the three zones with painter’s tape first, step back, and only then glue or tape anything permanently.
2. Before: Paper notes, After: Lamination + dry-erase “update” cards
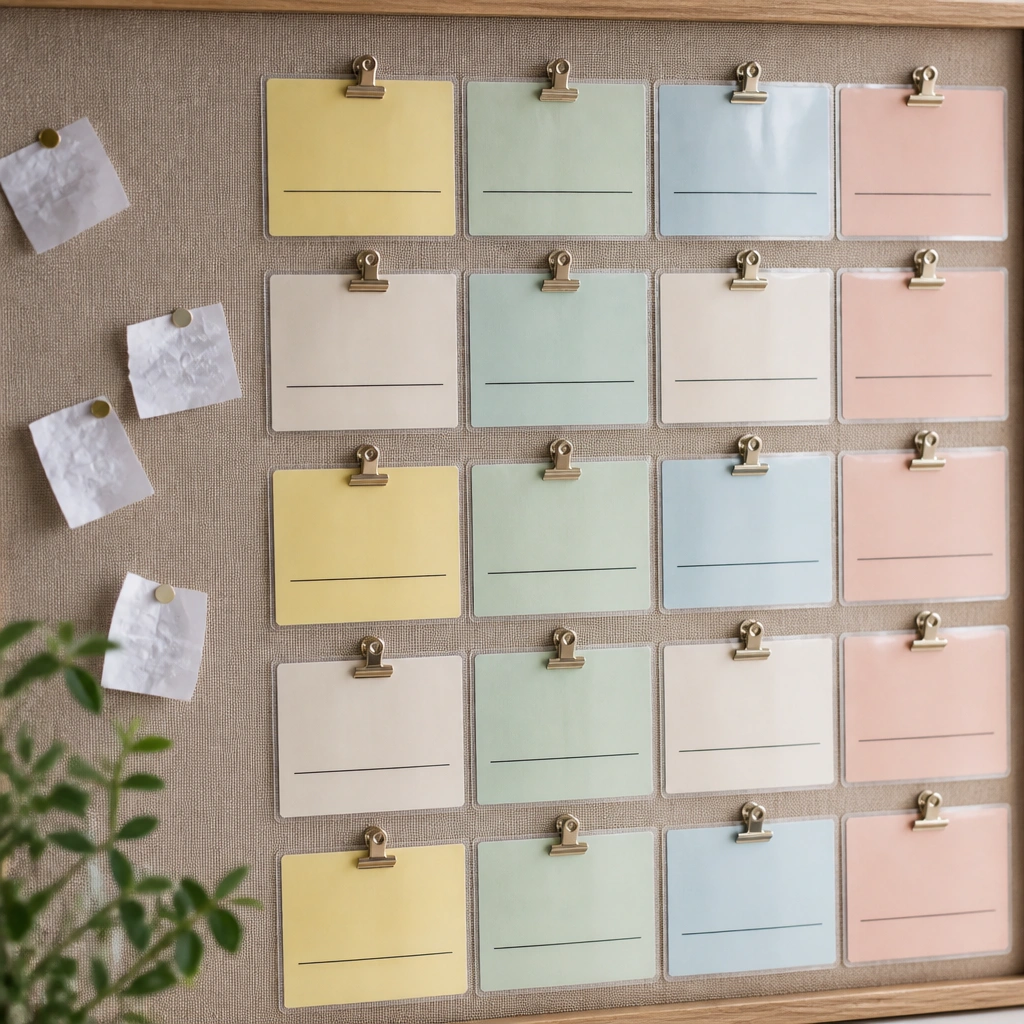
Paper looks cute on day one, but it curls, tears, and gets messy when kids touch it. The after uses laminated cards (or clear contact paper over cardstock) so you can wipe and update prayers. Dry-erase works best when the card is smooth and not textured, so the marker doesn’t catch and smudge.
Good to knowUse cardstock at least 110 lb, then laminate or cover with clear contact paper before writing.
3. Before: No visibility, After: High-contrast “morning check” labels
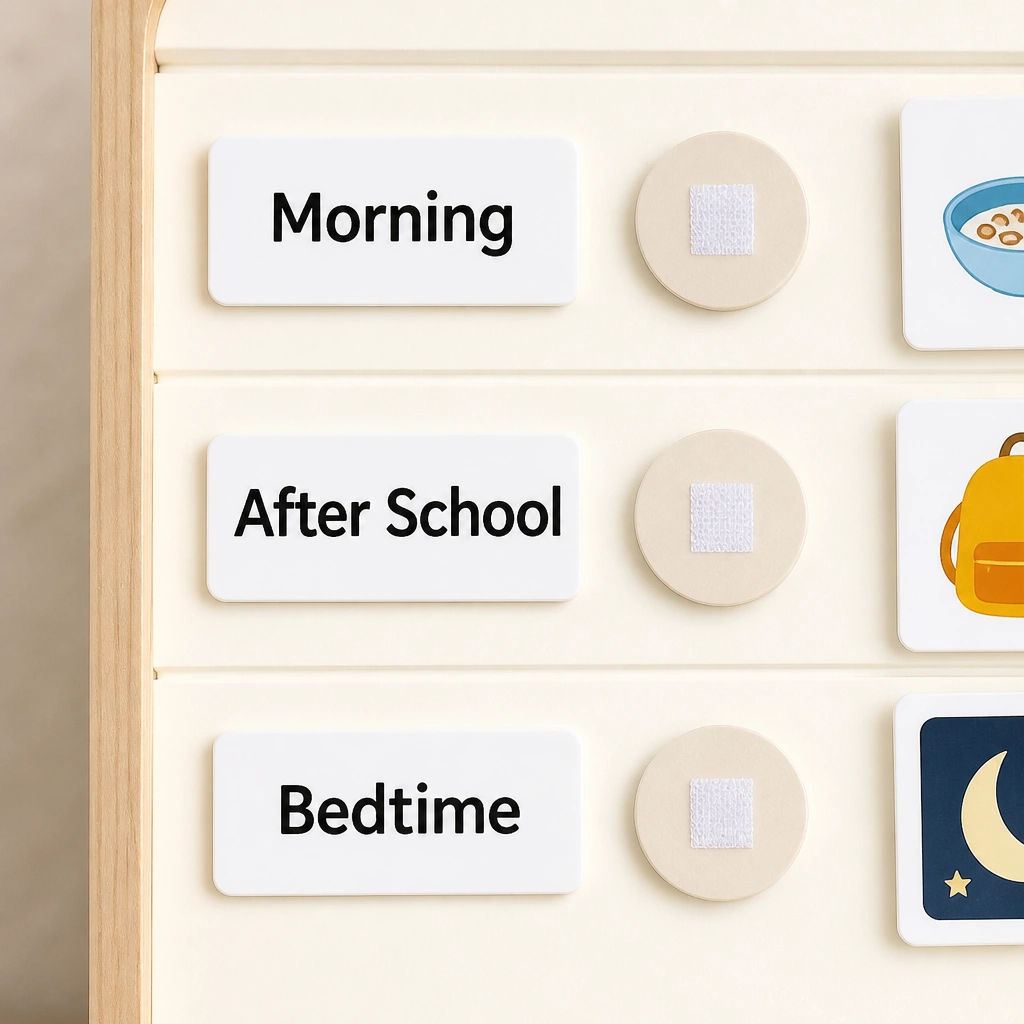
When the board background is too similar to the cards, kids miss the content. In the after, the background is light (cream or white) and the labels are high-contrast so the board is readable from across the room. You can also stagger the labels vertically so the “morning check” is the first thing their eyes land on.
Choose one font color (like black) and one label size so everything looks intentional, not busy.
4. Before: Thumbtacks everywhere, After: Clip system for easy swaps
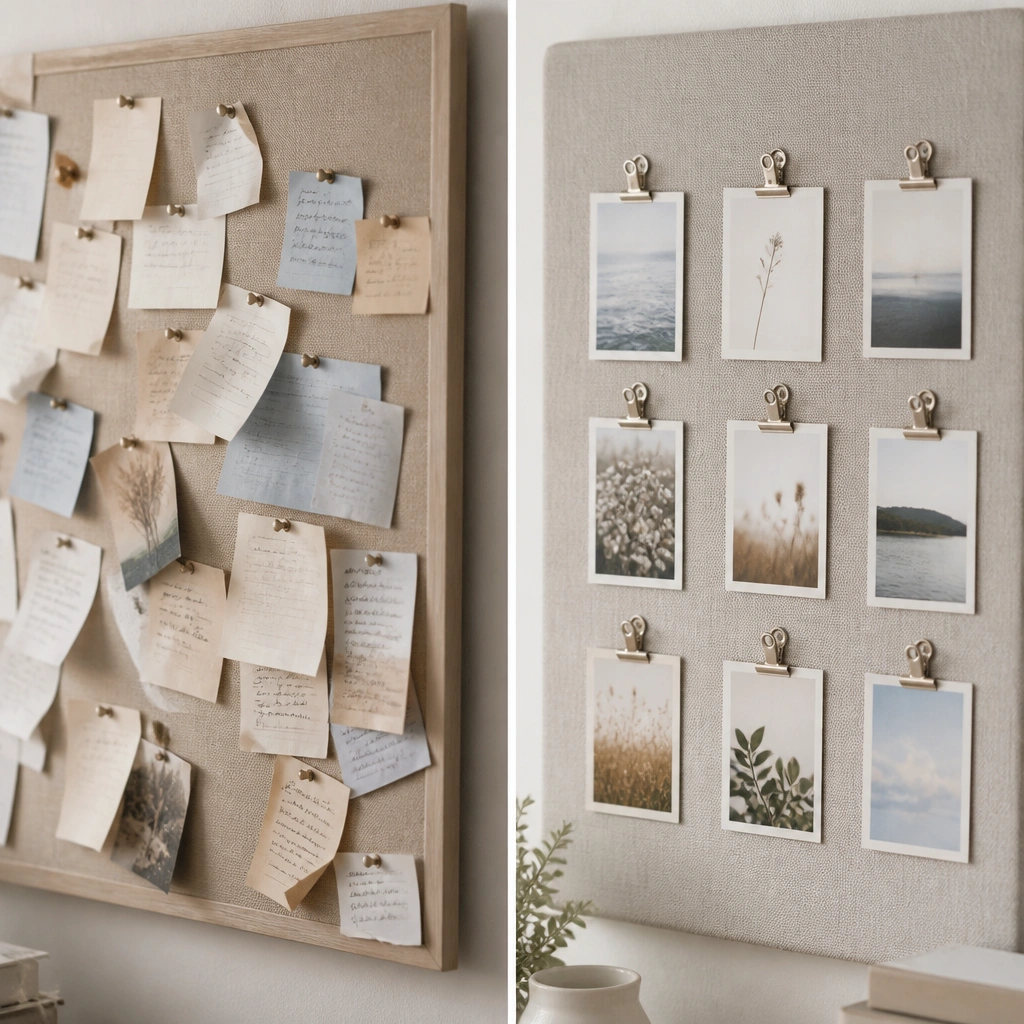
Thumbtacks are fine until kids start flipping the board or pulling papers off — corners bend, and notes fall. The after swaps to binder clips attached to a grid of twine or directly to the board. Clips make it faster to add new prayer requests and remove answered prayers without ripping anything.
Hot-glue or screw small hooks at consistent intervals so clip placement stays uniform.
5. Before: One big board, After: Mini “prayer card” ring for hands-on use
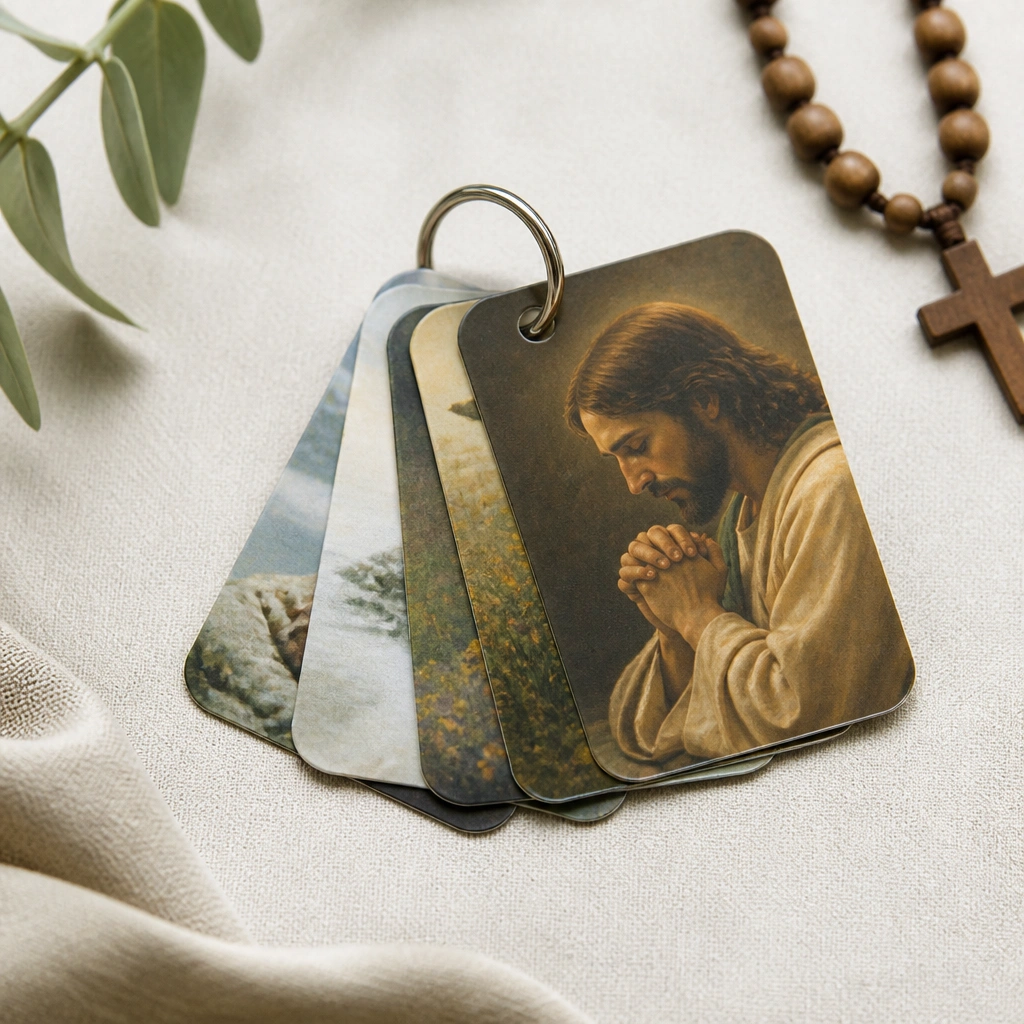
A flat board is great for display, but kids often want to keep their prayer close. The after adds a mini ring (like a keychain ring or small binder ring) with a few “current prayers.” This prevents the board from becoming a clutter magnet because the active requests live in the child’s hands.
Keep only 3-5 cards on the ring so it stays manageable and kids actually use it.
6. Before: Random colors, After: One matching palette per child
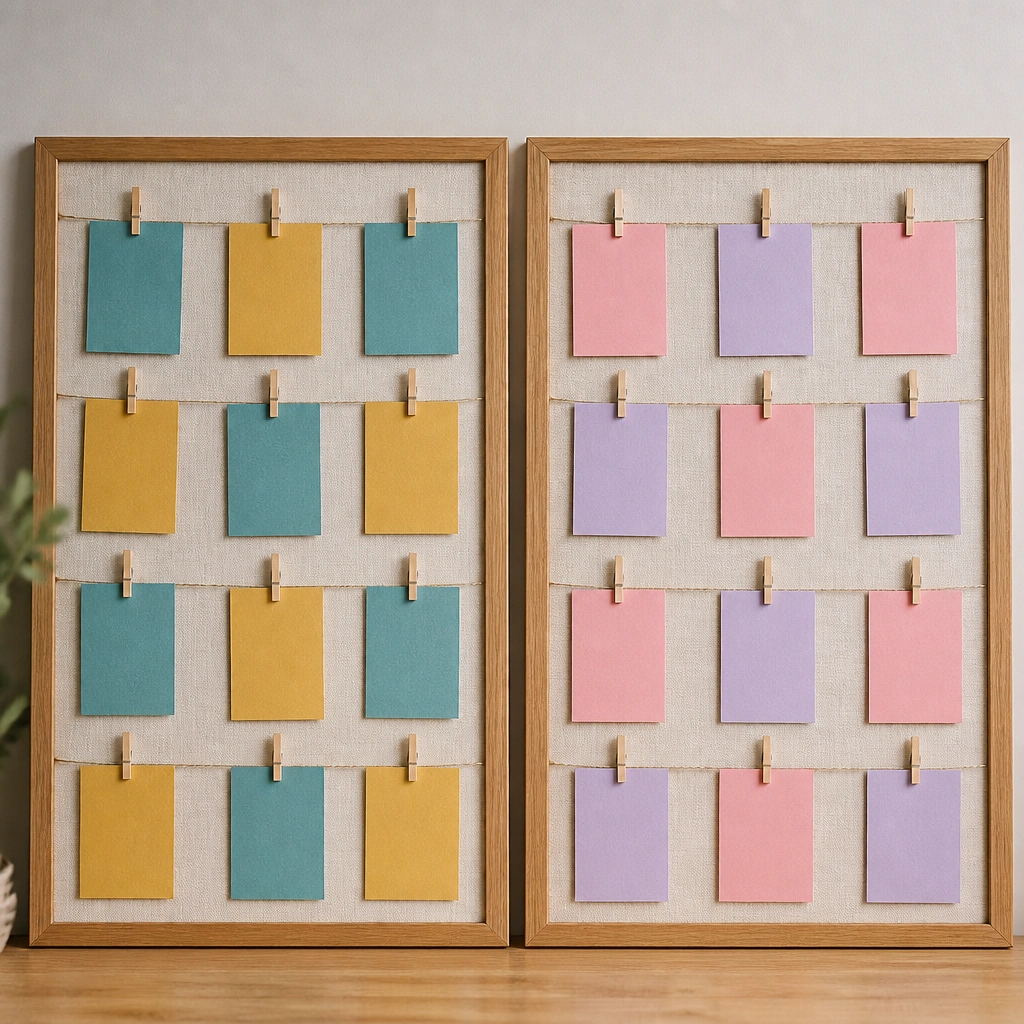
Color chaos looks sweet, but it makes it hard for kids to tell whose prayers are whose. The after uses a simple palette system: each child gets two coordinating colors plus one neutral (like cream). When kids see their colors, they naturally gravitate to their section without you redirecting them.
Good to knowPick colors from your home decor so the board blends in and doesn’t feel like a temporary craft.
7. Before: No “answered” area, After: A visible answered-prayer pocket
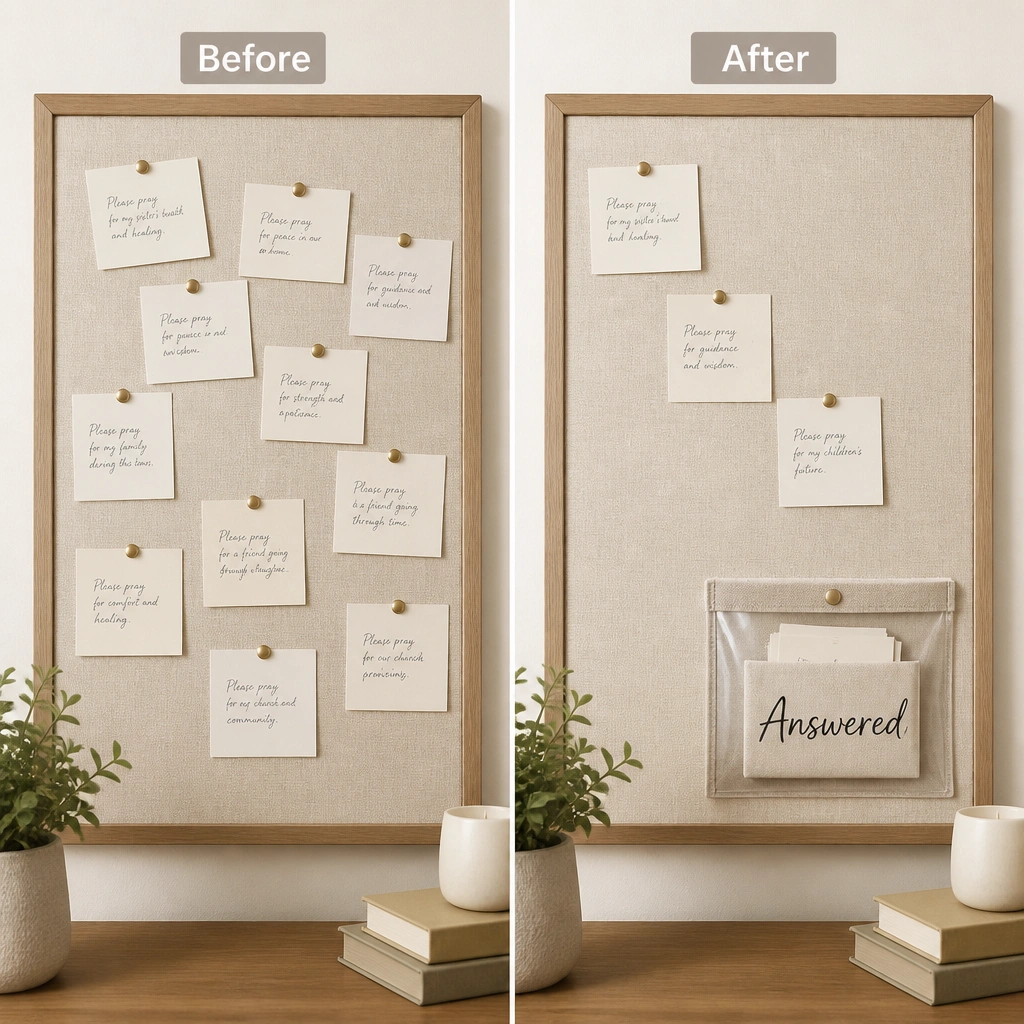
If prayers never move, kids don’t feel progress. The after adds an “Answered” pocket where you place completed cards or notes. This turns prayer into something they can track, which boosts engagement and helps siblings celebrate wins.
Good to knowUse a pocket you can open easily (Velcro flap or zipper pouch) so kids can move cards without help.
8. Before: Messy markers, After: Whiteboard-style prayer writing strip
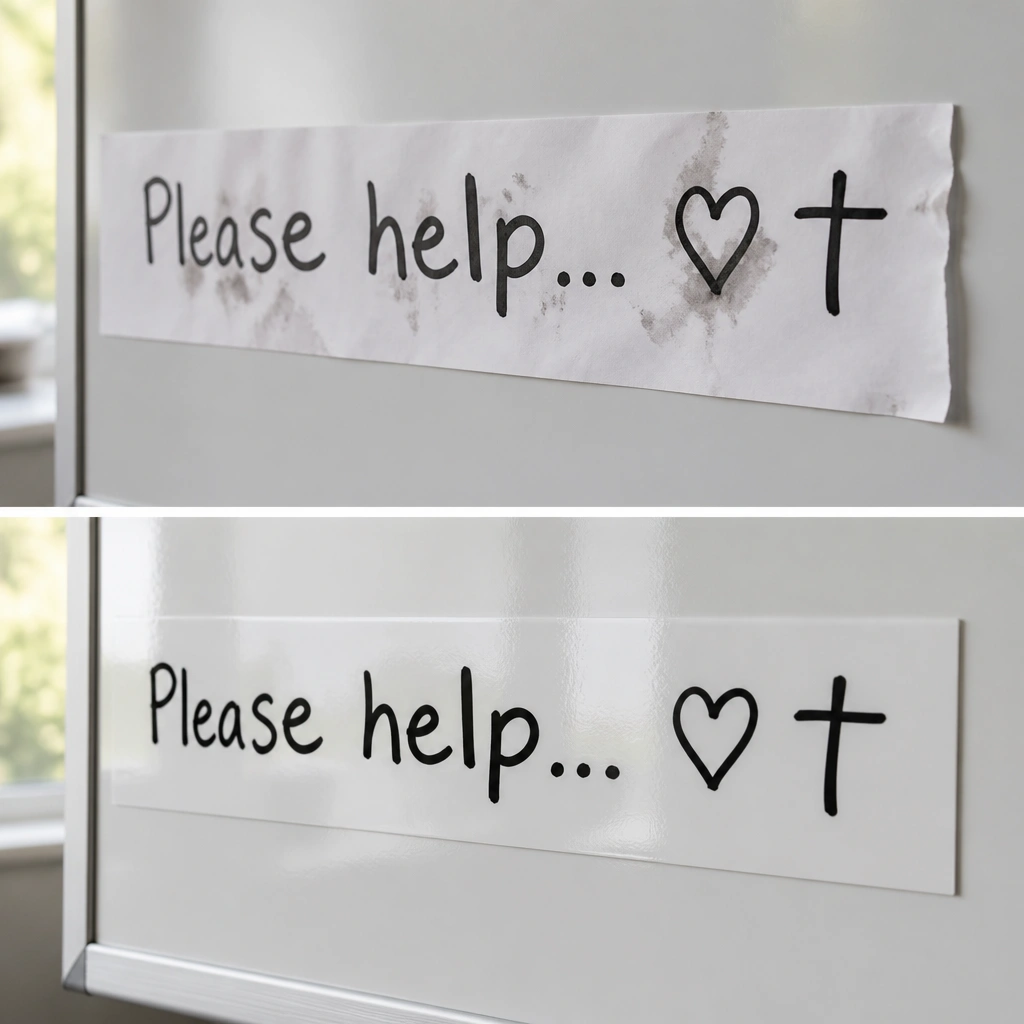
Markers on paper smear and get erased accidentally. The after uses a glossy laminated strip or removable whiteboard film so handwriting stays crisp. You can rotate the strip content by wiping it and rewriting a new prompt each week, which keeps the board from looking “finished” too early.
Good to knowWrite with a thick dry-erase marker and keep a small eraser or microfiber cloth taped to the back.
9. Before: Flat photos only, After: “Photo + prompt” cards with Velcro
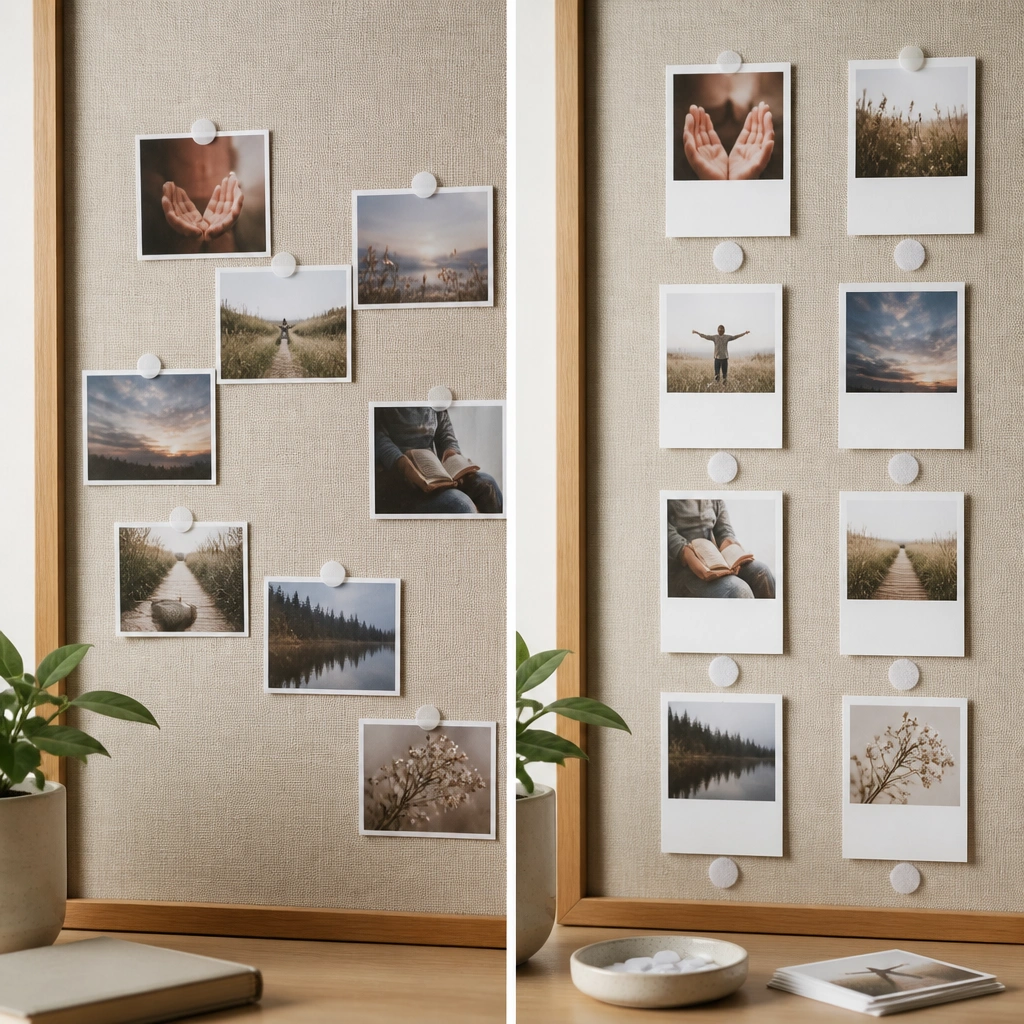
Photos help kids remember who or what to pray for, but without a prompt they can forget what to say. The after pairs each photo with a one-line prompt like “Comfort the sick” or “Guide our teacher.” Velcro makes swapping cards easy and keeps the board from getting holes and tears.
Good to knowLimit prompts to 3-5 words so kids can read them quickly and confidently.
10. Before: Empty space, After: Weekly “prayer focus” calendar strip
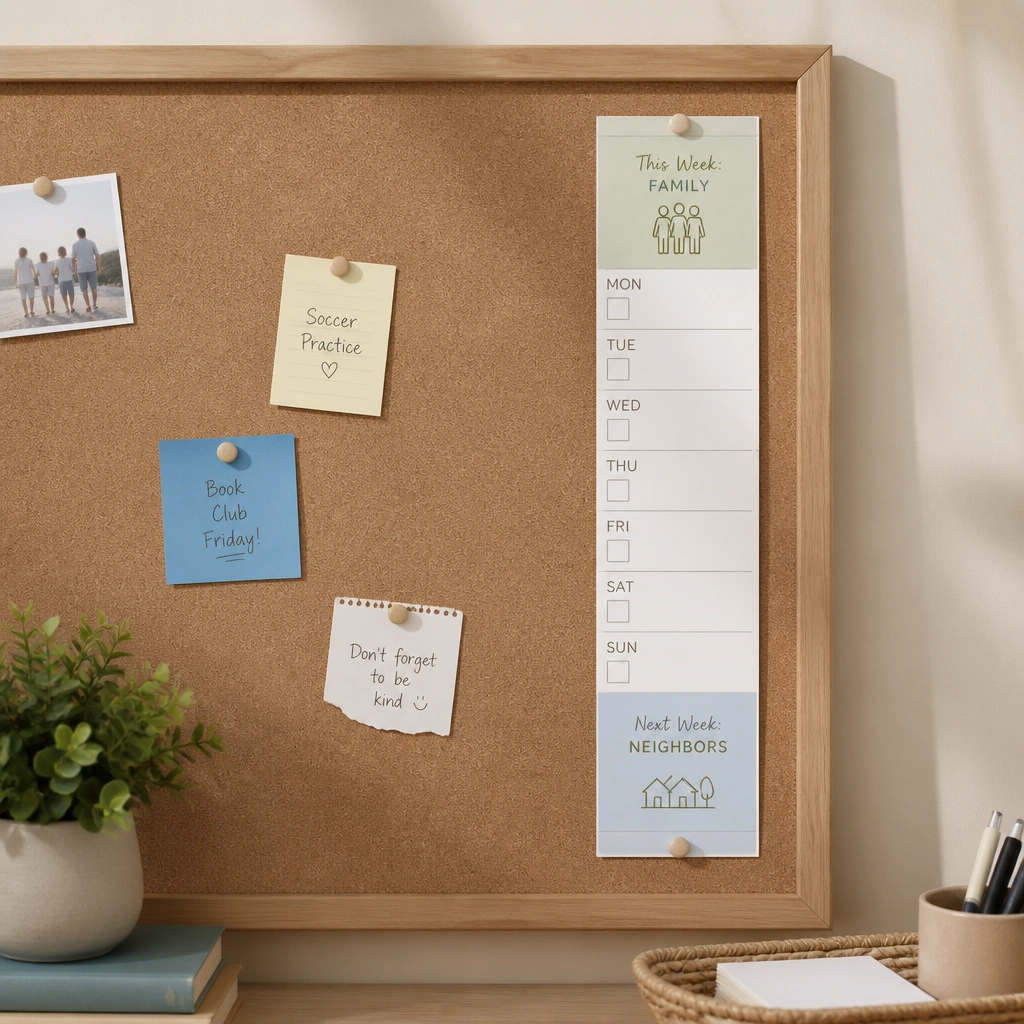
Empty areas make a prayer board feel optional, not routine. The after adds a weekly focus strip with checkboxes and a theme card that you swap every Sunday. This structure gives kids something to look forward to and helps you plan prayers ahead of time.
Tape the theme card in place with removable washi so you can swap it without residue.