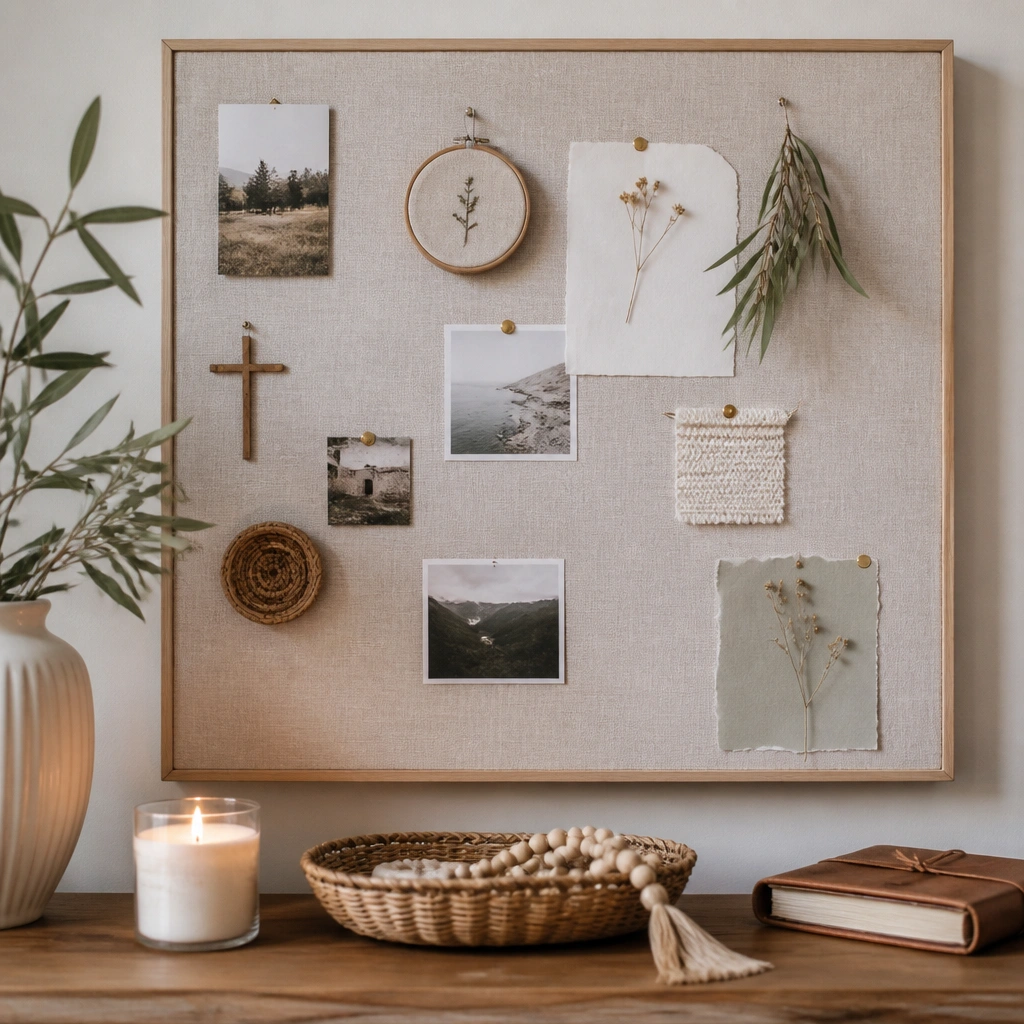
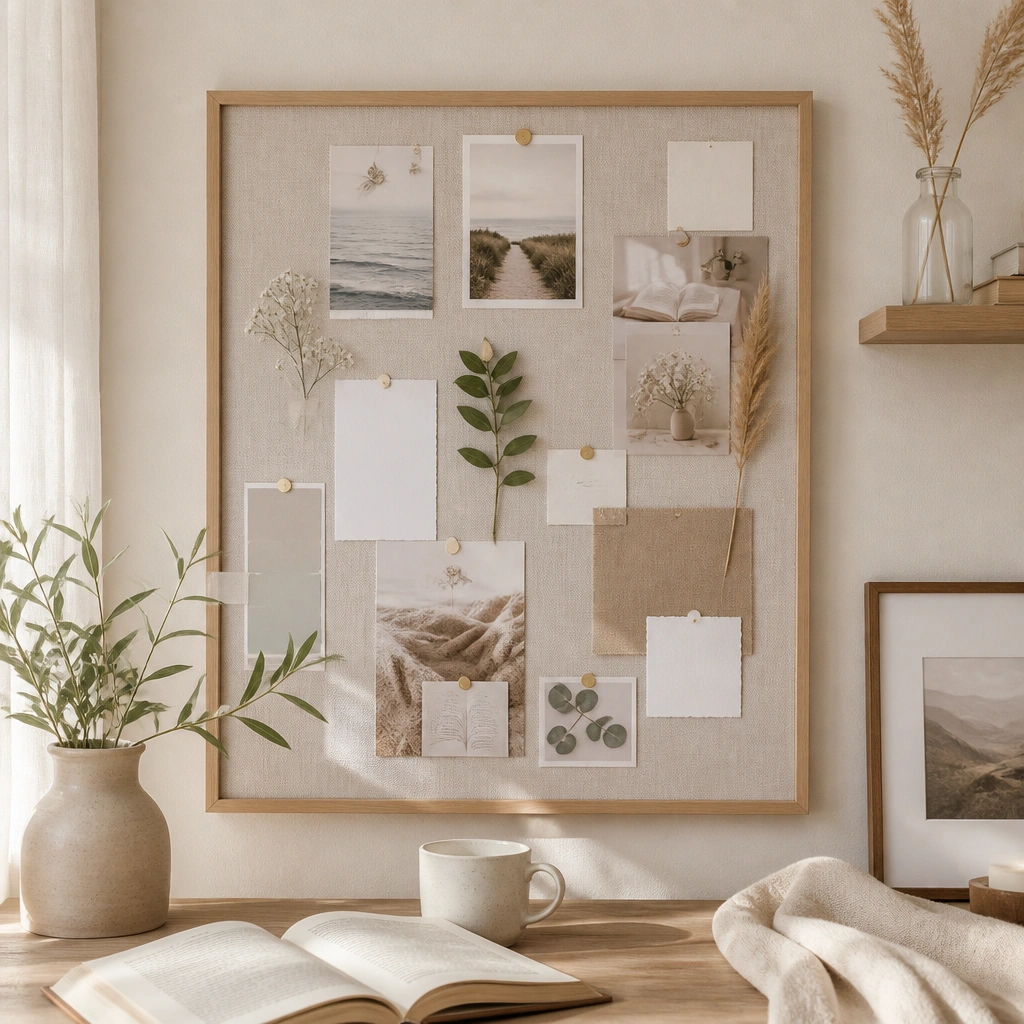
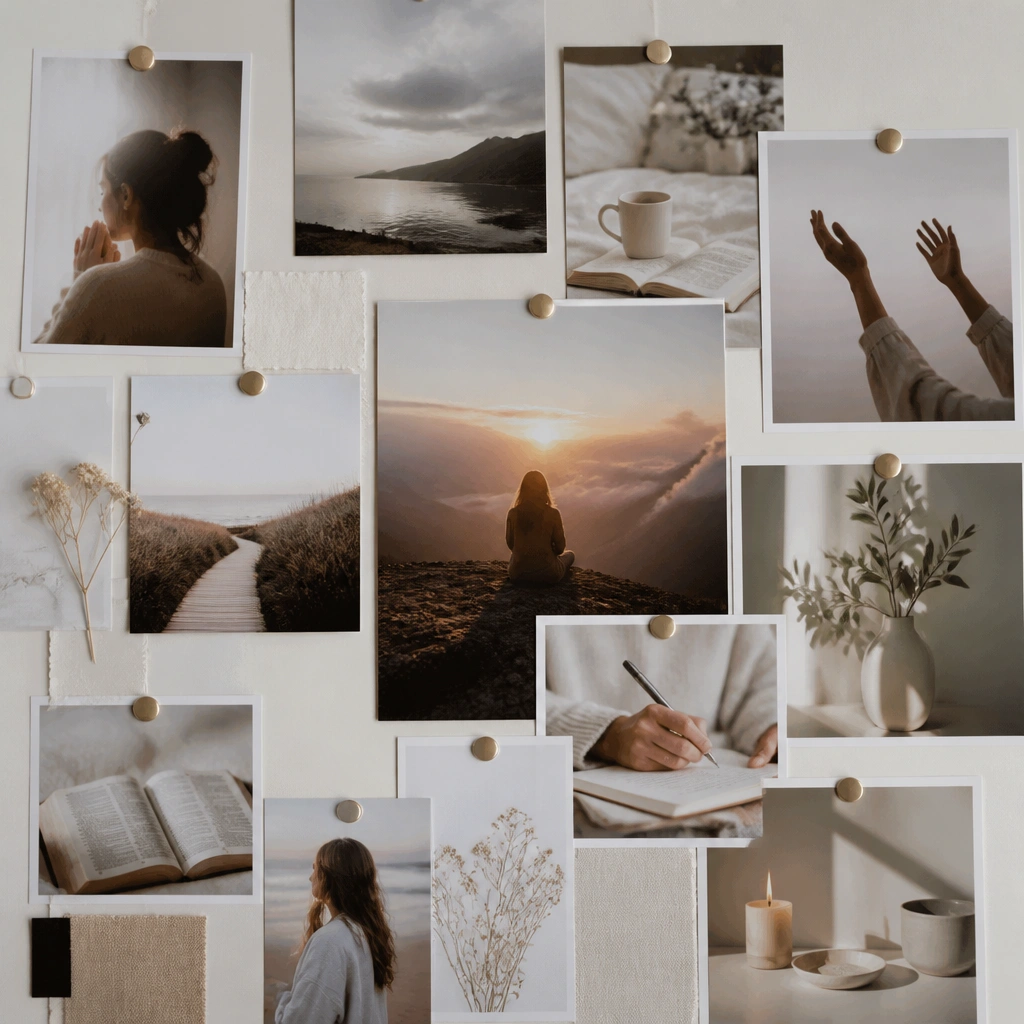
DIY prayer board ideas free printables can turn a messy, forgotten prayer life into a visible routine in under 30 minutes. You’ll download a free printable, mount it on a bulletin surface, and add 3 rotating “today” prompts so kids actually use it. This is perfect if you want something cute for the fridge or playroom without spending more than $15. Let’s make one that’s easy to update and looks handmade.
Step by step
Pick your board base. Choose foam board for light weight or cork for easy pinning. Cut to size (around 12x18 inches) and wipe it clean so adhesive sticks well.
Decorate the border. Cover the edges with washi tape or glue scrapbook paper along the perimeter. Leave the center area flat so your printables won’t buckle.
Mount the printable categories. Print your free prayer cards, then add a small backing layer if you want them sturdier. Adhere each category to the board using glue dots, Velcro dots, or a pocket strip.
Add a “today” swap method. Create a small top row using mini clothespins or binder clips. This makes it easy to swap new printables without tearing or re-gluing.
Secure without ruining the paper. If kids will touch it a lot, cover the printable area with clear contact paper or laminate sheets. Trim neatly so corners don’t peel.
Set it up where it gets used. Hang it at kid-eye level in a playroom, hallway, or kitchen. Add a simple instruction strip like “Pick one prayer for today” so it becomes routine.
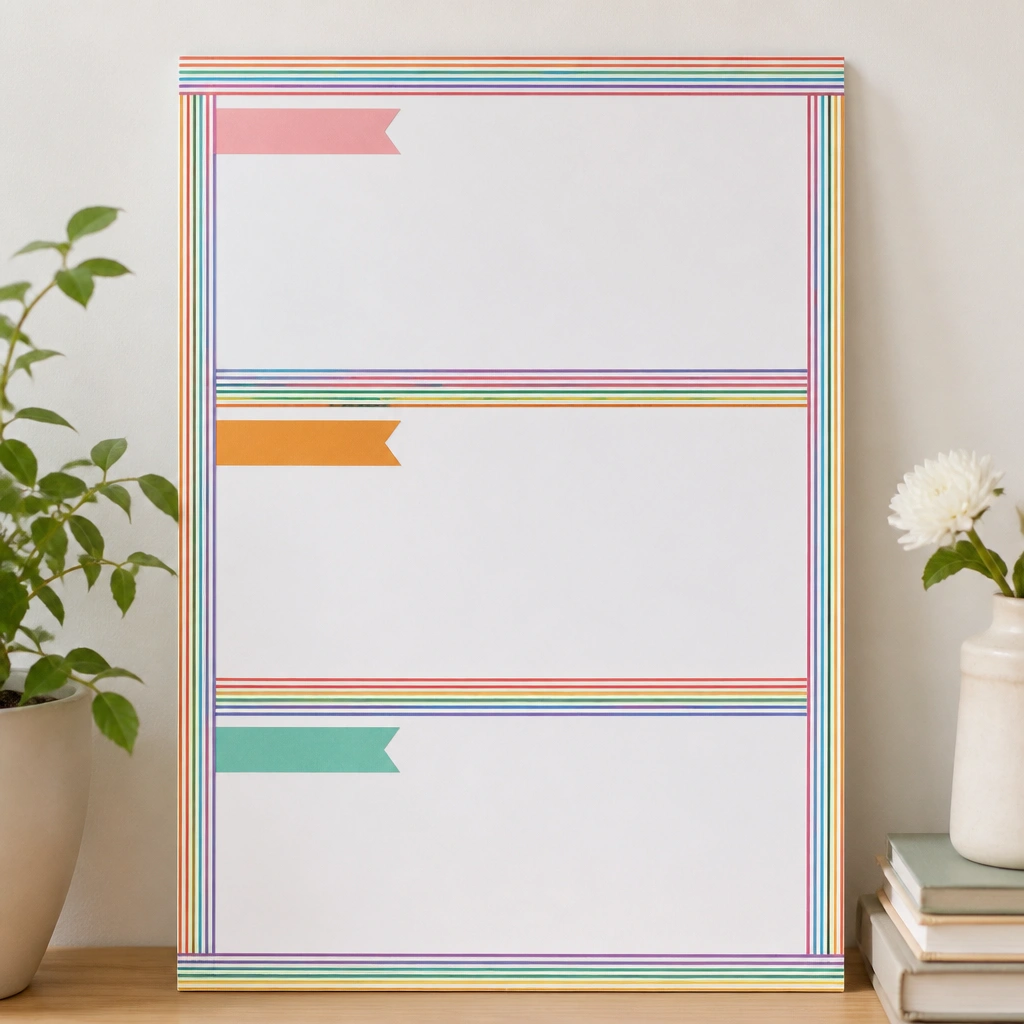
The rainbow zones visually separate categories so kids can find their spot fast. Foam board keeps the project lightweight for hanging, while washi tape adds color without bulky supplies. Use thick-printable headers so the labels stay readable from across the room.
Good to knowStick washi tape strips on first, then print your headers to match the exact zone widths.
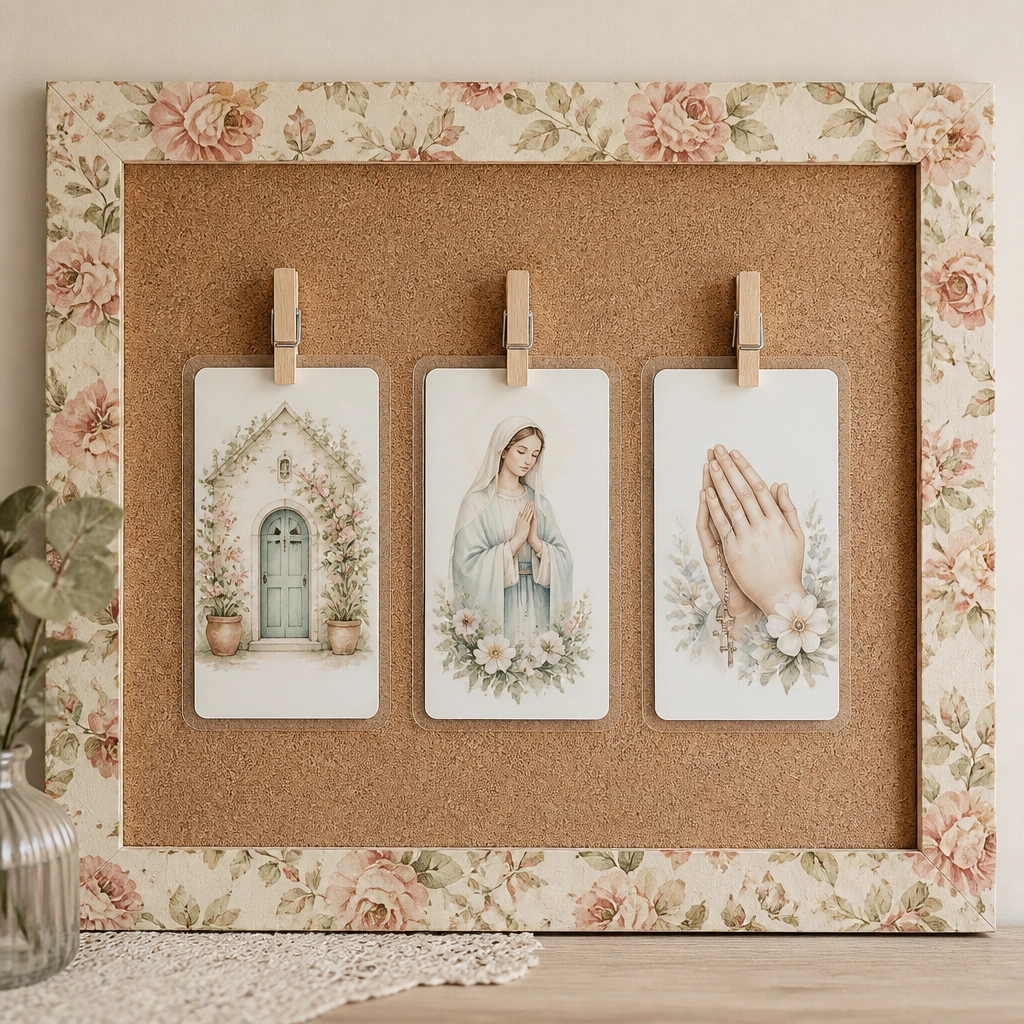
Cork makes swapping effortless because clothespins grip securely. Laminating the cards prevents smudges and keeps the text crisp during daily use. A grid layout reduces “where do I put this?” moments for kids.
Use 1-inch clothespins for small cards; larger clips can cover the prayer text.
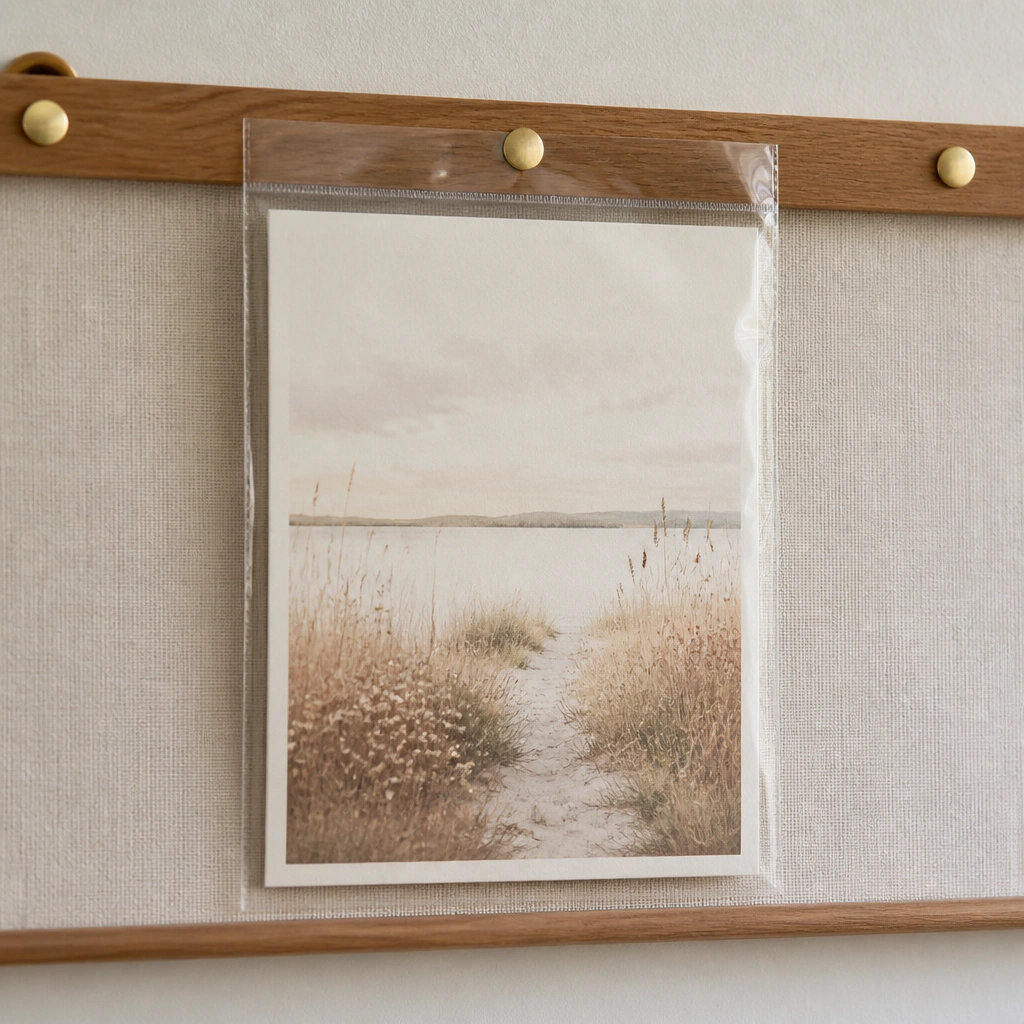
Contact paper creates a wipeable surface without full laminating machines. The glossy finish makes the printable look polished and helps it resist curling. Keep the “Today” strip in the most visible spot so it gets checked daily.
Smooth contact paper from the center outward to avoid bubbles.
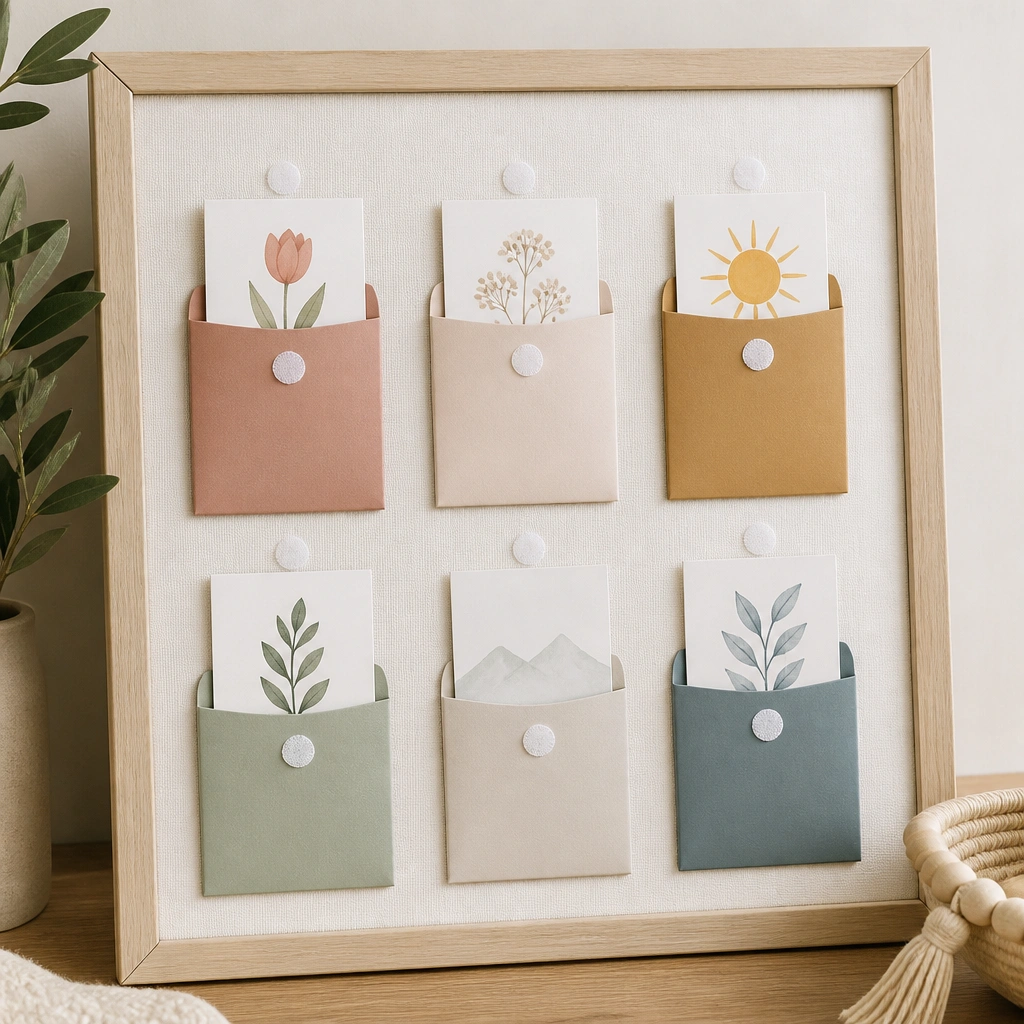
Velcro pockets are beginner-friendly and don’t require pinning. The pockets protect paper edges and make cards easy to remove for bedtime updates. Use bright cardstock pockets so the display looks intentional, not temporary.
Good to knowPlace Velcro dots only on the back corners so cards sit flat and don’t warp.
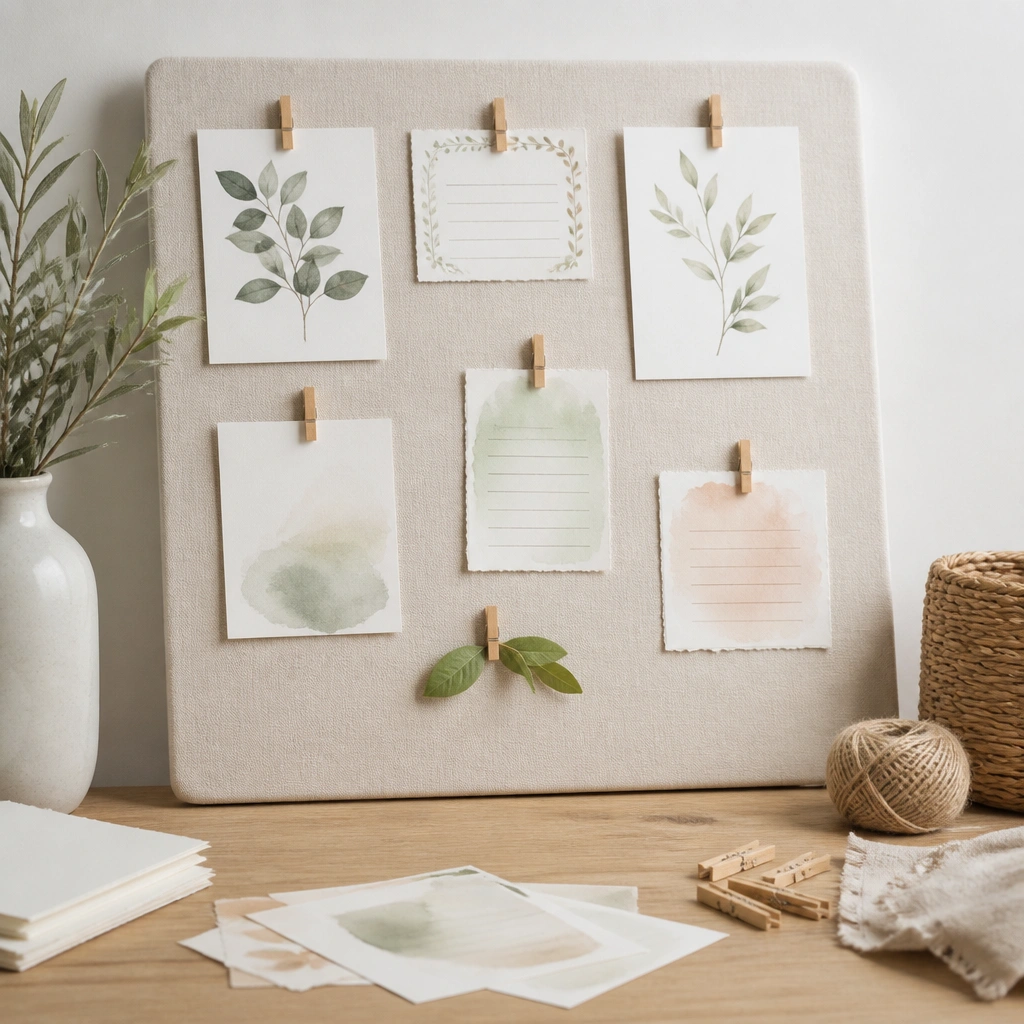
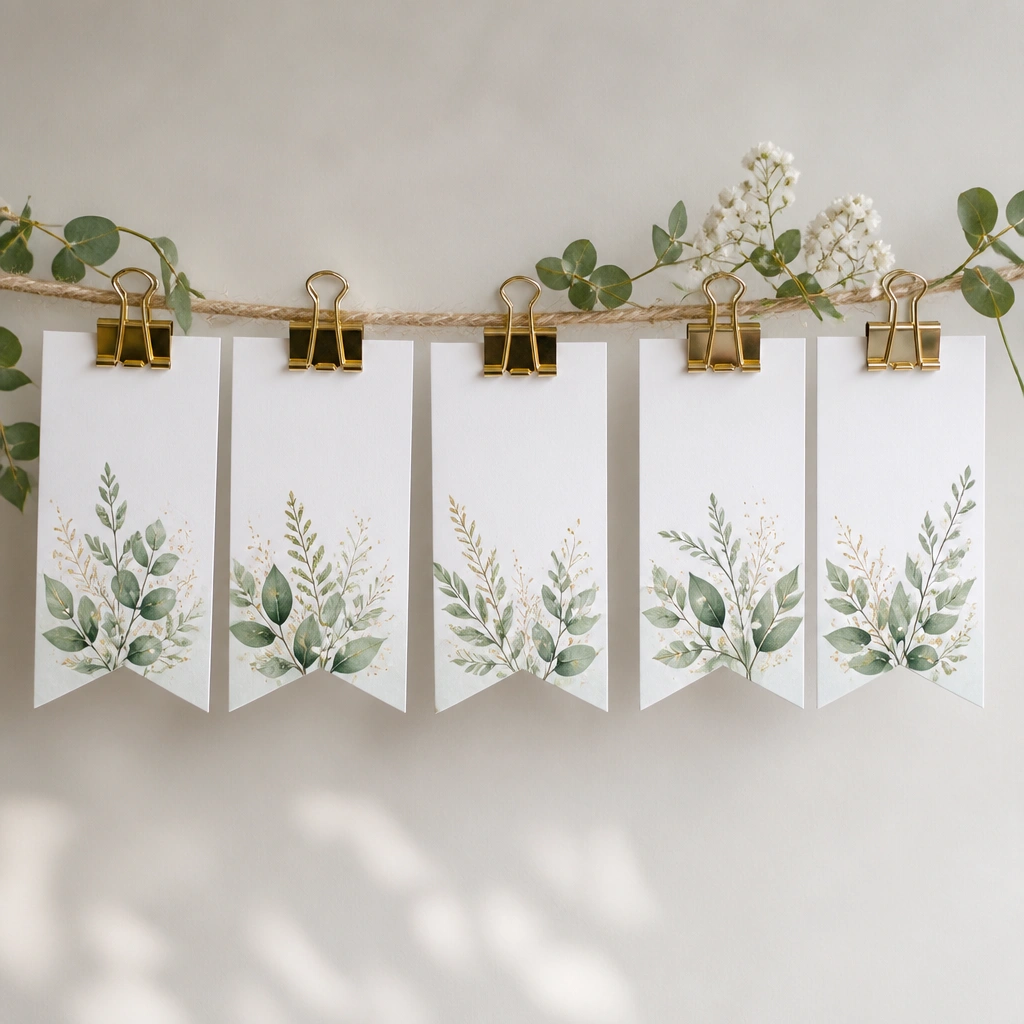
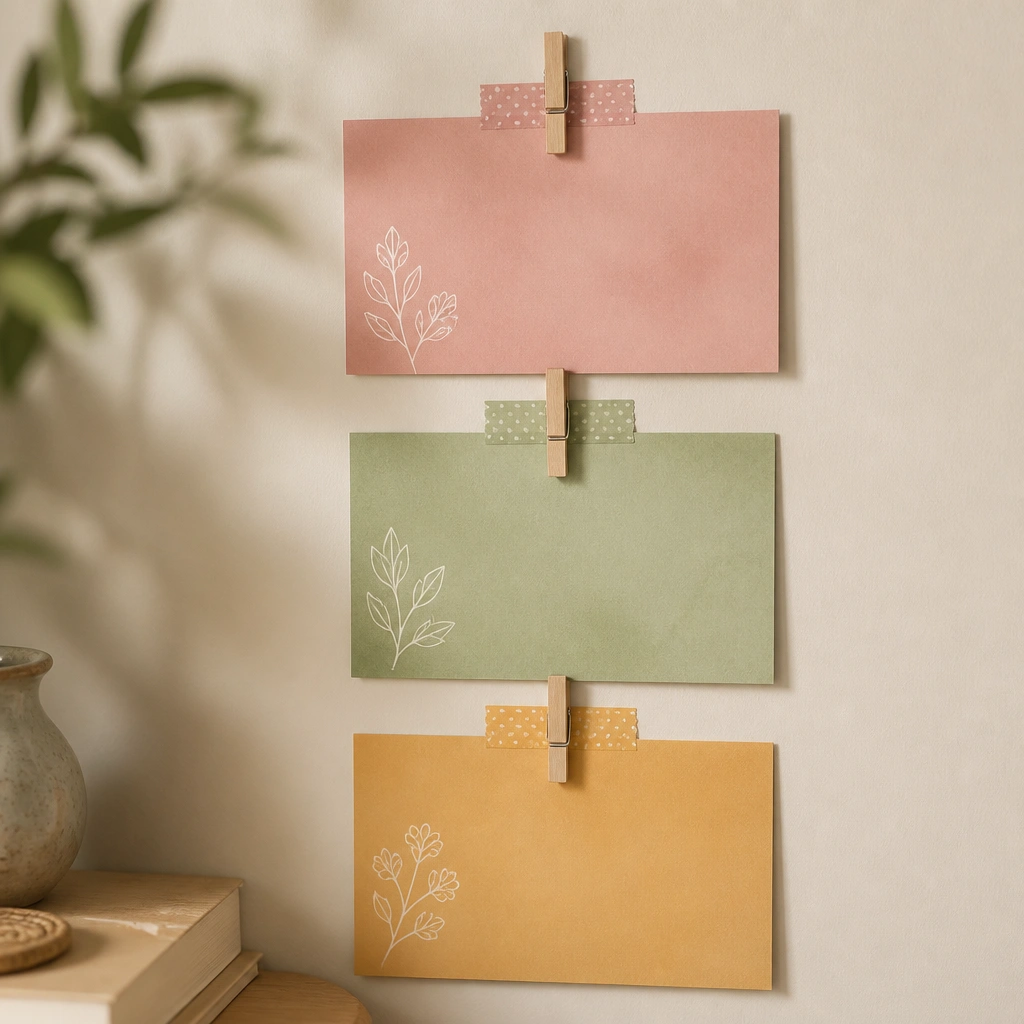
A binder-clip row turns gratitude into a visible collection. Kids can clip new thank-you notes as they think of them, and the tags can be swapped weekly. This setup works especially well for free printables because you’re reusing the same framework.
Good to knowWrite the week’s date on the back of each tag so you can track growth.
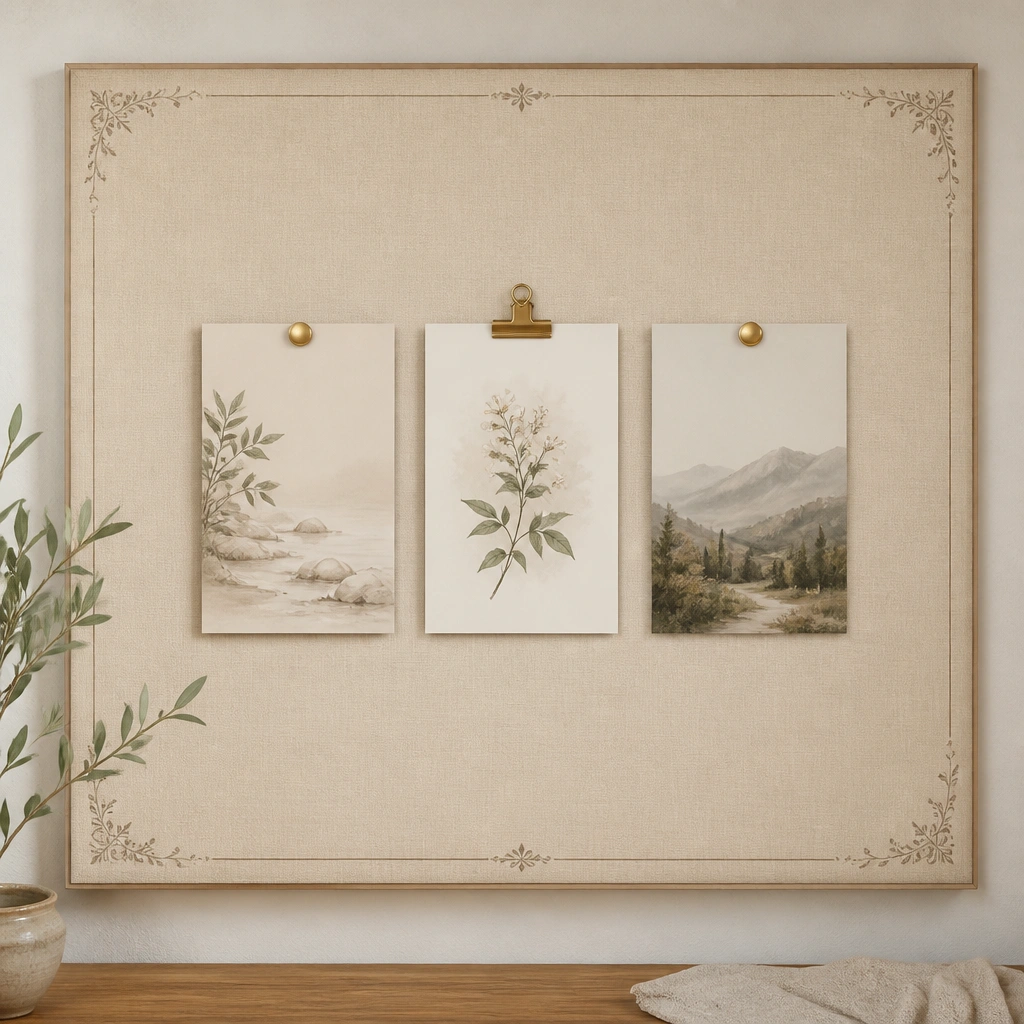
Neutral backgrounds make the printables stand out and feel calmer for kids who get overstimulated. A verse border adds meaning without crowding the center. Pair this with 2-3 big category cards instead of many tiny ones.
Good to knowChoose one main font style for all headers so the board looks cohesive.
7. Playroom mini board with wipeable marker labels
Dry-erase labels let you customize quickly without reprinting. You can write “Sick today” or “School test” and wipe it clean. Foam board is smooth enough for labels, and a clear overlay keeps it from getting stained.
Good to knowUse dry-erase tape labels only where kids won’t erase the printed cards.
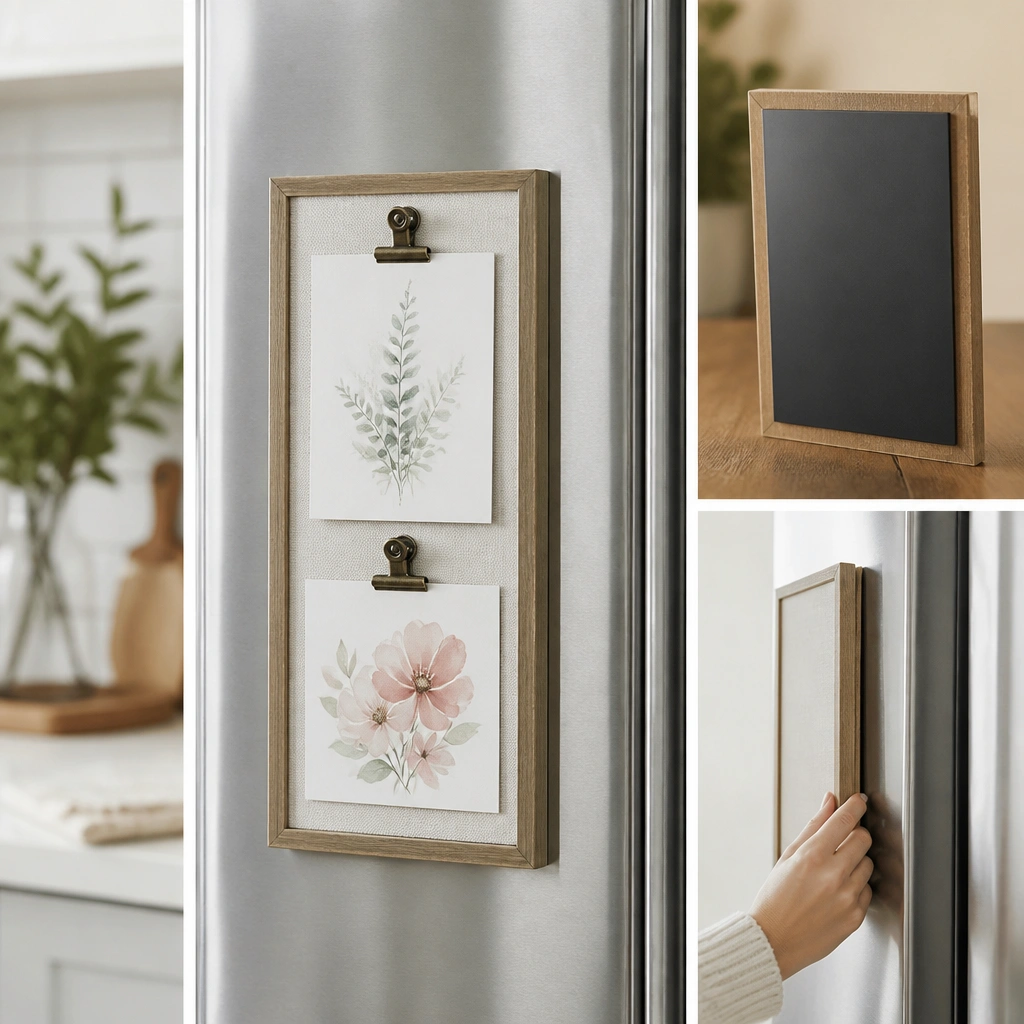
A magnetic back keeps your prayer routine in the kitchen where families naturally pass by. Pair magnets with binder clips so cards stay secure during fridge door bumps. This design is great for families who want something visible without hanging hardware.
Good to knowTest magnet strength by gently tapping the board before you add all cards.
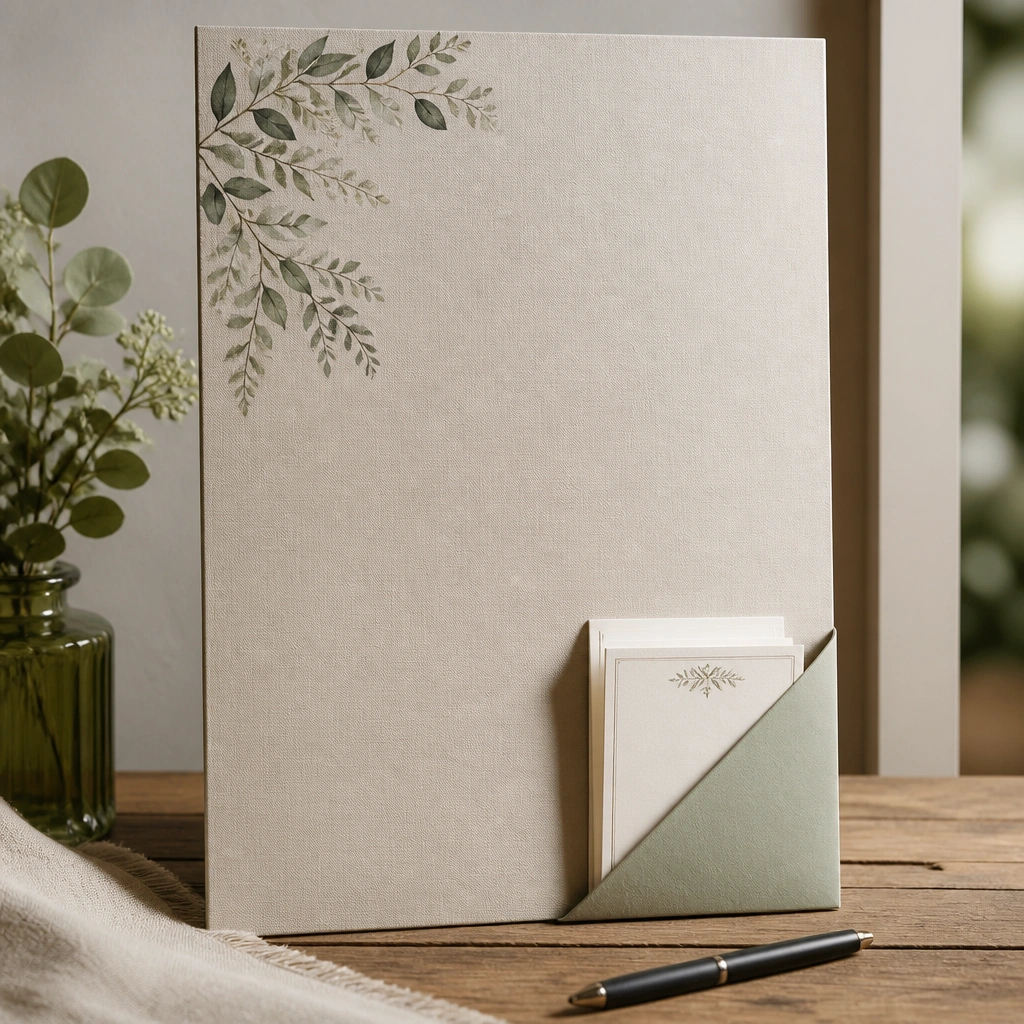
A pocket for request slips keeps prayer topics from getting scattered on paper. Small slips are easier for kids to fill with one sentence or a simple drawing. This also helps adults keep up because everything funnels into one place.
Good to knowUse thick paper slips (like 110 lb cardstock) so they don’t crumple when grabbed.
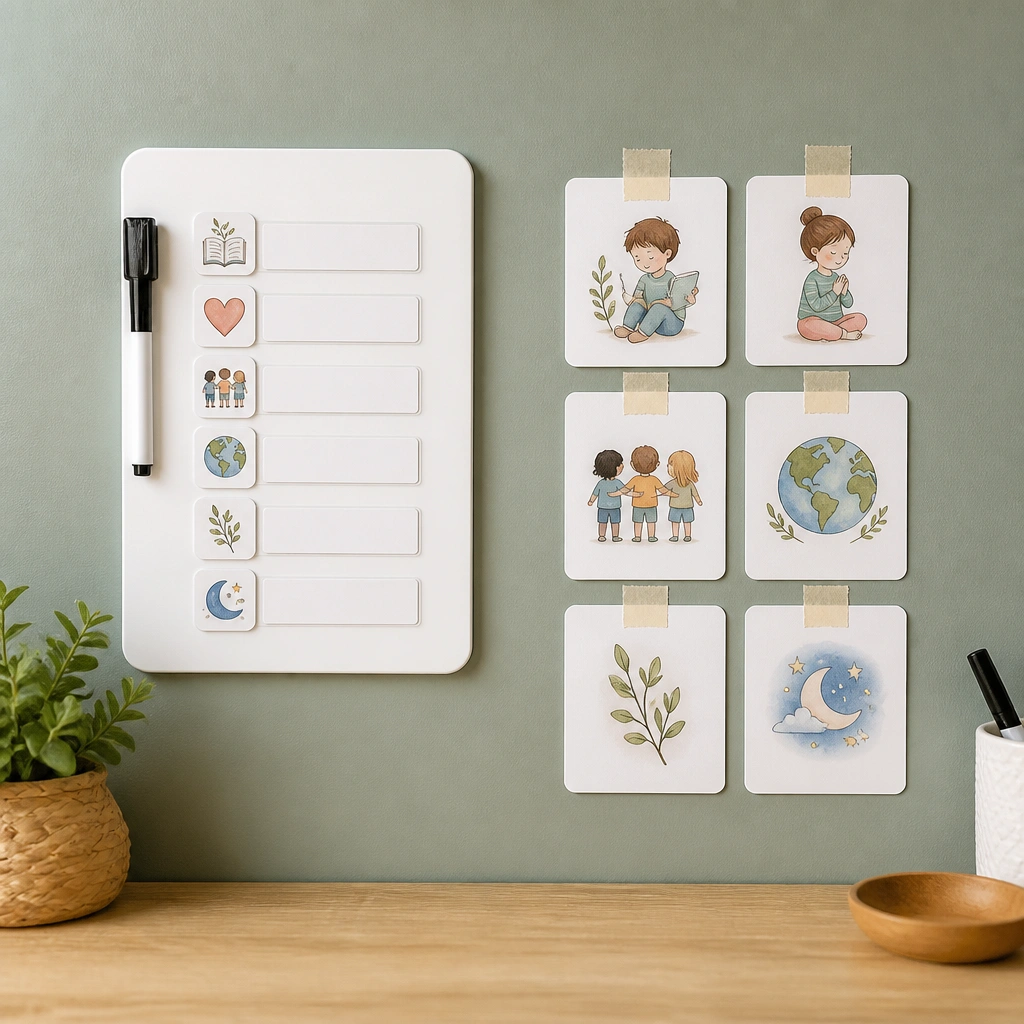
Color coding helps kids follow the flow without reading everything. Keep “Pray” on top for action, then “Read,” then “Thank” to close the routine. This method works well with free printables because you can print the set once and reuse it daily.
Choose only three colors so the board stays calming and not visually busy.
Your questions, answered
How long do the free printable prayer cards last on a prayer board?
If you laminate them or seal with clear contact paper, they can last for months to a full year with everyday use. Without protection, paper corners may curl and edges can smudge from handling.
What’s the total cost to make DIY prayer board ideas free printables projects?
Most versions land around $10-$20 depending on whether you use cork or foam board and whether you buy laminating sheets. Free printables keep the main cost low.
Where can I get the printable prayer cards?
Search for free printable prayer cards that match your categories (like “Today,” “Thank You,” or “This Week”). Download, print on cardstock if possible, and choose a card size that fits your clips or pockets.
Is this beginner-friendly for kids and first-time crafters?
Yes. The easiest builds use foam board + Velcro dots or binder clips, with no heavy tools. Hot glue can be minimized by using craft glue or removable adhesive putty.
How should I care for the board if it’s in a high-traffic area?
Wipe the board surface with a dry microfiber cloth. If you used contact paper, avoid soaking it; quick spot-cleaning is best to prevent lifting edges.
Can I make the board reusable for different weeks?
Absolutely. Keep the board framework permanent (clips/pockets) and swap only the printable cards each week. Label the back of cards with week numbers so you can rotate smoothly.