








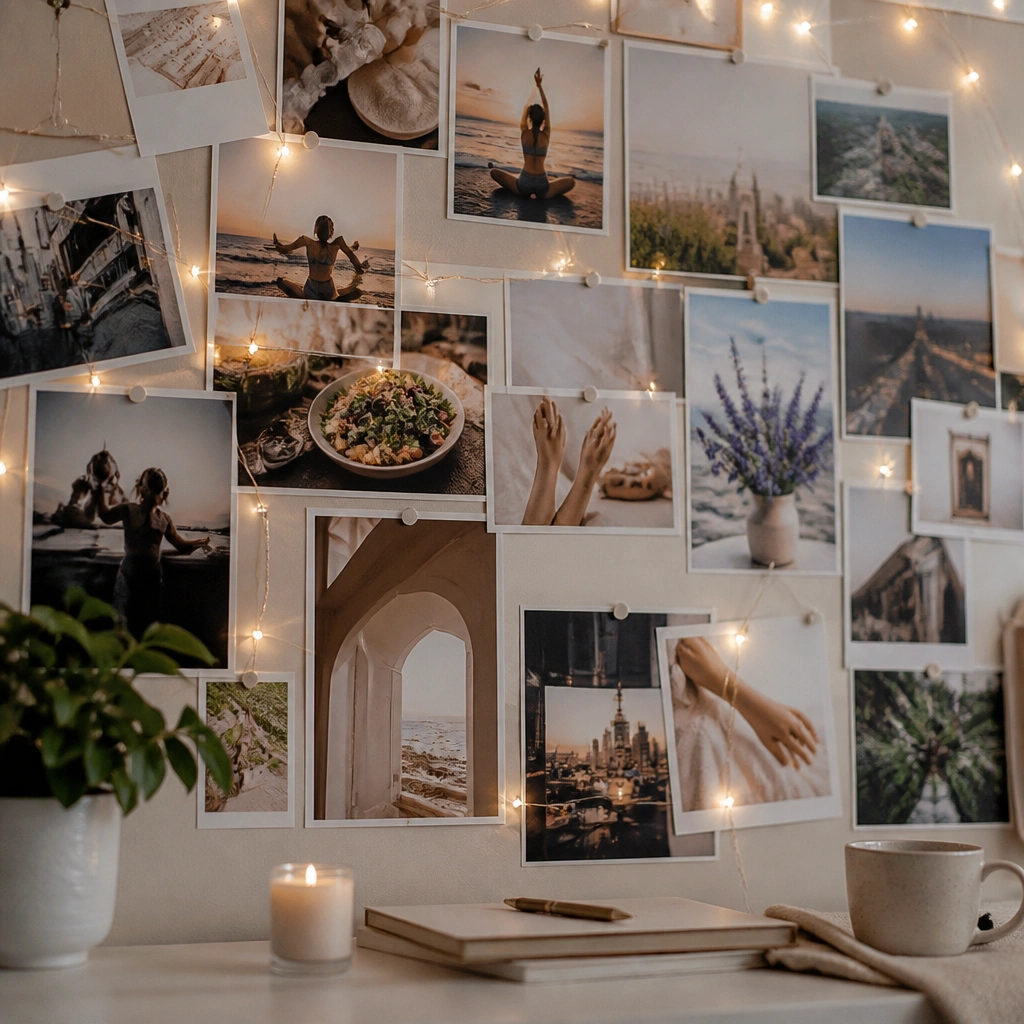
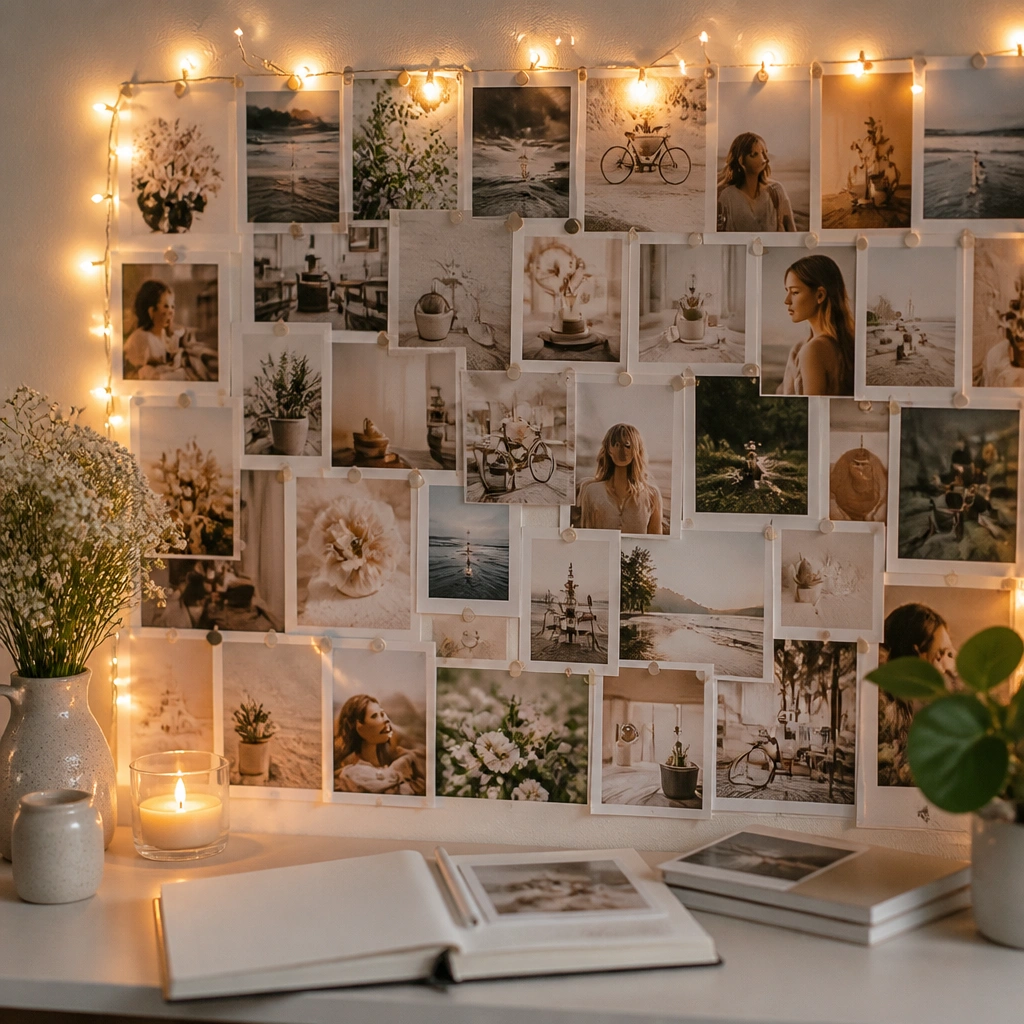
1. Cork Board + Warm Micro-LED Garland Corner
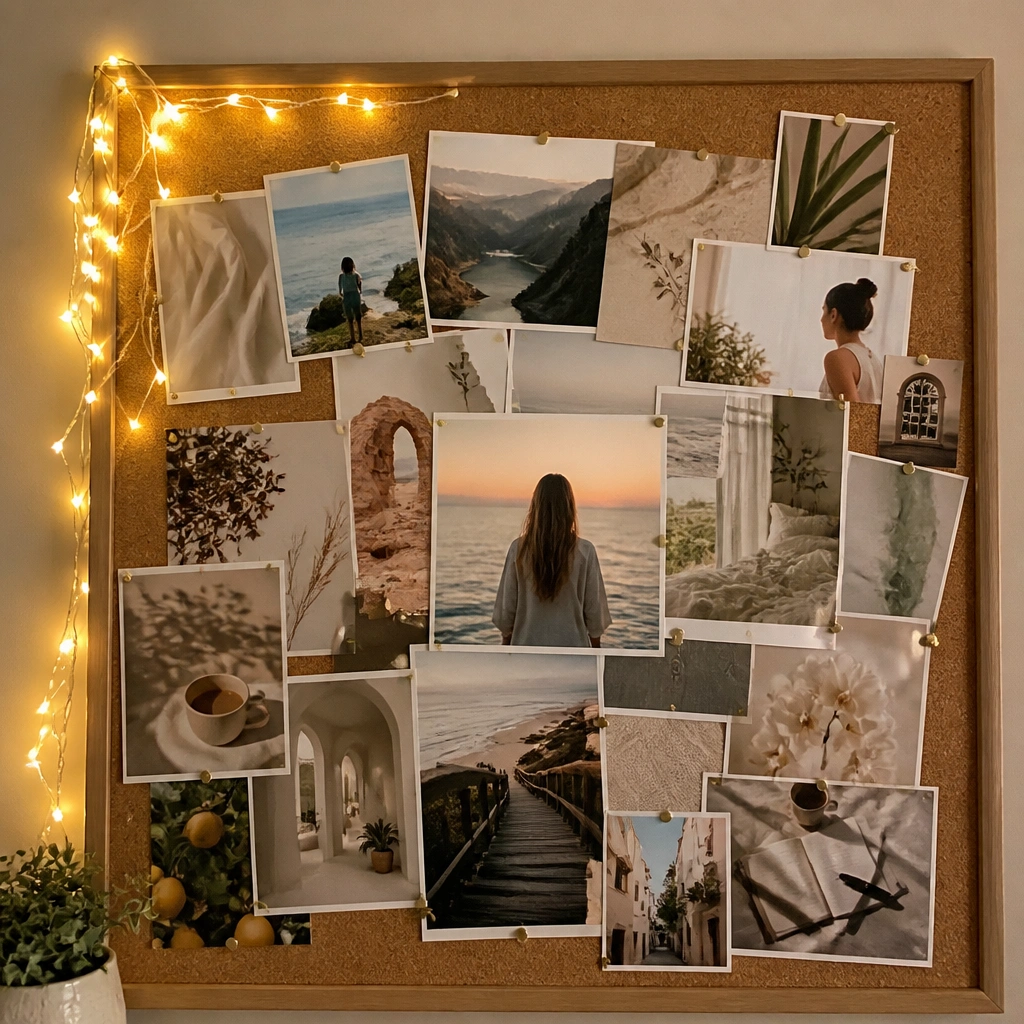
Use a cork board (or cork sheet on a frame) and pin your photos with thumbtacks. Add warm white micro-LED fairy lights along one edge so the glow frames your collage without washing out the images. This works especially well with beige, cream, and earthy tones because the warm light makes paper textures look richer.
Before pinning everything, tape the LED path in place for 10 minutes and take a quick photo to check for glare or hotspots.
2. Polaroid Grid + Clip String Lights (No Glare)
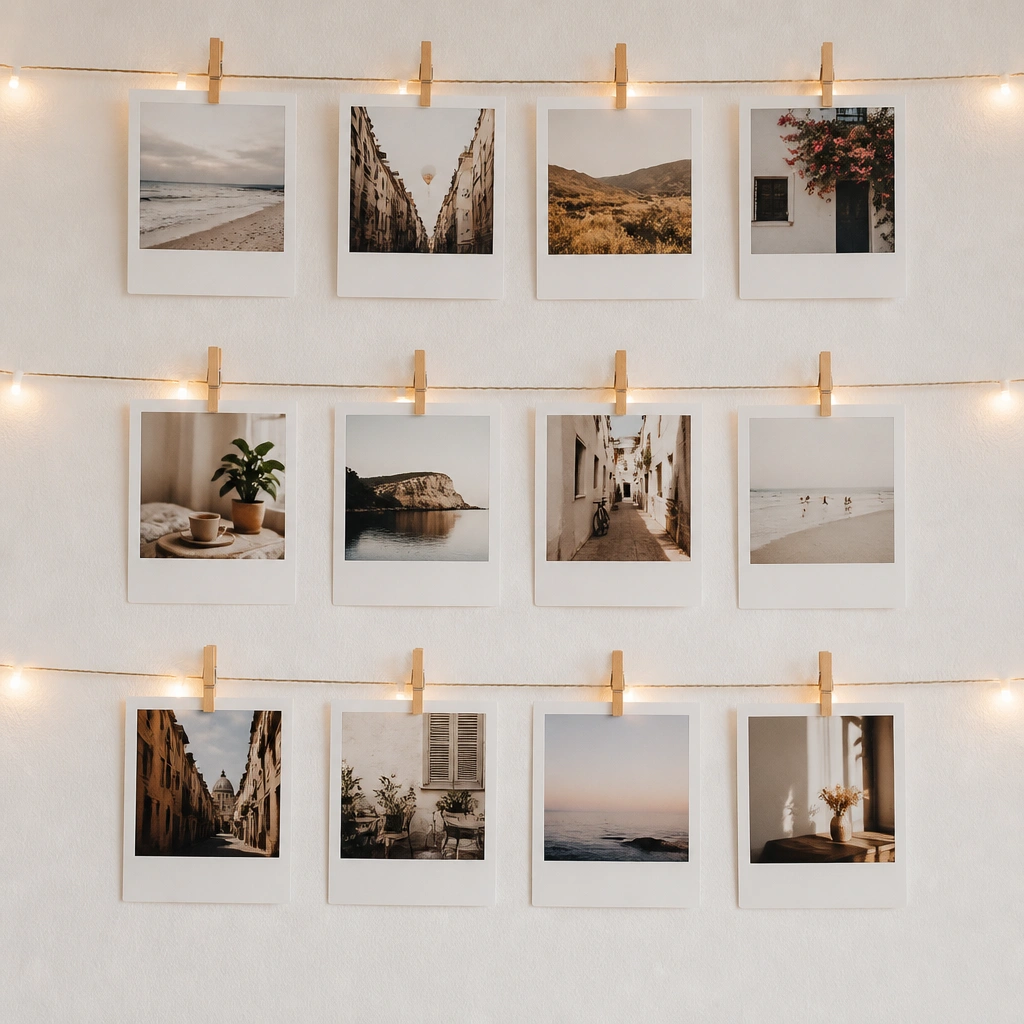
Print your photos in consistent sizes, then hang them with mini clothespins or binder clips on a backing board. Place string lights behind the prints (not directly under them) so the light spreads softly and avoids shiny glare. Keep the grid matte and neutral so the warm bulbs read cozy, not harsh.
Use adhesive photo corners or clear tape only on the back edges of each print to keep the front surface glare-free.
3. Fabric Mood Board + LED Strip Behind Muslin
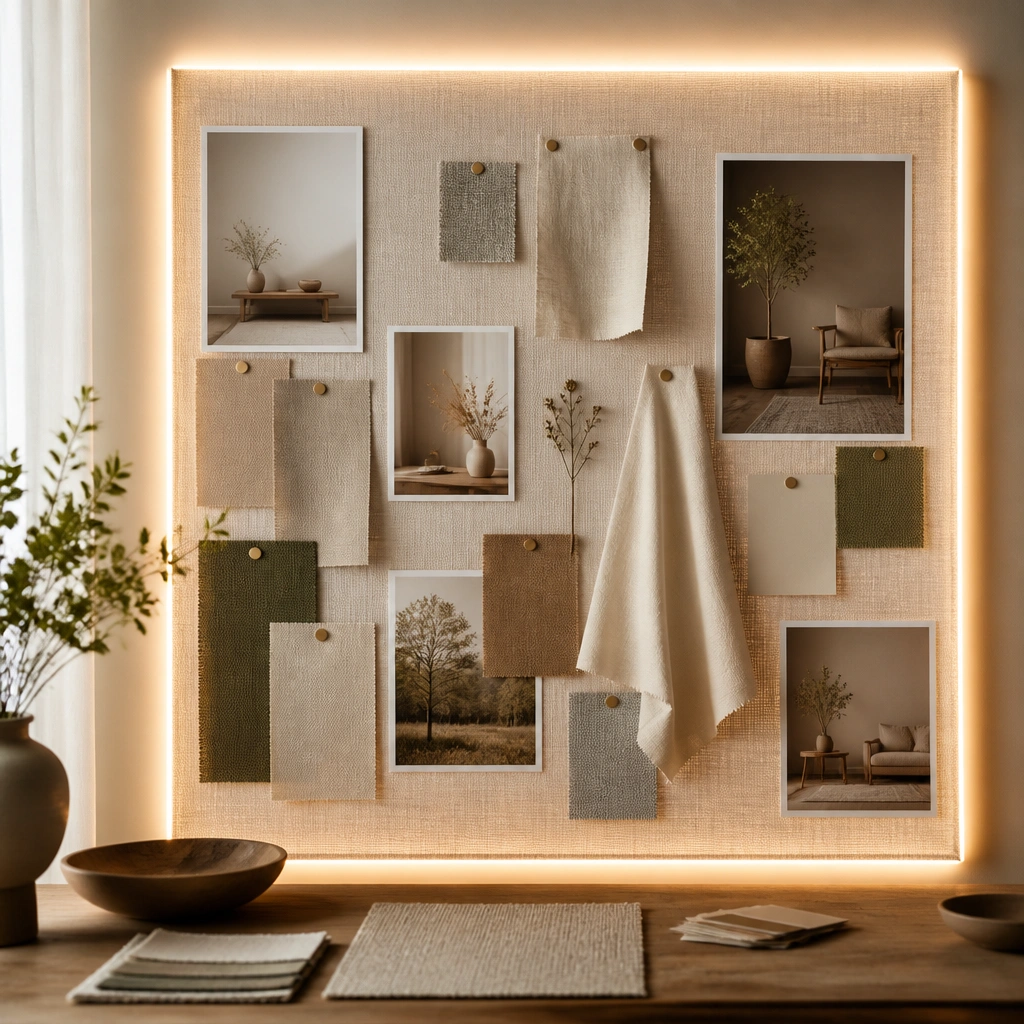
Stretch a piece of muslin or lightweight cotton over a frame (or use a canvas board). Attach a warm LED strip along the back perimeter, then pin photos and journaling cards onto the fabric. The translucent fabric acts like a diffuser, creating an even glow that makes your board look lit-from-within.
Leave at least 1 inch of air gap between the LED strip and any paper so heat stays minimal.
4. Shadow Box Vision Board + Battery Tea Lights
A shadow box is perfect for “with lights” boards because the light stays contained. Layer photos on foam board and tuck small battery tea lights near the bottom corners. Choose amber or warm white lights for a cozy, candle-like vibe that makes dried flowers and paper edges look extra textured.
Good to knowUse battery tea lights with a cool-touch design and keep them at least 2 inches from paper edges.
5. Picture Ledge + Under-Lip LED Tape Glow
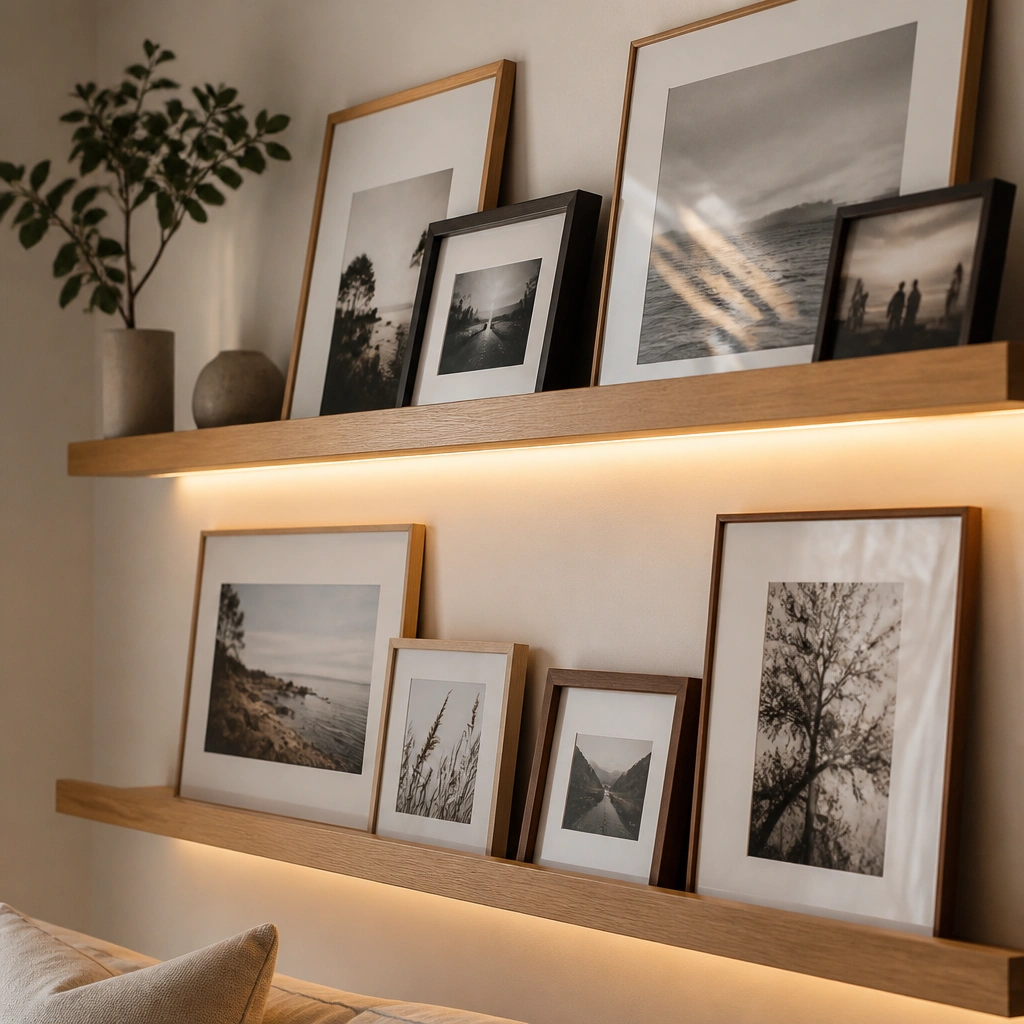
Install a simple wooden ledge (or shelf board) and lean prints and cards on top. Mount warm LED tape underneath the lip so it lights the photos from below — the glow feels intimate and flattering, especially for lifestyle images. This setup is great for changing your vision board seasonally because you can swap prints fast.
Good to knowHide the LED tape wire inside the shelf edge channel or use a slim cord cover painted the same color as the ledge.
6. Gallery Wall Grid + Fairy Lights on a Tension Rod
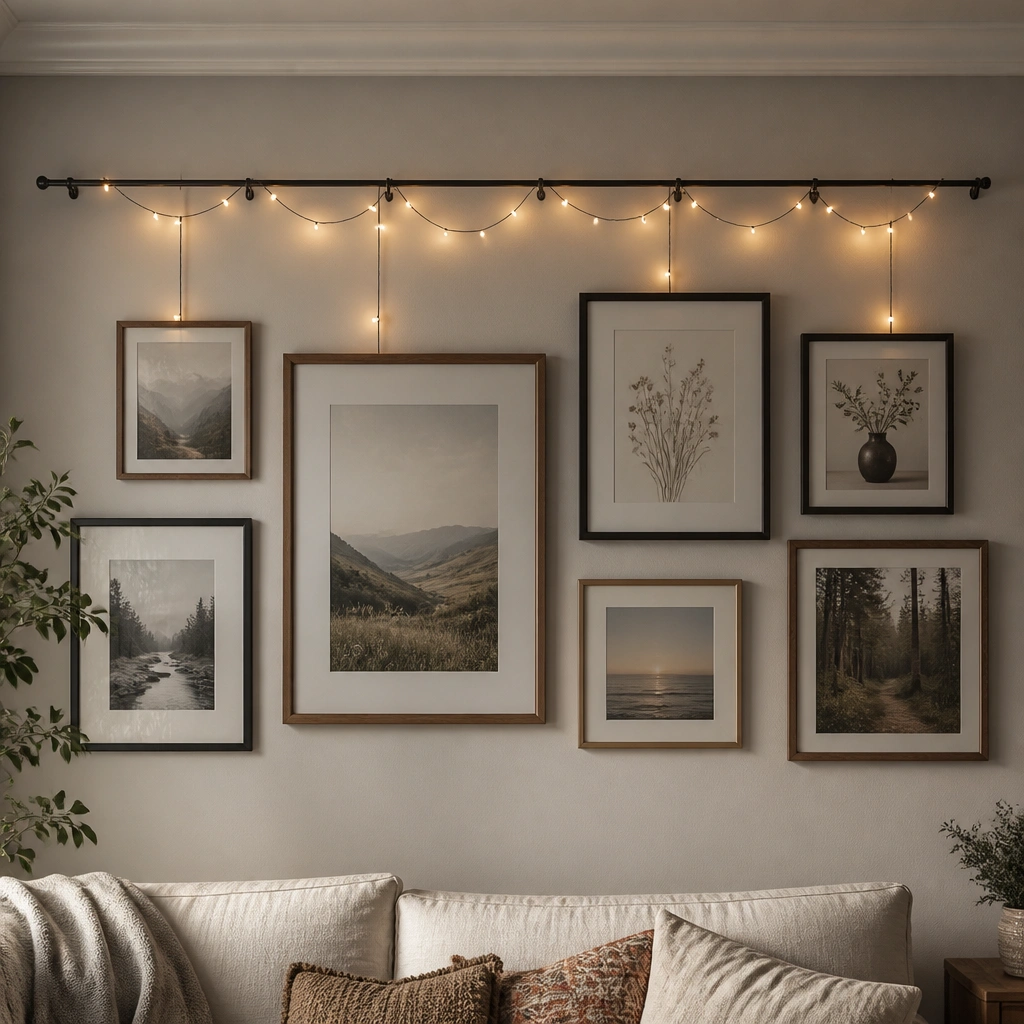
Build a small gallery wall with frames in two or three sizes, then drape warm fairy lights across a tension rod just above the frames. The light bounces around the wall and makes the whole cluster feel cohesive. This is ideal if you want “vision board ideas pictures with lights” but don’t want to drill into a single board.
Use clear command hooks to secure the tension rod area so the lights stay centered when you adjust frames.
7. Mirror Vision Board + Edge-Lit LED Rope
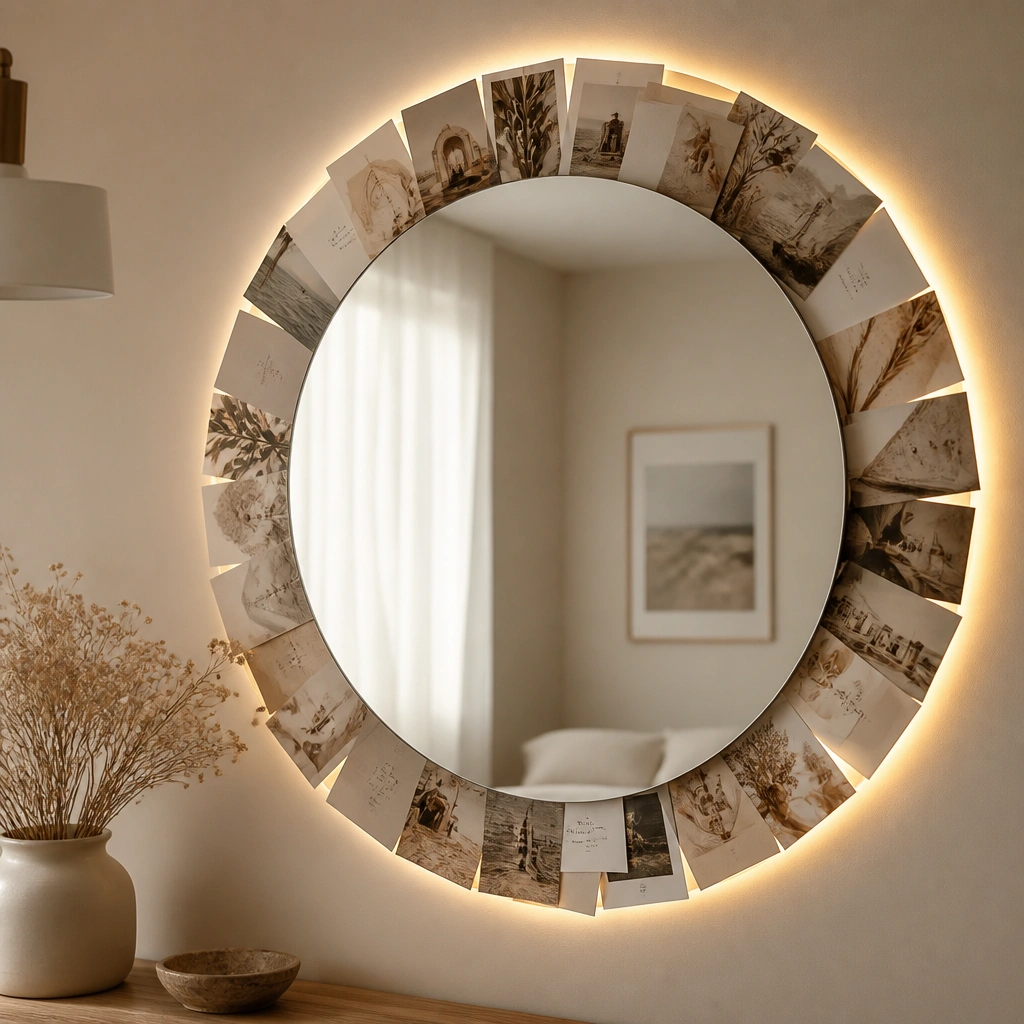
A mirror makes your vision board feel like a daily check-in. Outline the frame with warm LED rope lights to create a halo glow, then place photos around the mirror edge using photo stands or thin backing. The reflective surface amplifies the light, so keep your photos matte and avoid glossy print finishes.
Wipe the mirror and prints before photographing — fingerprints will show up as bright spots under LED lighting.
8. Book Spine + Lighted “Future Shelf” Board
This is a clever “with lights” alternative to a typical board. Stack books or use faux book covers on a base, then mount your vision collage on the front. Put a warm LED strip behind the stacked spines so the glow comes from depth, making your board feel layered and cinematic.
Secure the LED strip with heat-safe double-sided tape and test the brightness at night before final mounting.
9. Acrylic Frame Board + Cool-to-Warm Gradient Lights
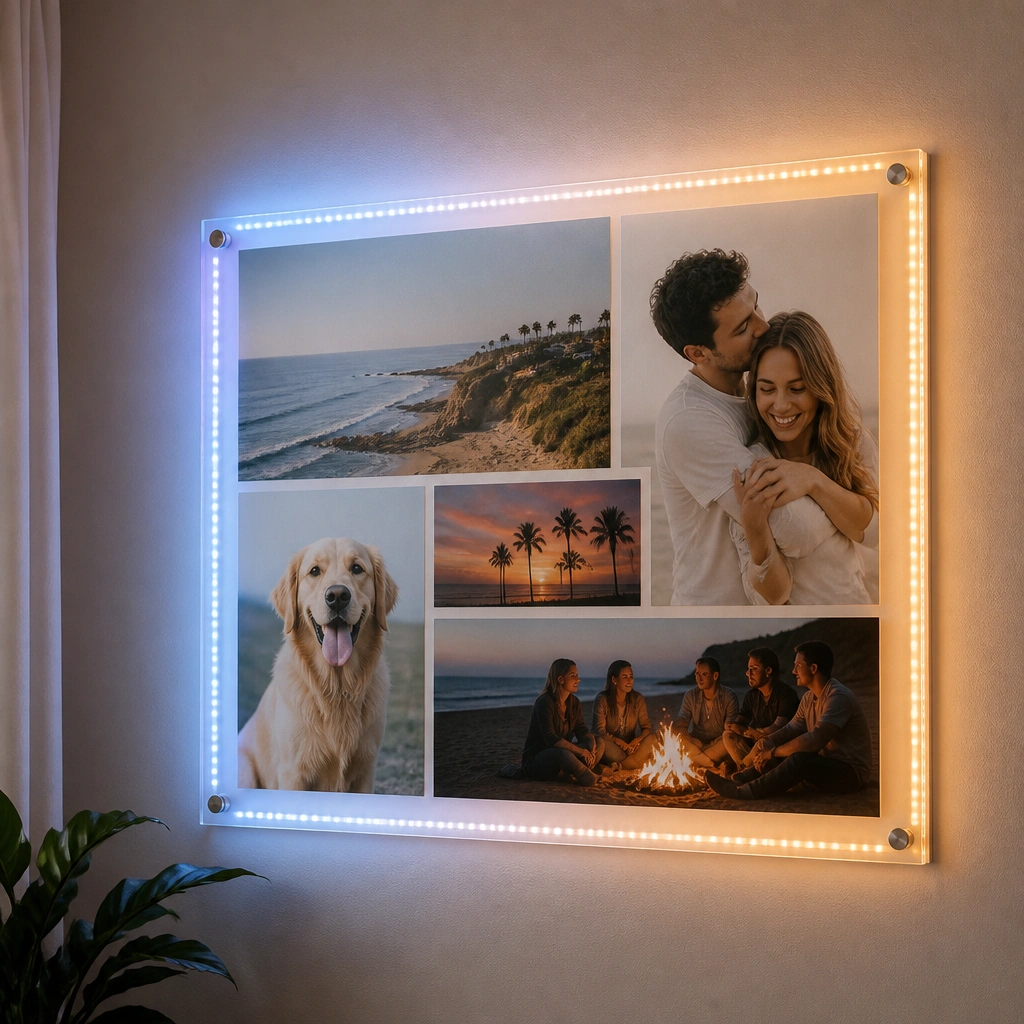
If you want a modern look, use an acrylic frame panel or clear acrylic sheet on a backing. Add LED dot lights or small puck lights along the edges and let them transition from slightly cooler at the top to warmer at the bottom. This gradient can make your board feel energized during the day and calming at night.
Choose LEDs labeled “warm white” for the bottom half to keep skin tones and paper colors flattering in photos.
10. Chalkboard Back + String Lights Behind Chalk Art
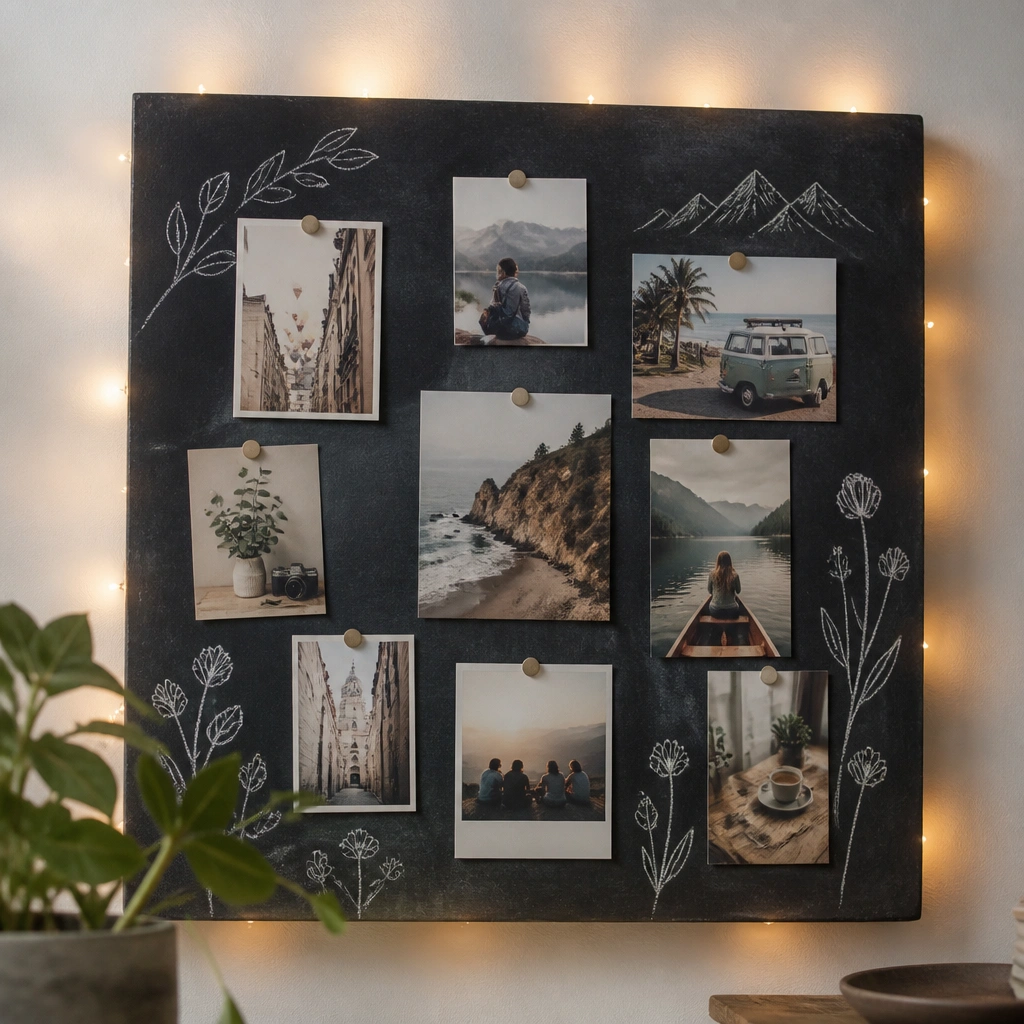
Paint or buy a chalkboard backing, then sketch goals with chalk or white paint marker. Pin photo cutouts with small clips, and tuck warm string lights behind the board so the light outlines your shapes. The contrast between matte chalk and warm LEDs looks cozy and intentional, not “random lights.”
Good to knowSeal chalk art with a light fixative spray (or use chalk marker) so it doesn’t smudge when you handle the board.
11. Planter-Style Vision Board + Fairy Lights in Faux Vines
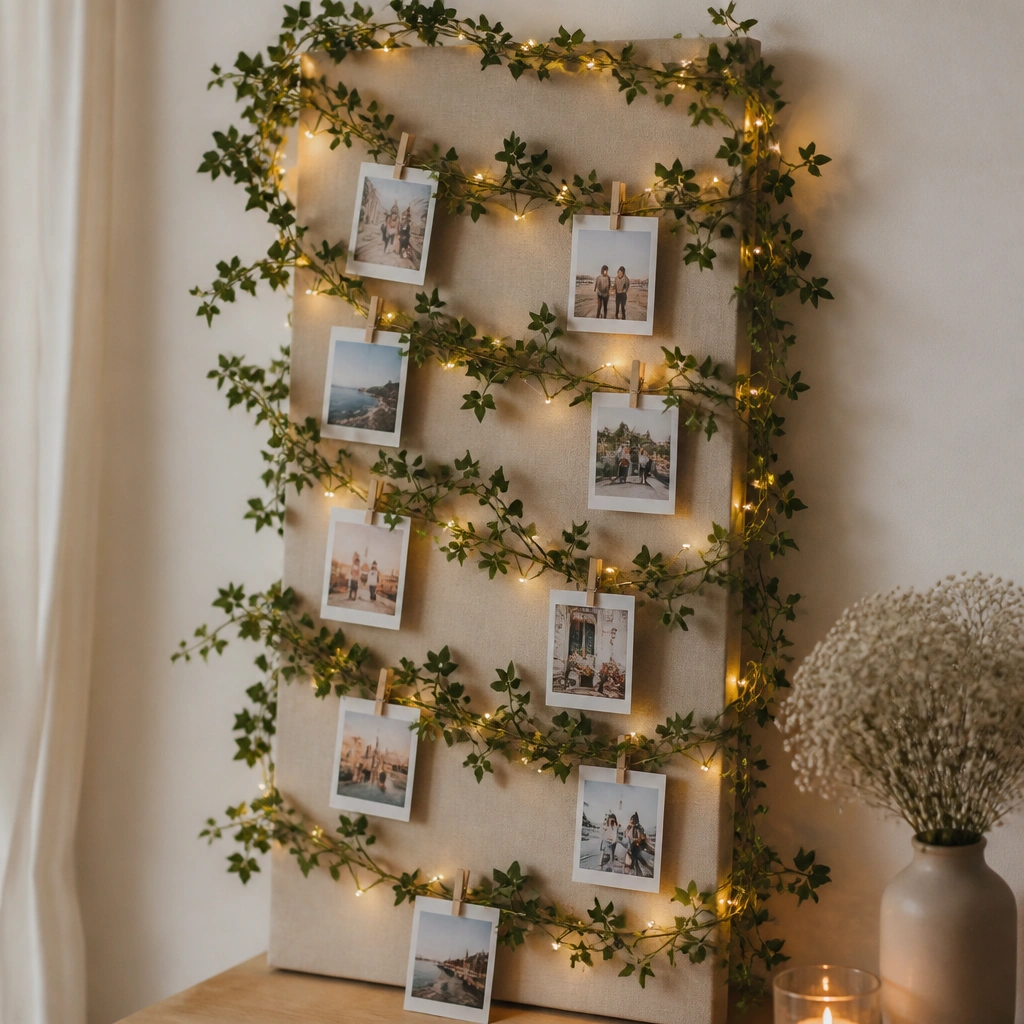
Bring in a living-room vibe by using faux vines or a greenery garland as your “frame.” Clip your photos directly onto the vine with mini clips, then hide warm micro-LEDs inside the greenery for a soft, magical glow. This setup works great for wellness, travel, and cozy-at-home goals because it feels like a warm sanctuary.
Keep the LED battery pack accessible — use a Velcro strap so you can swap batteries without taking the whole board down.
12. Thick Foam Board + Edge-Lit Photo Cutouts
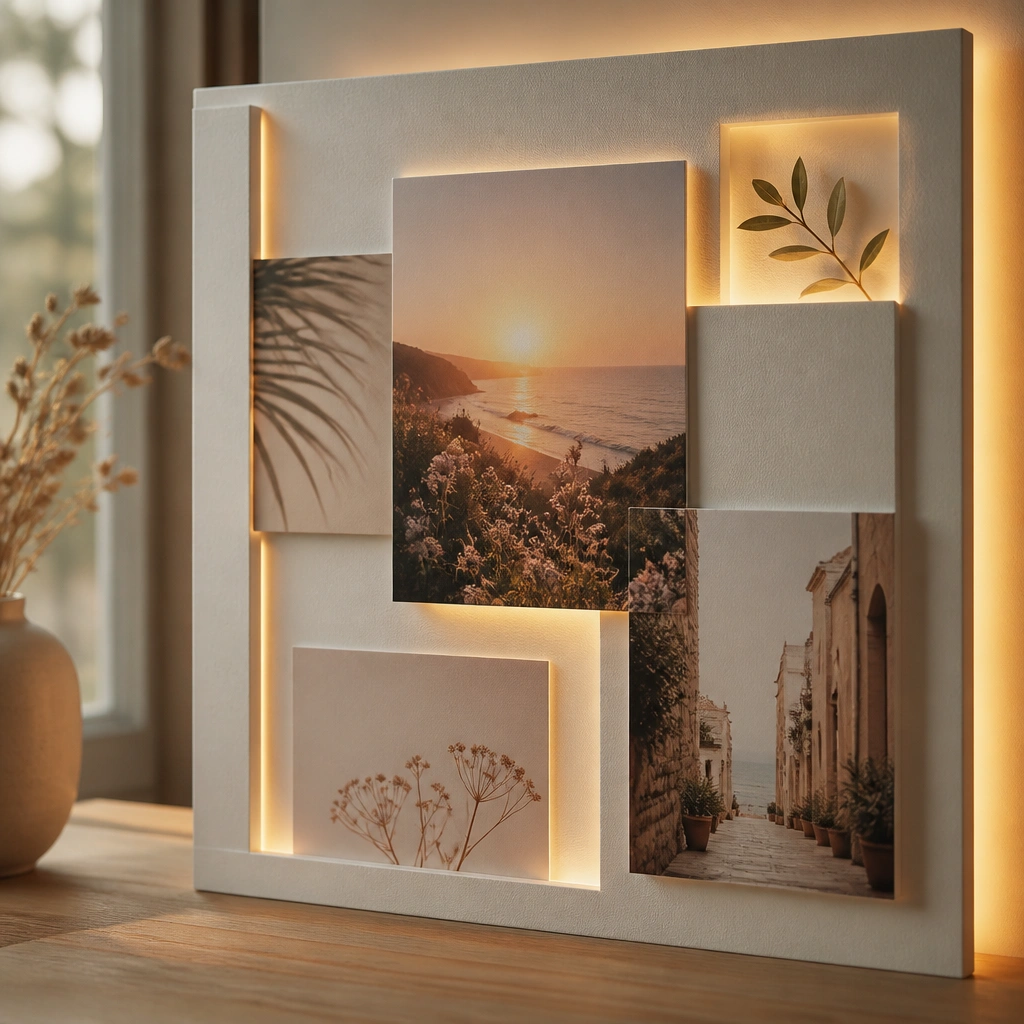
Use thick foam board so you can create depth. Layer photos with foam squares, then run warm LED strips along the back edges to light the layers from behind. The result is a “floating collage” effect where the edges glow without shining directly through the photo faces.
Good to knowLeave a 1/2 inch border around each photo layer so the light doesn’t bleed into the image surface.
