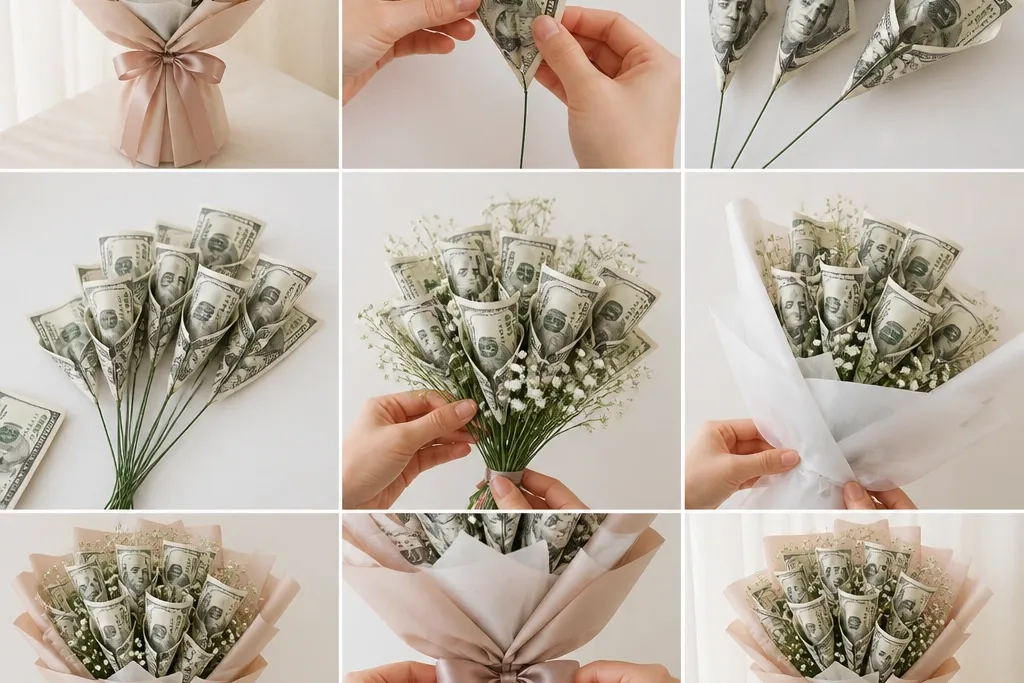
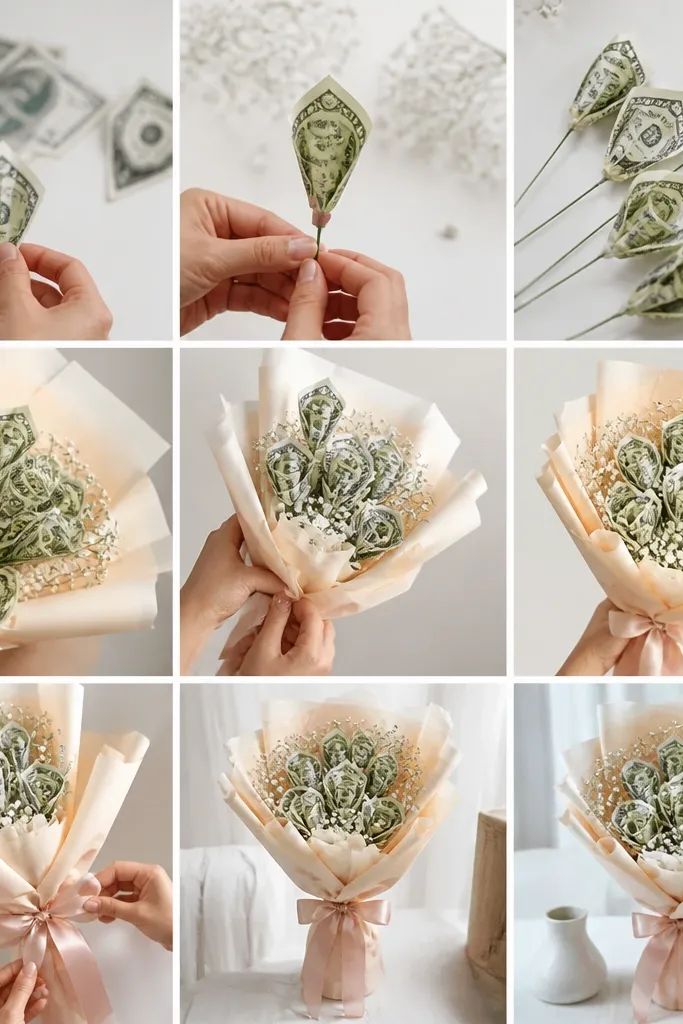
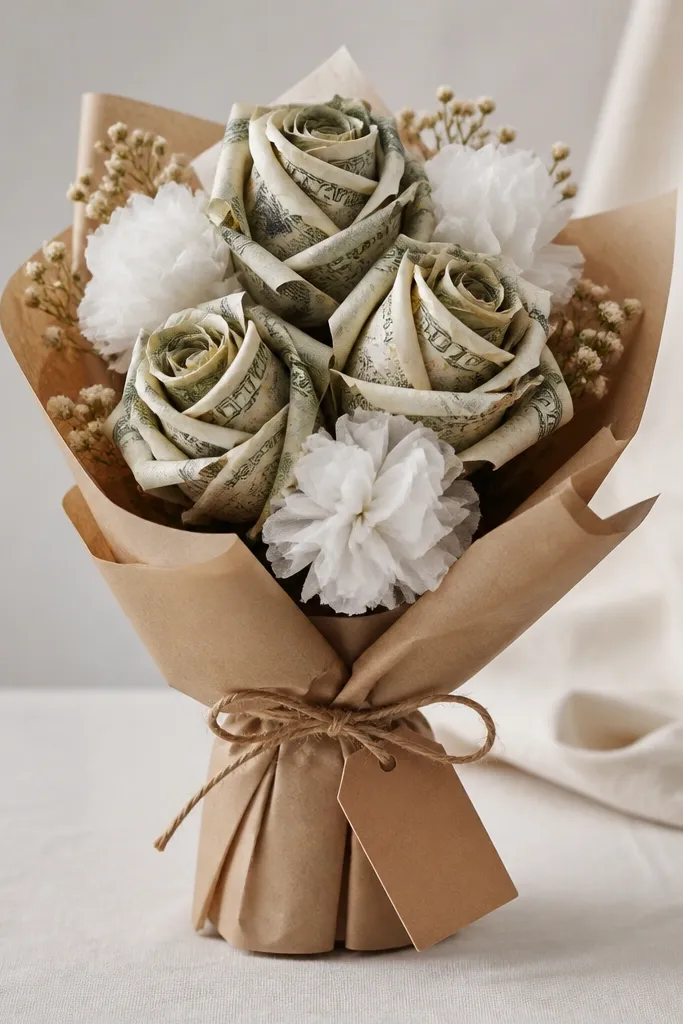
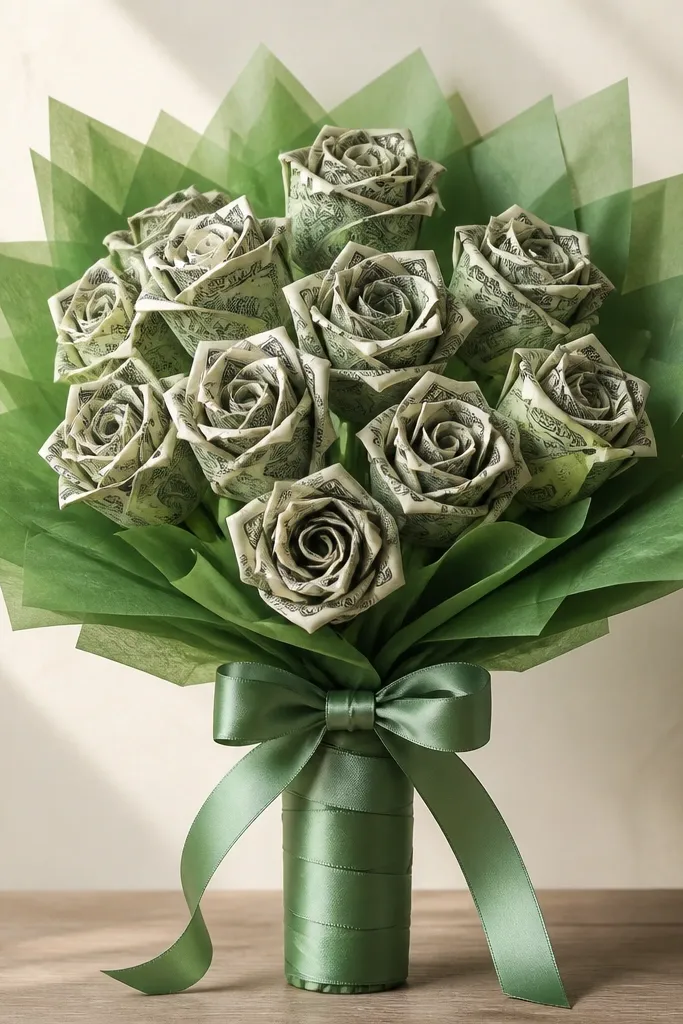
Step-by-Step Money Bouquet Tutorial — you can build a beginner-friendly bouquet in under 60 minutes using folded bills and simple craft supplies. In this guide, you’ll make a mini “florals” style money bouquet that holds 10-15 bills securely, without hot glue everywhere. I’ll show you exactly how to shape the bills, attach them to stems, and wrap the bouquet so it looks gift-ready even if you’ve never tried a DIY money craft before. Let’s make it cute and fast.
Step by step
Plan your bouquet size. Pick a small bouquet size by choosing your foam block thickness — about 3-4 inches wide works great for beginners. Decide how many “flowers” you want (aim for 6-10) so you don’t run out of bills mid-project.
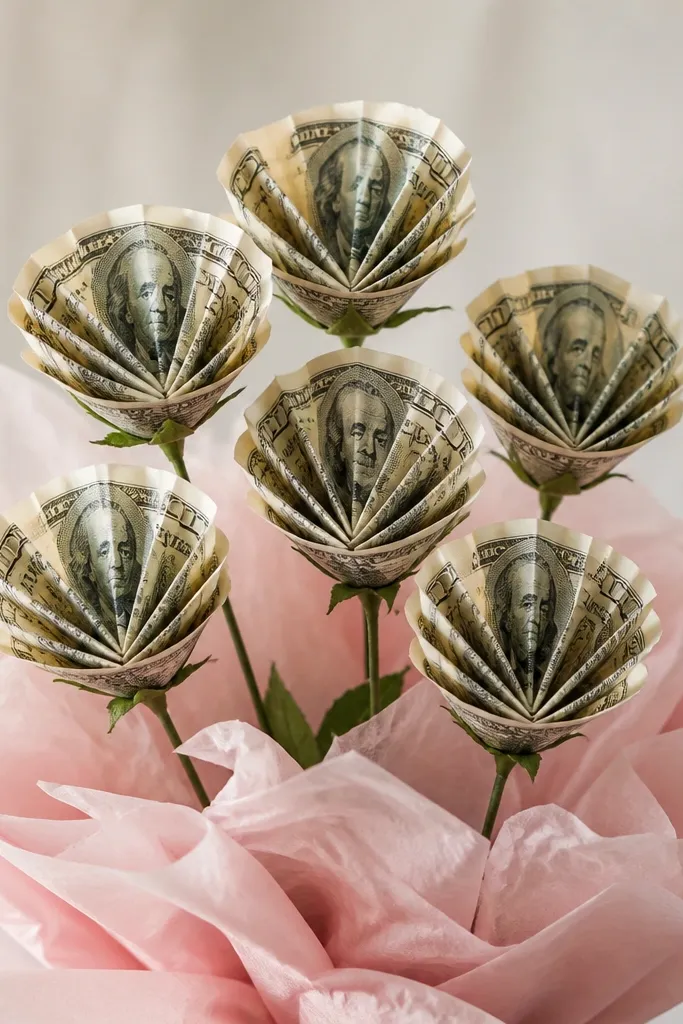
Fold the money into flower petals. Flatten each bill and fold it into a neat accordion or fan-like shape (small folds, consistent spacing). Pinch the bottom edge tightly so it stays compact, then wrap a tiny strip of tape around the pinch to lock it.
Attach money petals to stems. Glue or tape the pinched bottom of the folded bill to the top of a craft stem, keeping the stem centered behind the “petal” shape. Hold for 10-20 seconds so the bond sets without shifting.
Create tissue filler for volume. Cut tissue paper into small squares and lightly scrunch them into puffs. Glue a few puffs between money flowers so the bouquet looks full even if some flowers are smaller.
Build and secure in the foam base. Push stems into the foam at slight angles so the bouquet forms a natural dome. Add filler stems (with tissue puffs) to fill gaps, then check from all sides before gluing anything permanently.
Wrap the bouquet handle. Wrap the foam base with crepe paper or satin ribbon, starting at the bottom and spiraling upward. Finish with a tight bow or ribbon twist around the center so it looks like a store-bought bouquet.
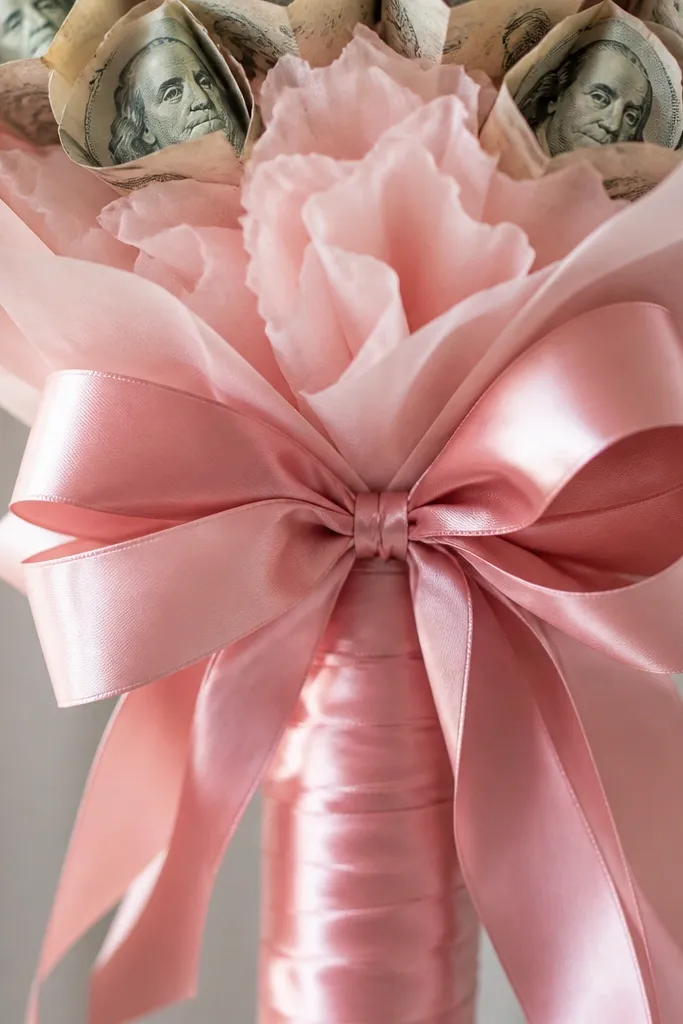
Folded bills create natural “petal” layers when you pinch the bottom and fan the top. Pale pink tissue fills tiny gaps so the bouquet looks lush instead of sparse. This style works for birthdays and anniversaries because it reads like real flowers.
Good to knowUse the same bill denomination for all blossoms so the color tone stays consistent.
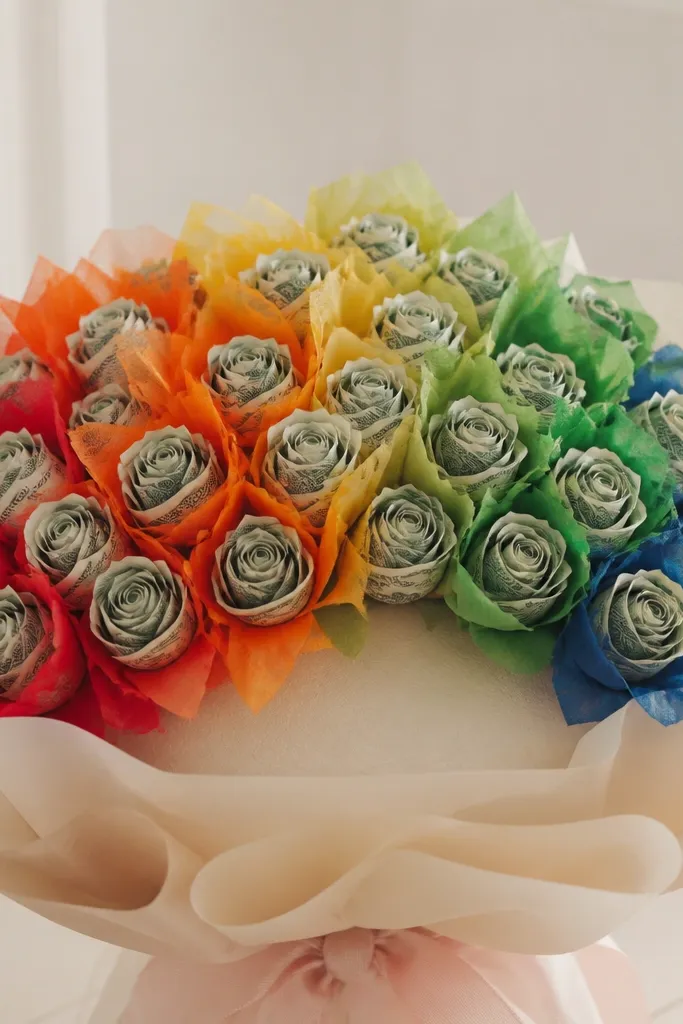
Mixing tissue colors around the money blossoms gives a playful, giftable look even if the money shapes are slightly different. The rainbow layout makes it feel intentional and not “random DIY.”
Good to knowCreate a simple pattern: alternate warm tissue colors on the front and cool colors on the back.
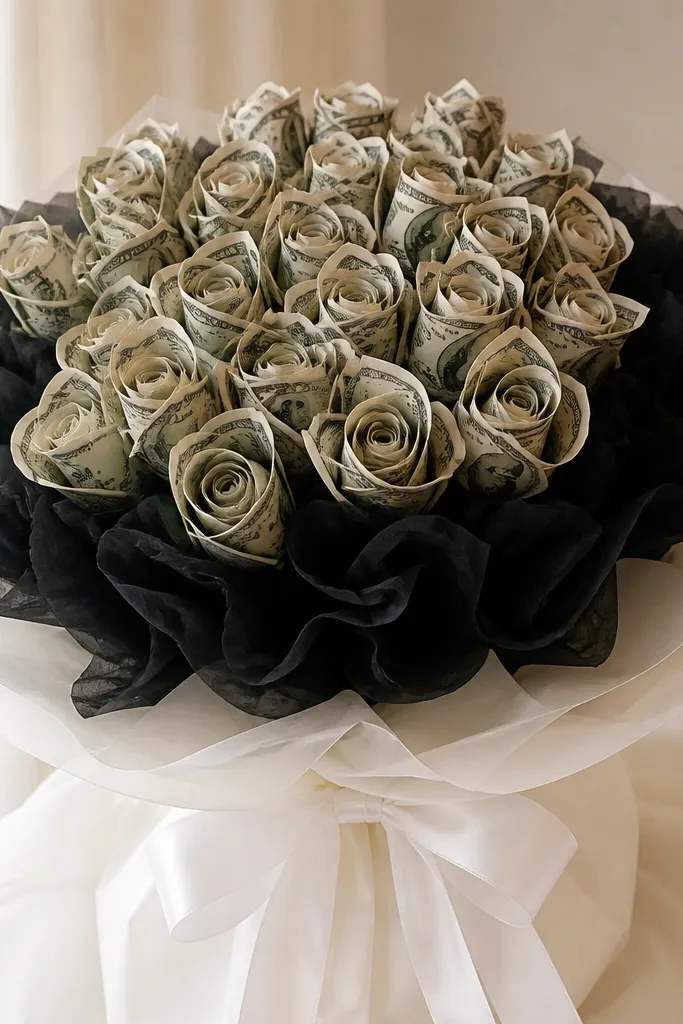
If you use crisp bills and black tissue, the contrast makes the money flowers stand out like a centerpiece. White ribbon wrapping keeps the look clean and modern.
Good to knowAdd one thin black satin ribbon loop around the handle for a polished finish.
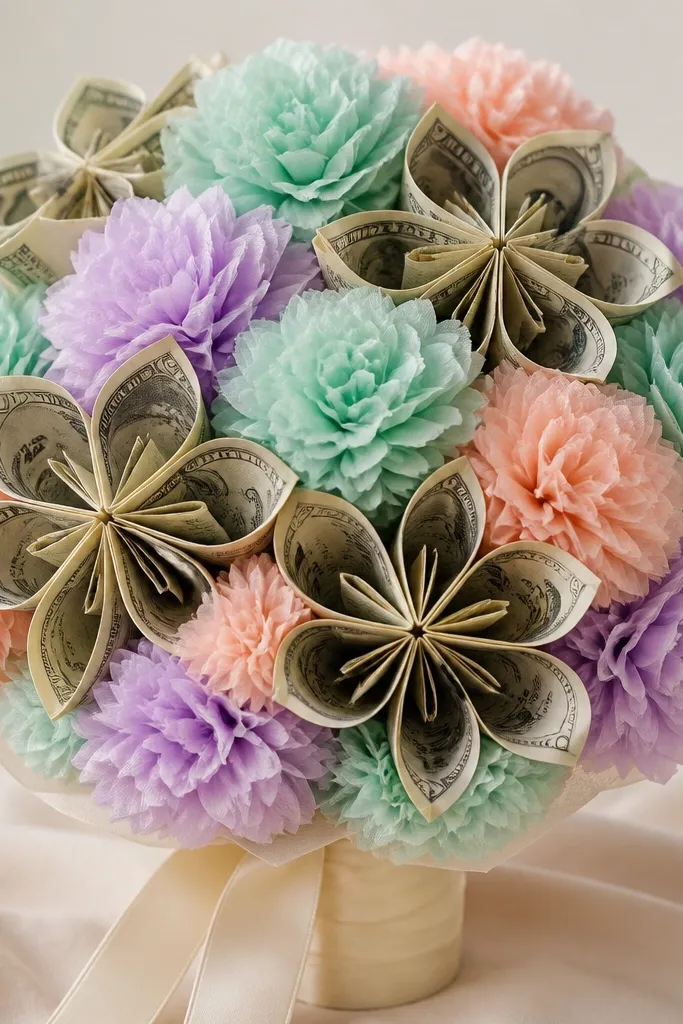
Pastel tissue colors blend well with the neutral tones of money, giving a spring vibe. The bouquet reads “light and airy” because tissue puffs create gentle texture.
Keep your ribbon wrap tight and smooth so the pastel colors don’t look messy.
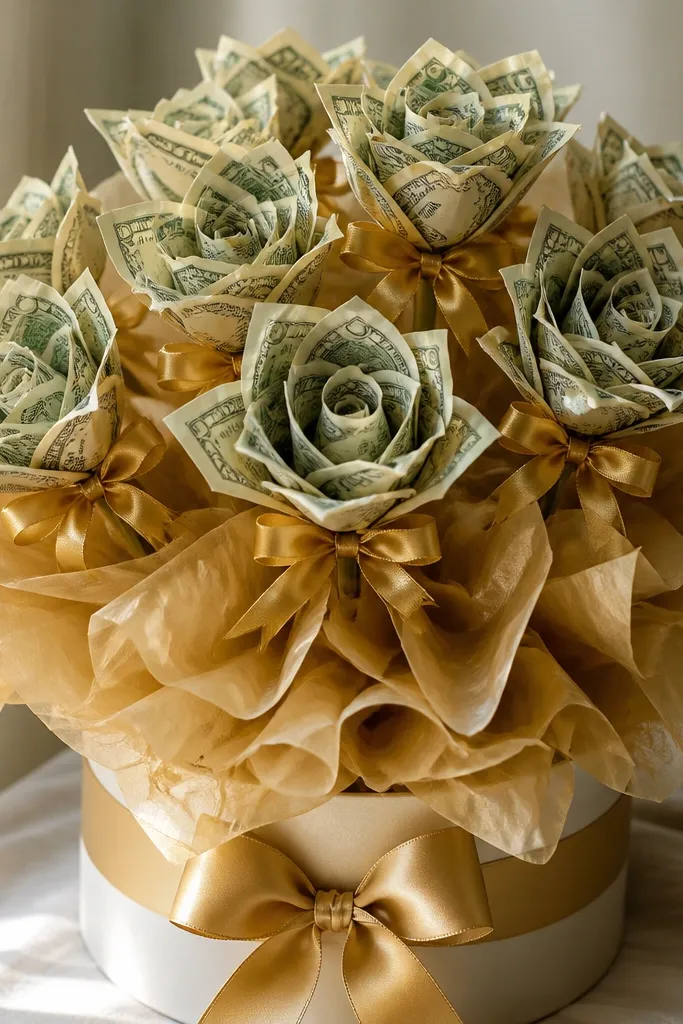
Gold accents make the money look “jewelry-like” instead of plain. Tiny ribbon ties at the base of each blossom help the folded bills hold shape and look decorative.
Use narrow gold ribbon pieces (about 1/8 inch wide) so they don’t overpower the bills.
Concentrating bright tissue near the top draws the eye upward and makes the bouquet feel celebratory. Scrunched tissue gives texture that hides glue spots and foam gaps.
Good to knowUse a heavier hand with tissue just at the upper third of the bouquet.
Slightly twisting stems makes the bouquet feel more “arranged” without extra materials. Angled stems also keep money flowers from pressing flat against each other.
Good to knowTwist stems lightly before inserting them into foam to create natural movement.
Green tissue strips act like leaves, giving your money flowers a realistic botanical frame. The overlay makes the bouquet feel fuller even with fewer bills.
Cut narrow leaf strips and curl them slightly with scissors for a more lifelike look.
Your questions, answered
How long does a money bouquet last?
It usually lasts for a few days to a couple of weeks depending on how you store it. Keep it dry and avoid squeezing the tissue puffs, since they can flatten if handled too much.
What does it cost to make one?
Your biggest cost is the bills themselves. The craft supplies (foam, ribbon, tissue, stems, glue) are typically affordable and reusable for other DIY projects.
Where can I get the foam base and stems?
Floral foam and styrofoam blocks are easy to find at craft stores, and thin craft stems or floral wire are usually in the floral or jewelry aisle. You can also use chopsticks as sturdy stems if you don’t have wire.
Is this beginner-friendly if I’ve never folded bills like this?
Yes. The key is keeping the folded bottom pinched and secured with a small tape wrap so the “petal” shape stays tight while you glue it to the stem.
How do I keep the money from falling off the stems?
Use a compact fold and tape the pinch before attaching to the stem. When gluing, apply a small glue dot at the bottom pinch only — too much glue can make the bill look bulky and harder to secure.
How should I care for the bouquet during transport?
Carry it upright and avoid pressing the flowers. If possible, place it in a gift bag or box with tissue paper padding so the stems don’t get bent.