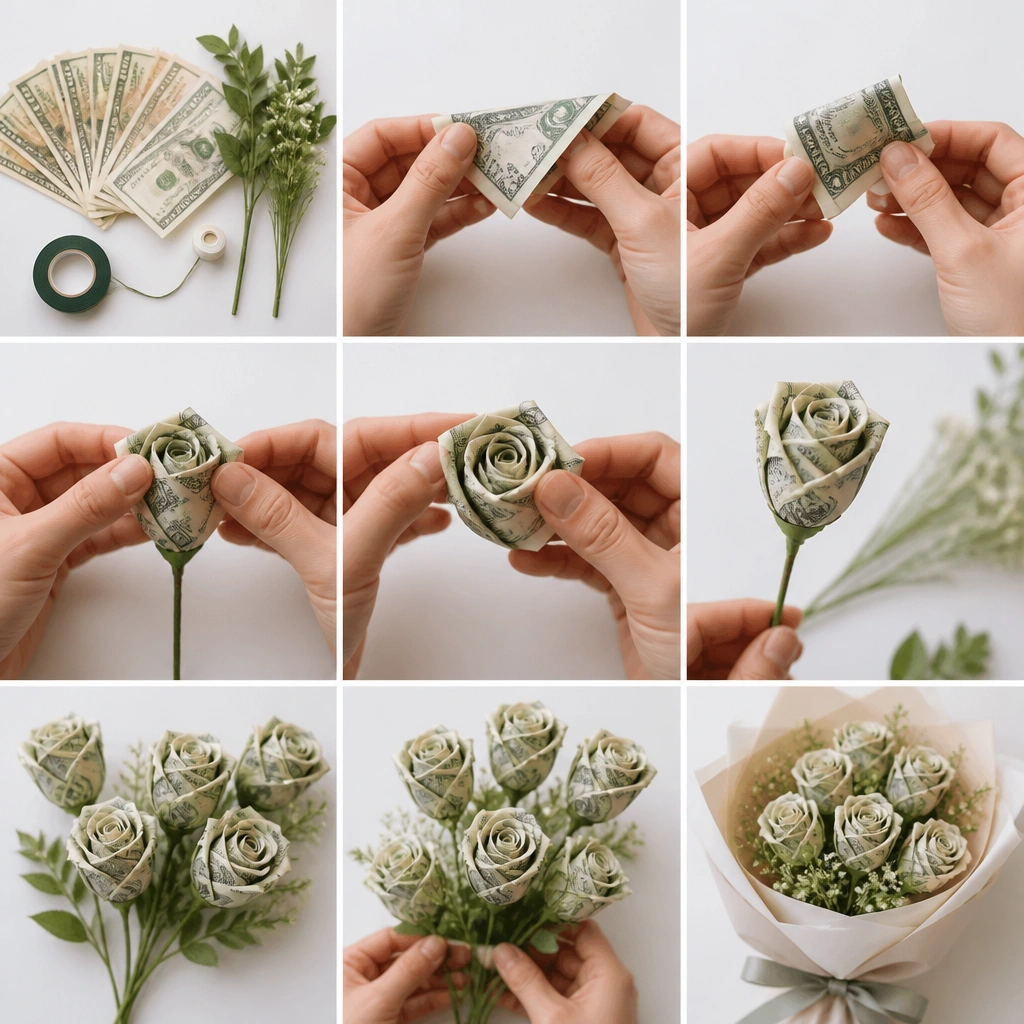
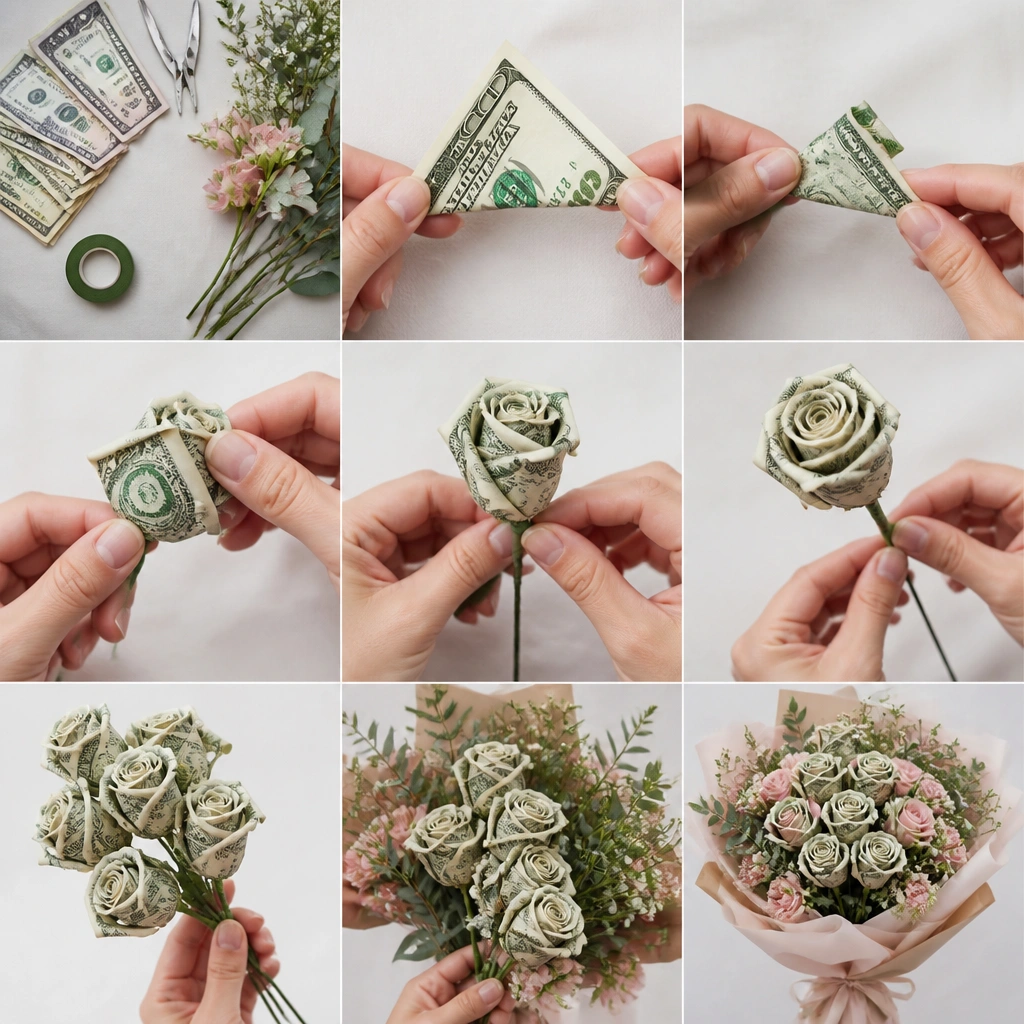
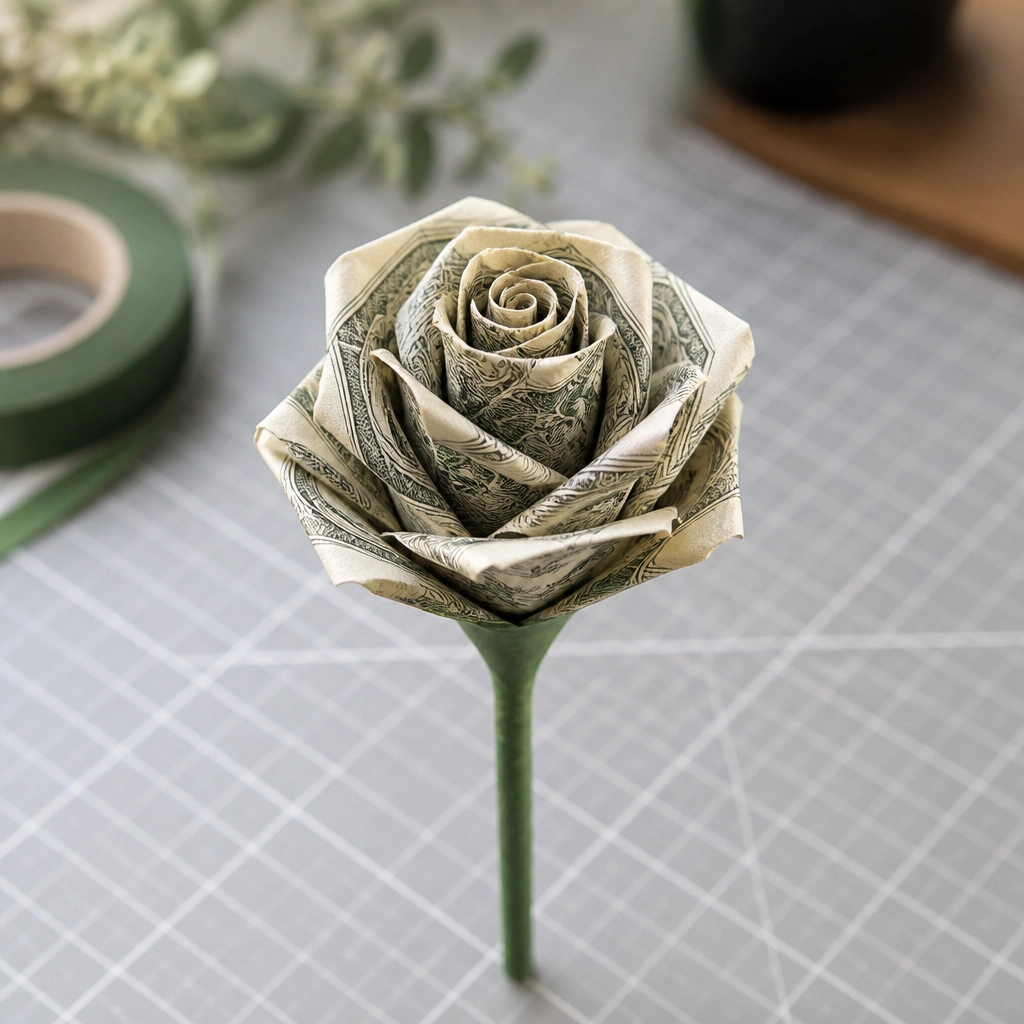
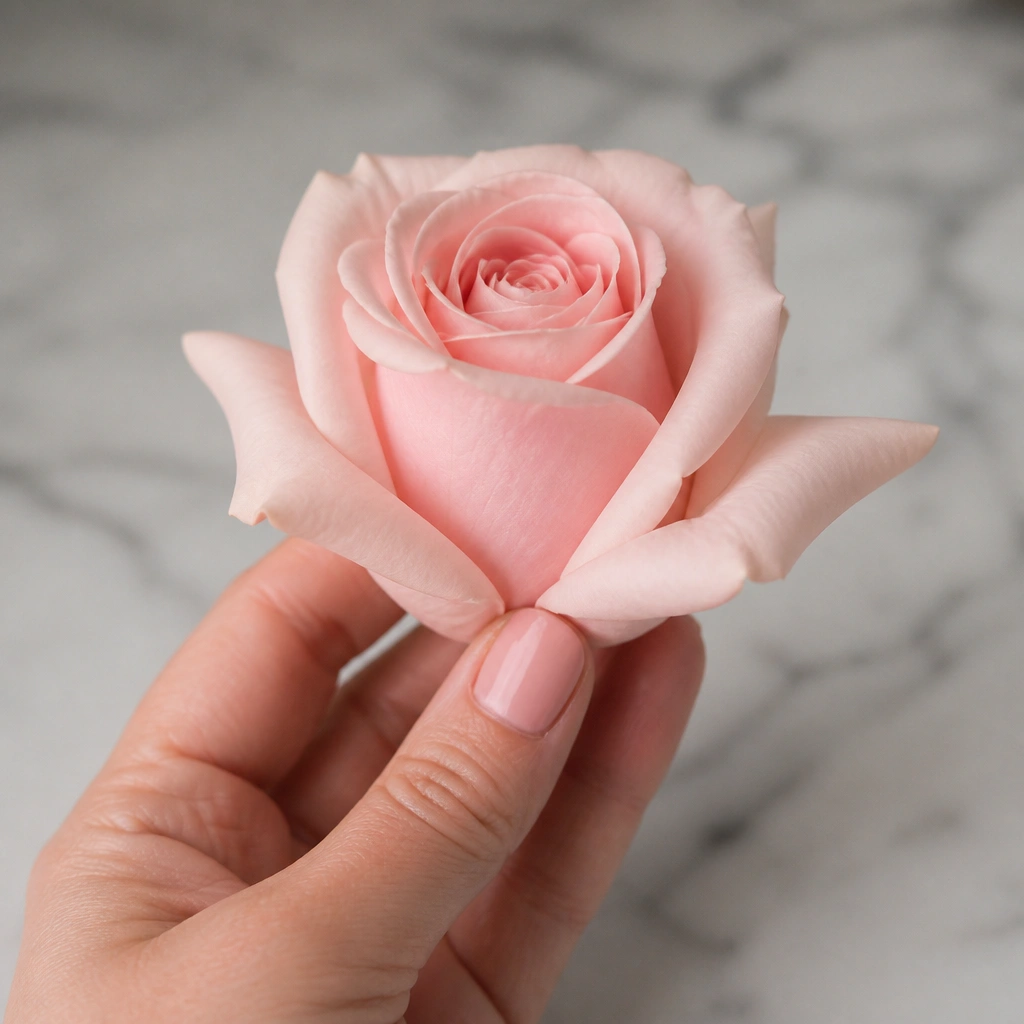
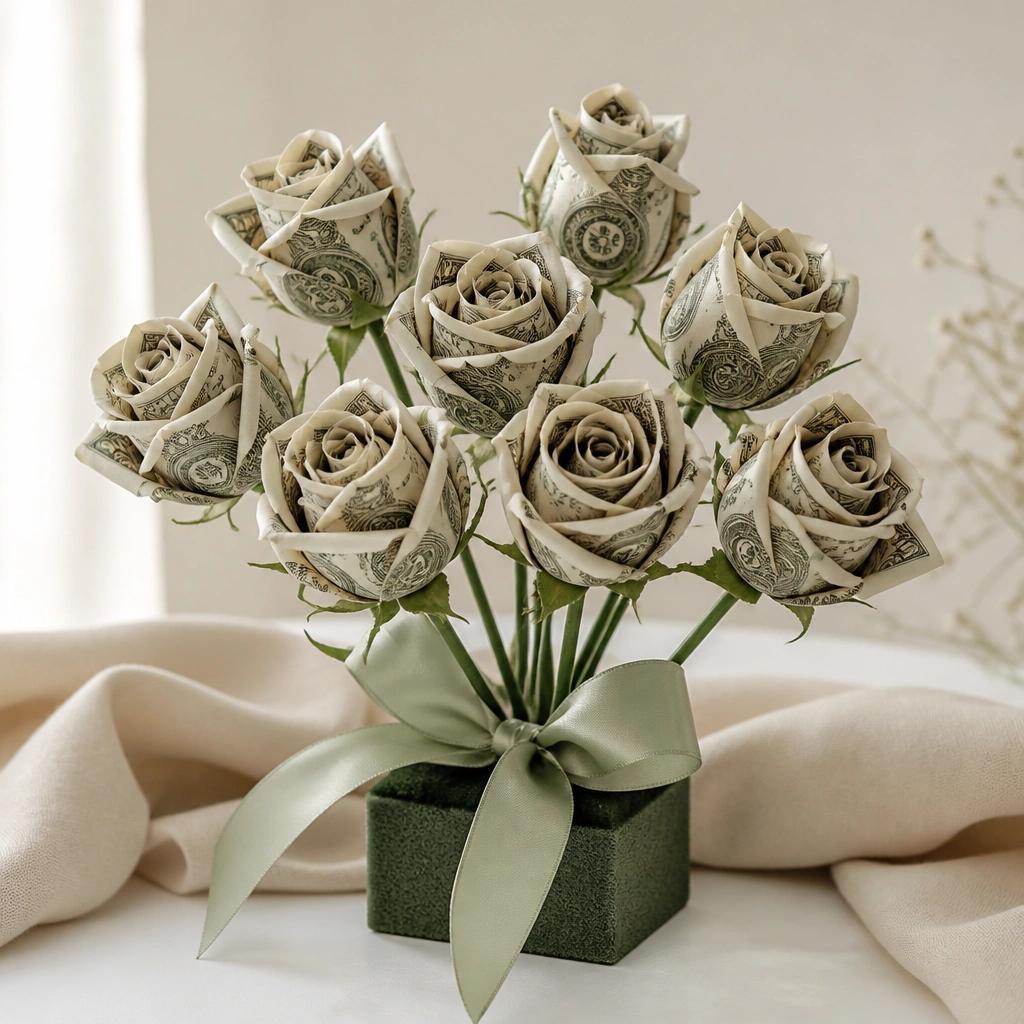
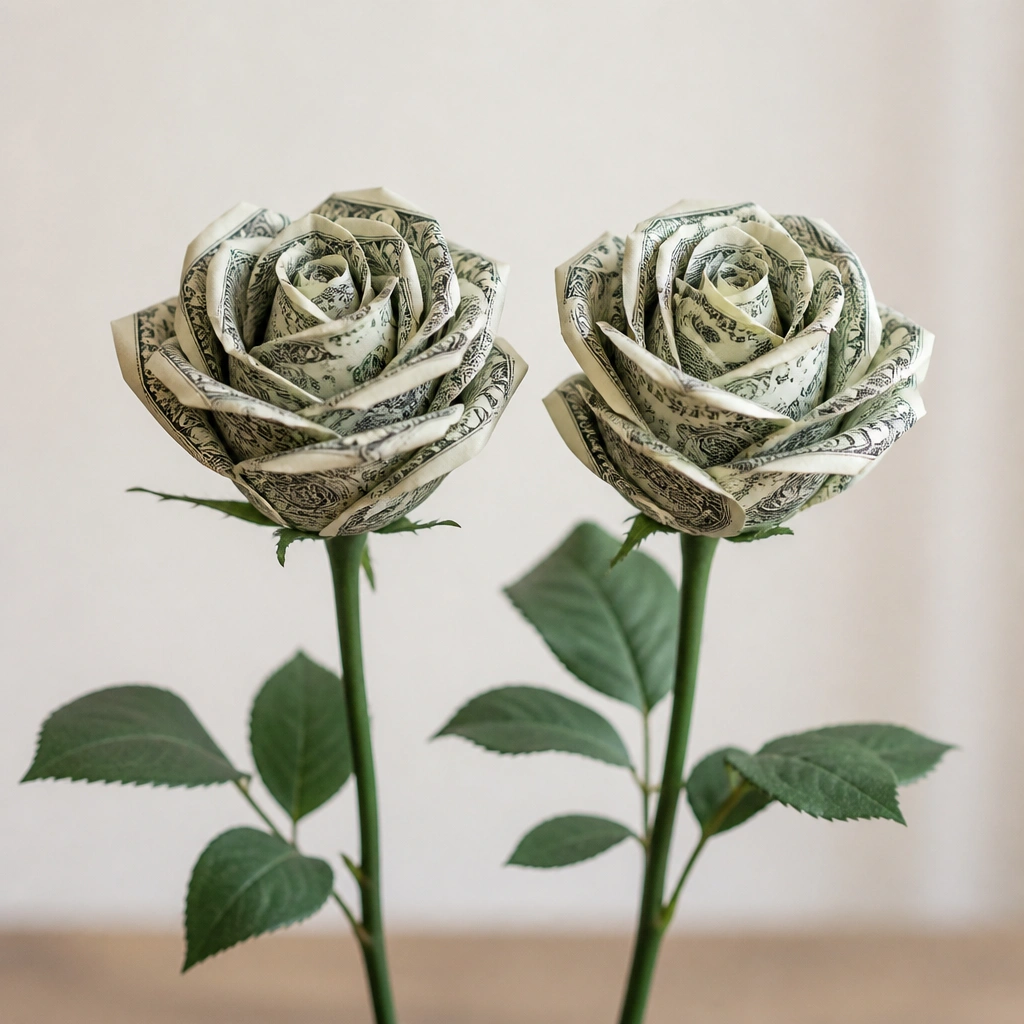
How to Fold a Money Rose is faster than you think — you can make one realistic-looking rose in about 10 minutes using a single $1 bill. In this quick DIY, you’ll learn the exact fold pattern to turn crisp currency into “petals,” then finish it with a simple green base so it stands up in a bouquet. No special origami background needed — just follow the steps and you’ll have a gift that looks handmade and thoughtful.
Step by step
Prepare the bill. Use a crisp, flat bill and smooth it with your palm so the folds stay sharp. If it’s wrinkled, lightly press it under a heavy book for 5-10 minutes.
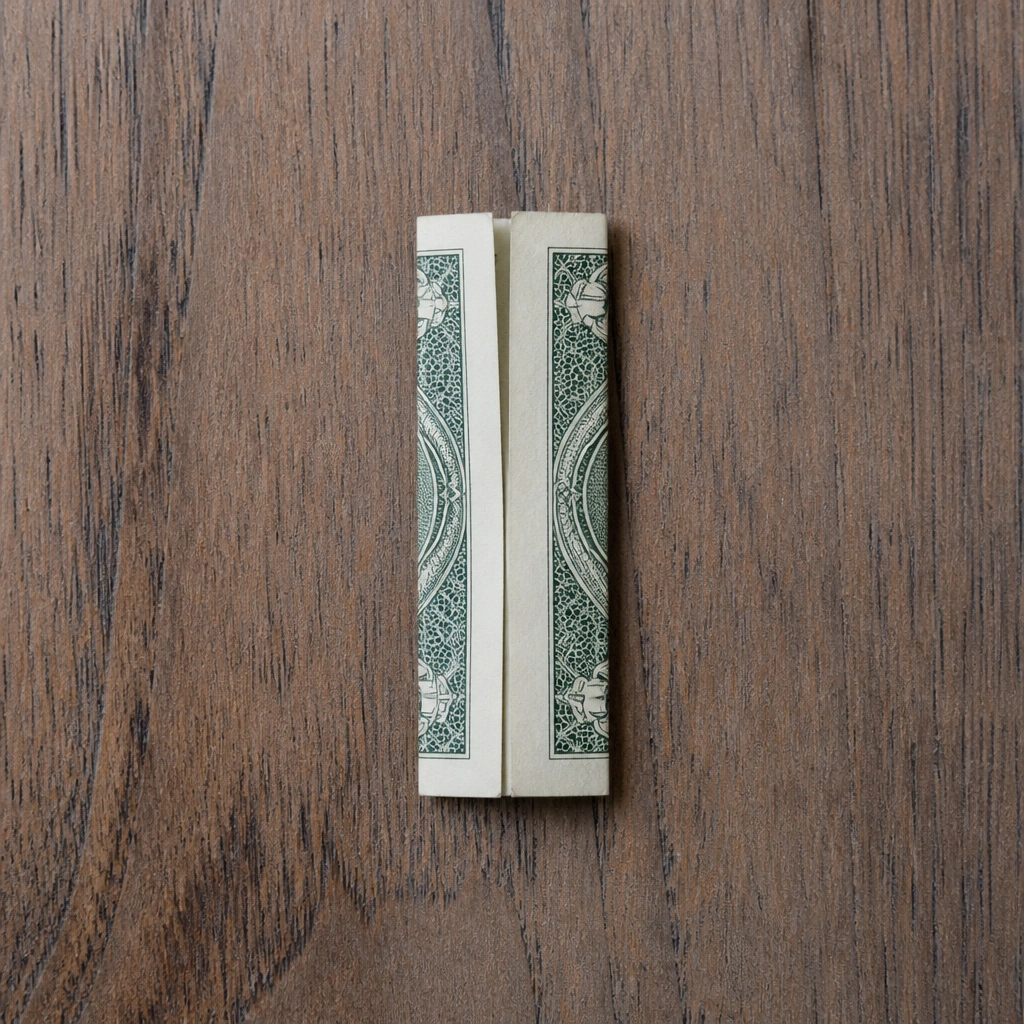
Create the petal folds. Fold the bill in half lengthwise, then unfold. Fold each long edge toward the center crease so you end up with a slim rectangle.
Shape the rose center. Starting at one short end, roll the rectangle tightly like a small scroll. Secure the bottom with a tiny dab of hot glue so the center stays tight.
Fold out the petals. Fan the remaining layers outward by gently bending each side of the rolled section. Pinch near the base to form a rose-like bud shape.
Add a green base and stem. Wrap floral tape around the bottom of the rose, then twist it onto a floral wire stem. If needed, add a small glue dot at the tape edge to lock it in place.
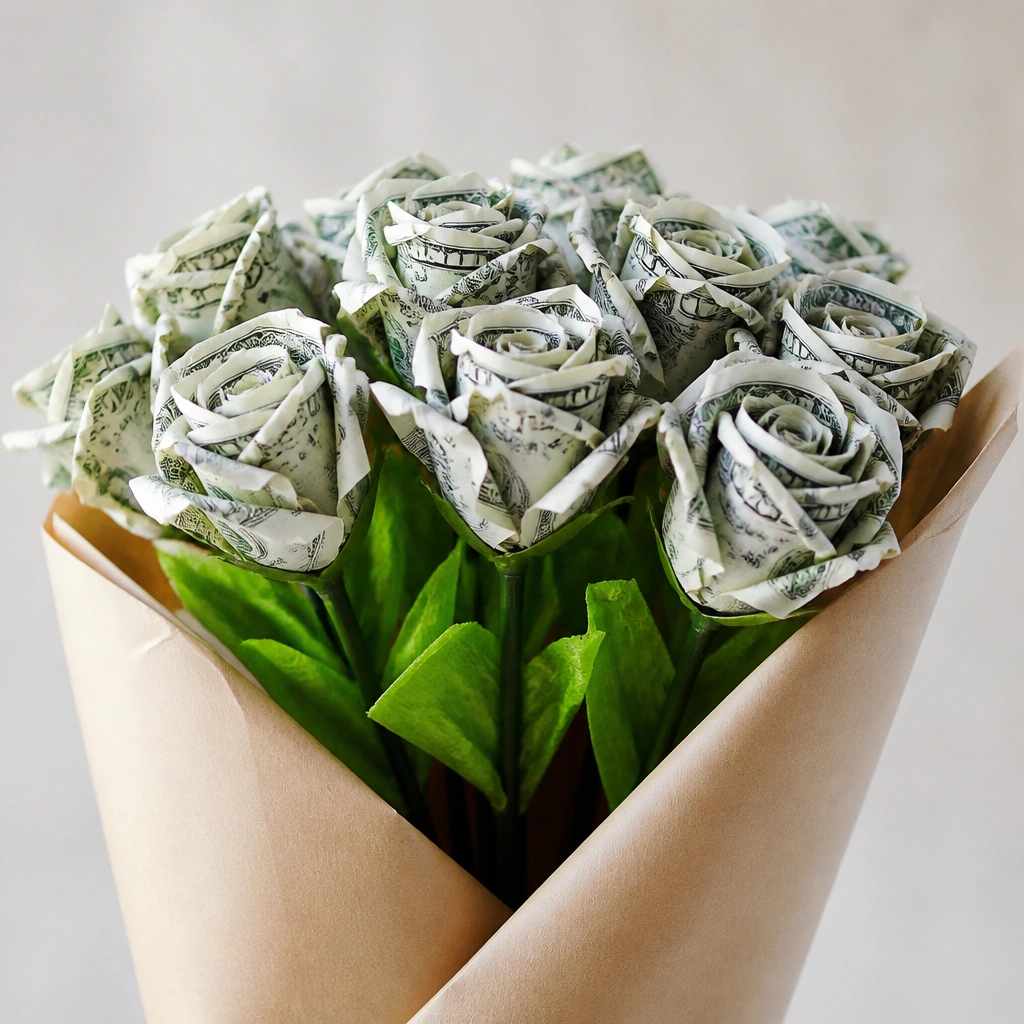
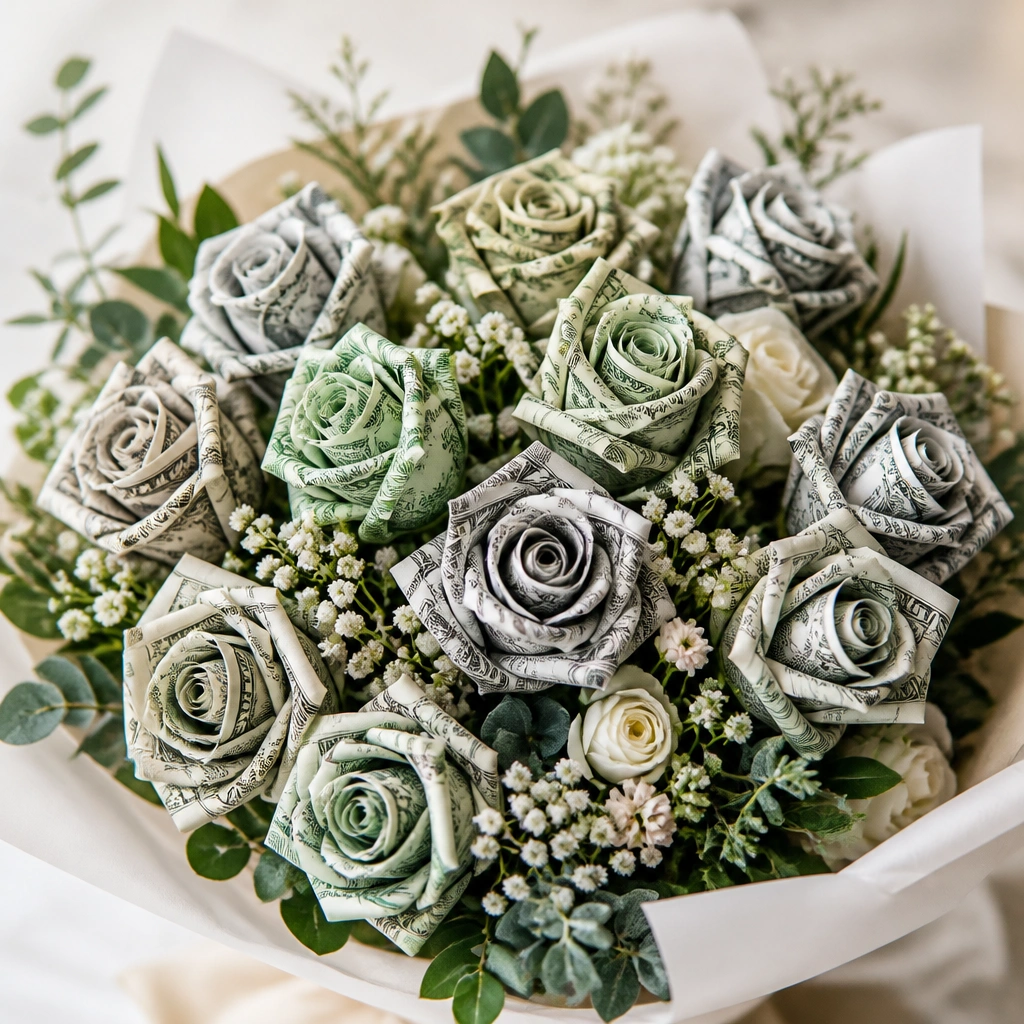
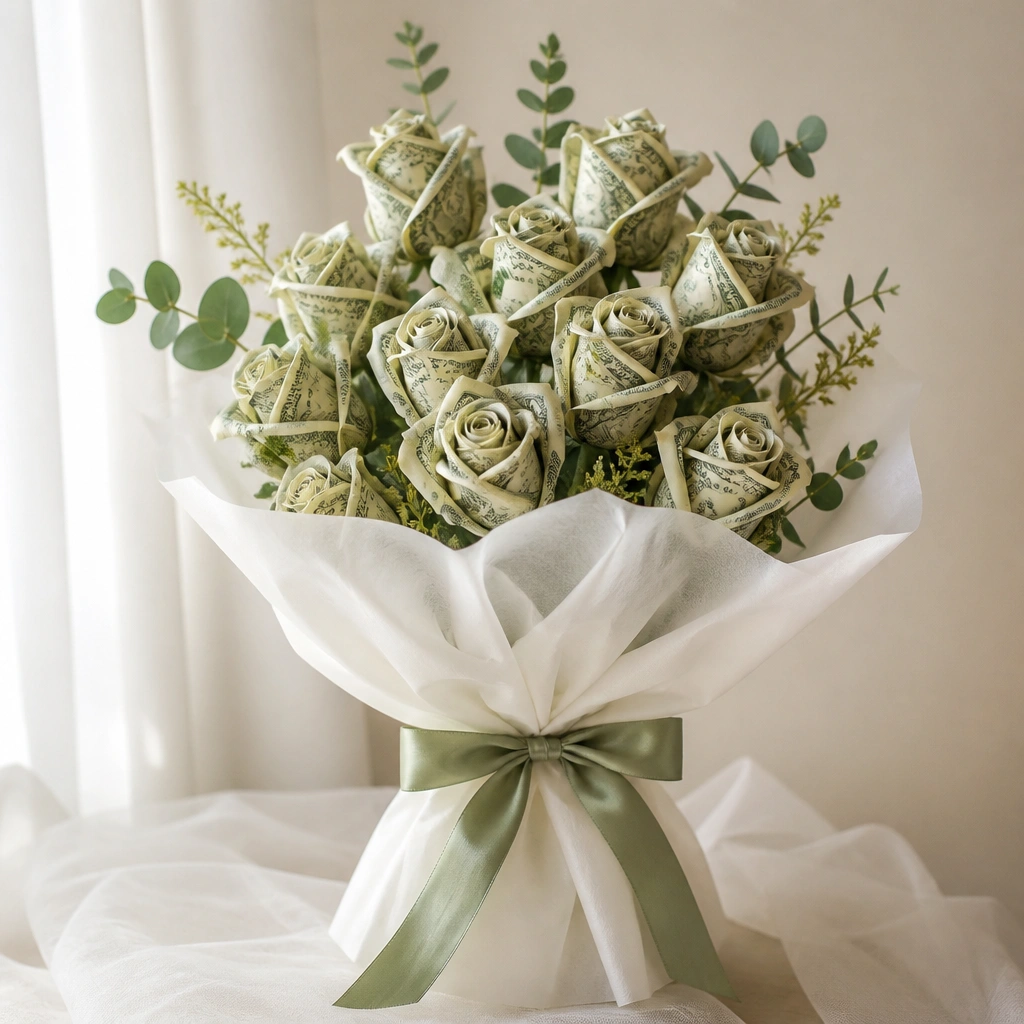
Build a money rose bouquet. Cut a foam square to fit your container or wrap it with tissue paper. Insert 6-12 stems at different angles, then tie ribbon around the stems to blend gaps.
The crisp bill keeps the fold edges sharp, making the petal layers look defined. The rolled center adds depth so it doesn’t look flat like a folded note.
Good to knowChoose bills without creases — sharp folds = a cleaner rose silhouette.
Tissue wrap hides foam edges and makes the bouquet feel “finished.” It also gives extra volume so the roses look fuller from the front.
Good to knowUse tissue as a filler layer before inserting stems if your foam container shows gaps.
Your questions, answered
How long does a money rose bouquet last?
If you keep it dry and avoid direct sunlight for long periods, it can last for months. The paper can soften if it gets damp, so store it in a dry spot.
What’s the total cost to make one bouquet?
Your main cost is the bills themselves. Supplies like floral wire, tape, glue, and ribbon are usually low-cost and can be reused for multiple bouquets.
Where can I get materials for the stems and bouquet base?
Floral wire and floral tape are easy to find at craft stores, and hot glue sticks are standard. Foam blocks and tissue paper are also usually available in the same aisle.
Is this beginner-friendly if I’ve never folded money crafts before?
Yes — the method relies on a simple rectangle fold and a tight roll center. If your petals don’t fan evenly, pinch closer to the base and bend one layer at a time.
Can I use different currencies or larger bills?
You can, as long as the bill is flat and you keep the fold rectangle proportions similar. Larger bills will create bigger roses, so you’ll likely need fewer per bouquet.
How do I care for the money roses after making them?
Handle edges gently and keep them away from moisture. If dust collects, use a dry soft brush and avoid wiping directly across the folds.